Emails & automations
Find your way around the email builder
What each part of the email builder does: the toolbar, rows and columns, content blocks, block settings and the email's global settings.
5 min read·Updated October 20, 2026·All plans
In the appSalesQ/Emails/Edit
In this guide
- 01Use the builder toolbar to preview, export and save
- 02Add, move and style rows and columns
- 03Pick the right content block for each part of your email
- 04Set fonts, colours and the subject line for the whole email
Before you start
- –An email template to work on (Create an email)
The email builder is where you design a template. An email is made of rows, rows hold columns, and columns hold blocks. Every row and block has its own settings.
The toolbar
| Control | What it does |
|---|---|
| Template name (pencil) | Click to rename the template. |
| Active / Inactive | Whether automations can send this template. The change takes effect when you click Save. |
| Settings (gear) | Opens the email's global settings, including the subject line. |
| Undo / Redo | Steps back or forward through your recent changes. |
| Structure / layers | Shows the email as a list of rows, columns and blocks. Drag to reorder them, or duplicate and delete from here. |
| Preview email (eye) | Shows the email on desktop or mobile. |
| Desktop / Mobile | Switches the canvas between desktop and mobile width. |
| Export | Downloads the email as an HTML file (Export HTML) or as a file you can import on another store (Export JSON). |
| Save | Saves the template. Nothing is saved until you click it. |
Add rows and columns
- 1
Pick a layout
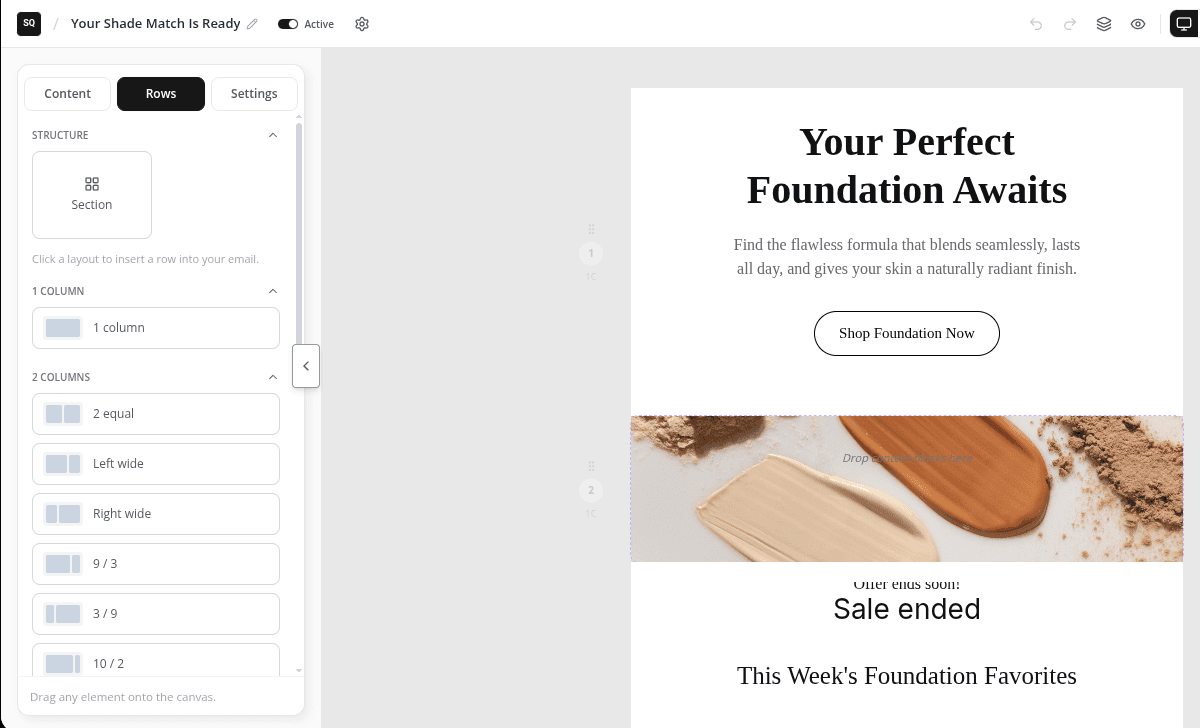
Open Rows in the left panel. Click a layout to add it at the bottom of the email, or drag it to a set position. Layouts go from 1 column up to 6 equal.
- 2
Or start from the canvas
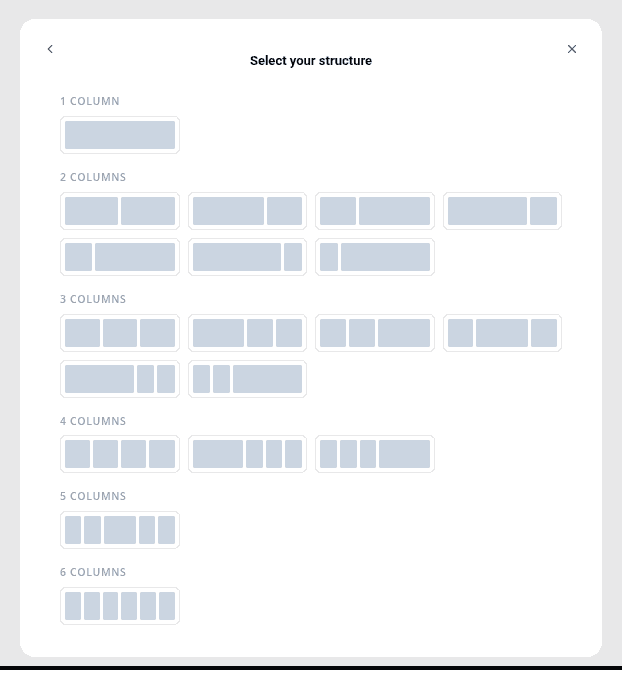
In the empty area at the bottom of the email, click + (Choose a row structure) and pick a layout.
- 3
Move, copy or remove a row
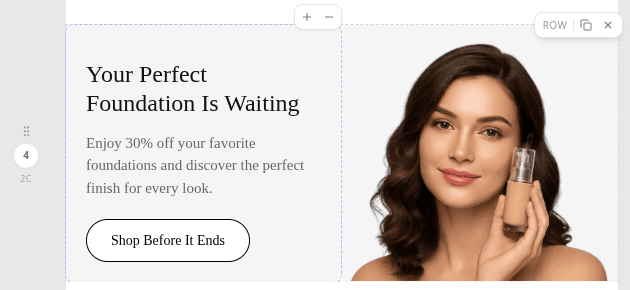
Hover over a row to drag it (Drag to reorder row), copy it (Duplicate row) or remove it (Delete row). Use + and − on a column to add or remove a column.
- 4
Style the row
Click the row to open its settings, such as background, border, padding and Stack on mobile.
Add content blocks
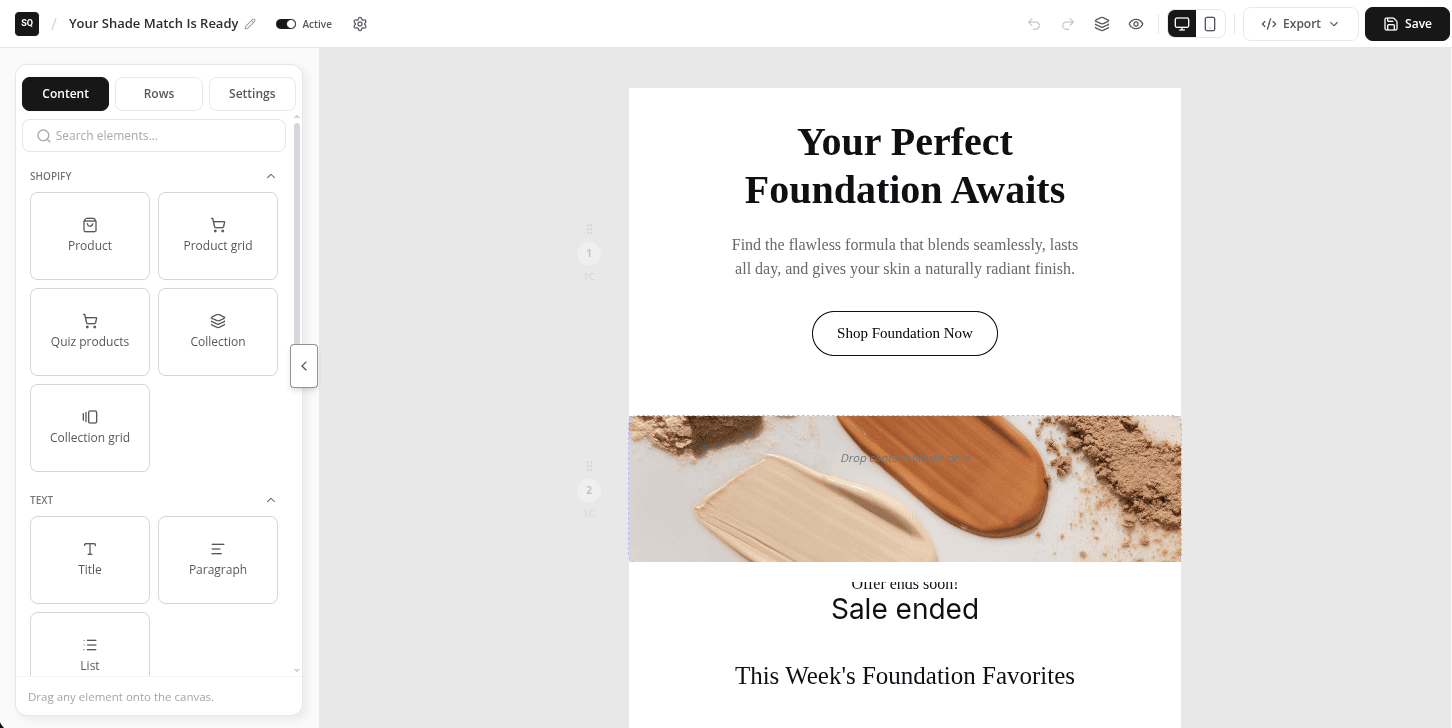
Open Content in the left panel and drag a block into a column. To find a block by name, use Search elements….
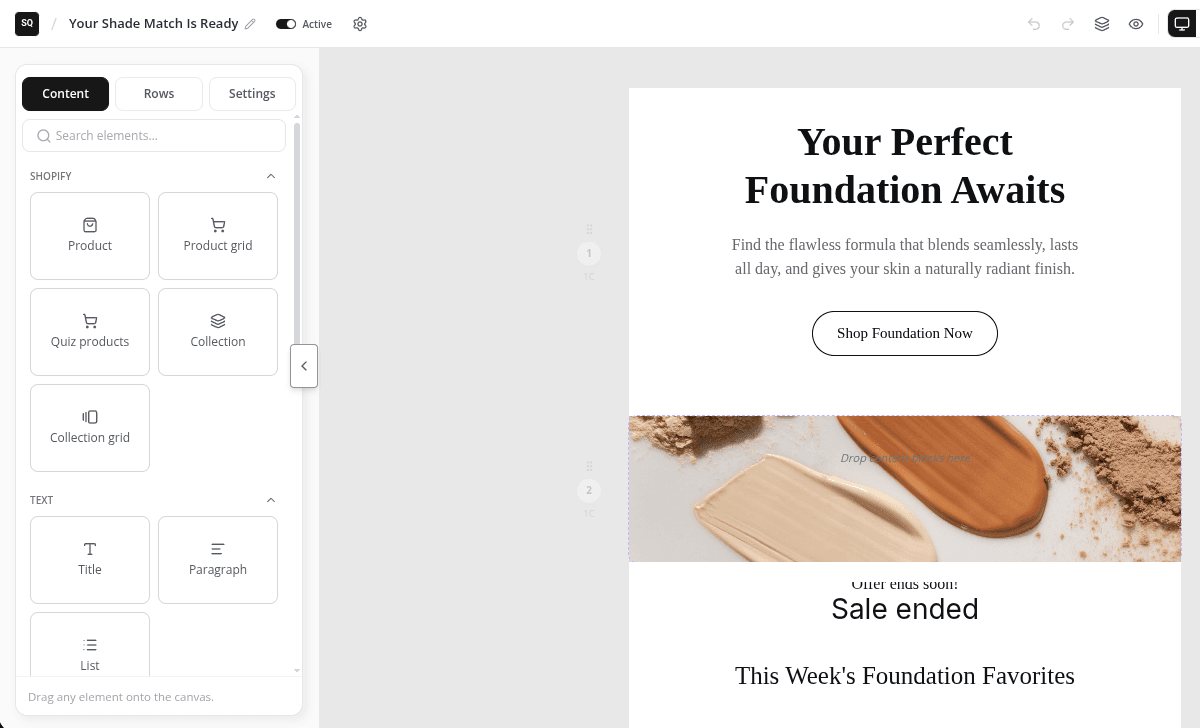
| Block | Use it for |
|---|---|
| Quiz products (Shopify) | Each shopper's own recommended products from their quiz result, filled in when the email sends. |
| Product (Shopify) | One product you choose, with its image, title, price and a button. |
| Product grid (Shopify) | Several products you choose, shown in a grid. |
| Collection (Shopify) | One collection you choose. |
| Collection grid (Shopify) | Several collections, shown in a grid. |
| Title (Text) | A heading. |
| Paragraph (Text) | Formatted text with links and merge tags, such as the shopper's name. |
| List (Text) | A bulleted or numbered list. |
| Button (Action) | A call to action that opens a web page or your store, or starts an email or a phone call. |
| Image (Content) | A picture from your Shopify files or an upload, with an optional link. |
| Rating (Content) | A row of stars. |
| Countdown (Content) | The time left until a date you set. |
| Divider and Spacer (Content) | A line, or empty space, between blocks. |
| Table (Content) | A simple table. |
| Social icons, Icons and Menu (Content) | Links to your social profiles, a row of icons, or a row of text links. |
| Unsubscribe (Content) | Your unsubscribe footer, styled the way you want. |
| Custom HTML (Content) | Your own HTML code. |
Edit a block
- 1
Select the block
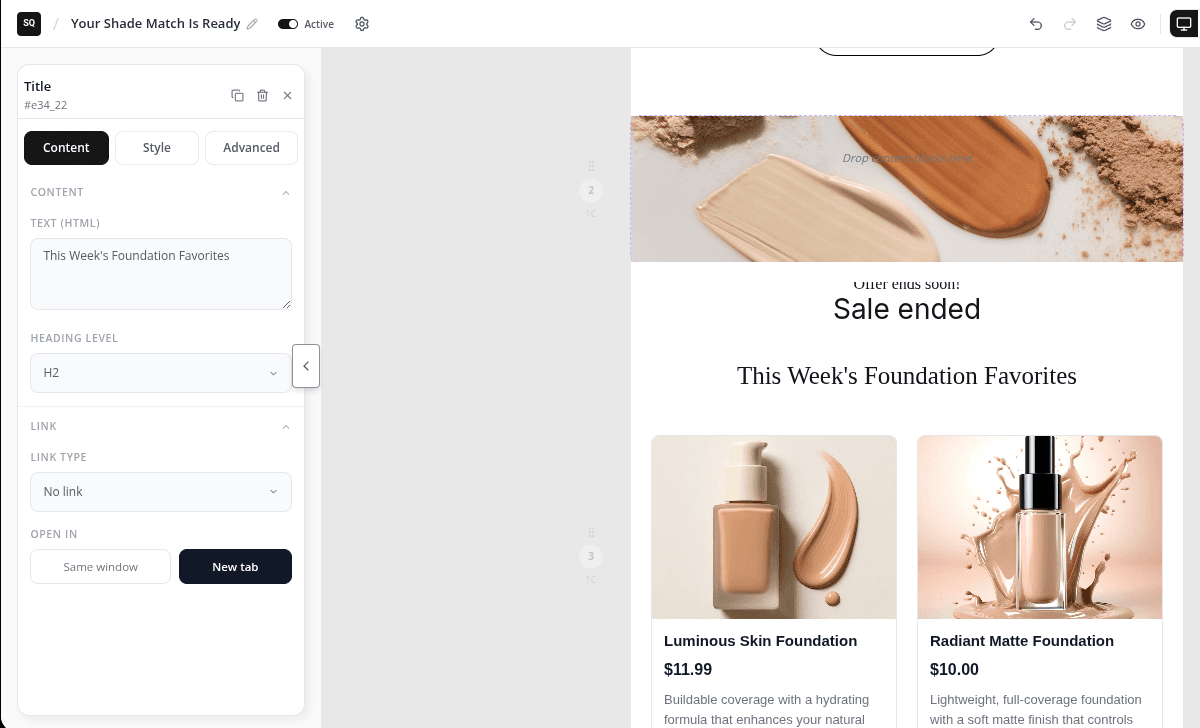
Click a block on the canvas. Its settings open in the left panel, with three tabs: Content, Style and Advanced.
- 2
Change content and style
Content holds the text, images, products or links. Style holds colours, fonts, sizes and spacing.
- 3
Set spacing or hide it on one device
In Advanced, set Margin and Padding, or use Hide on to hide the block on desktop or on mobile.
- 4
Reuse a style
Right-click a block and choose Copy style. Then right-click another block of the same type and choose Paste style.
Hover over a block to edit its text, copy it (Duplicate block) or remove it (Delete block).
Set the email's global settings
Open Settings in the left panel, or click the gear in the toolbar. These Global settings apply to the whole email:
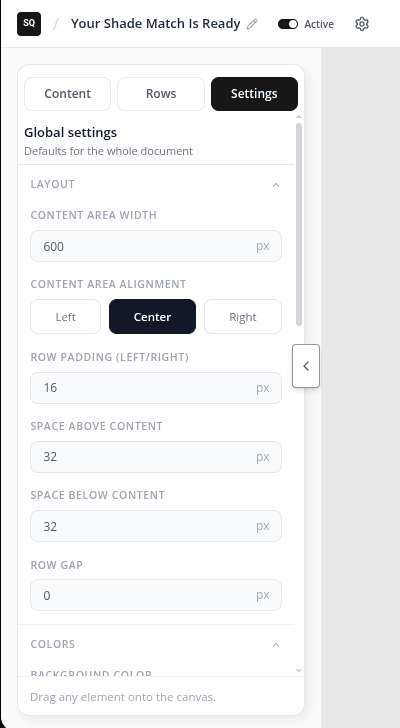
- Layout: content width and alignment, side padding, space above and below, and the gap between rows.
- Colors: the page background, the content background and the link colour.
- Typography: the default font.
- Background images for the content area and the page.
- Custom CSS for your own styles.
- Metadata: the email's Subject line and Language.
Video tutorials
Watch the series in order, or jump to the one you need.
- 01
 1:32How to Install a Shopify Quiz App: AI Sales Quiz Builder Setup & Tour
- 02
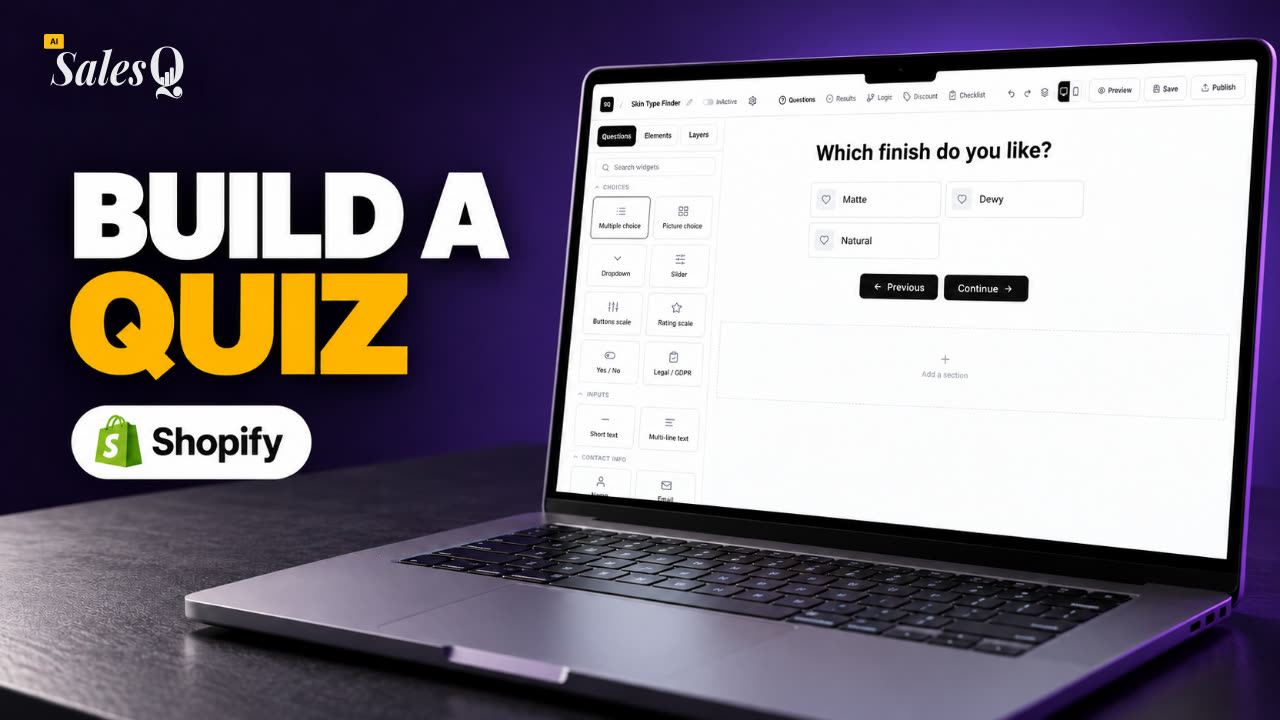 1:38How to Create a Product Recommendation Quiz on Shopify (Step by Step)
- 03
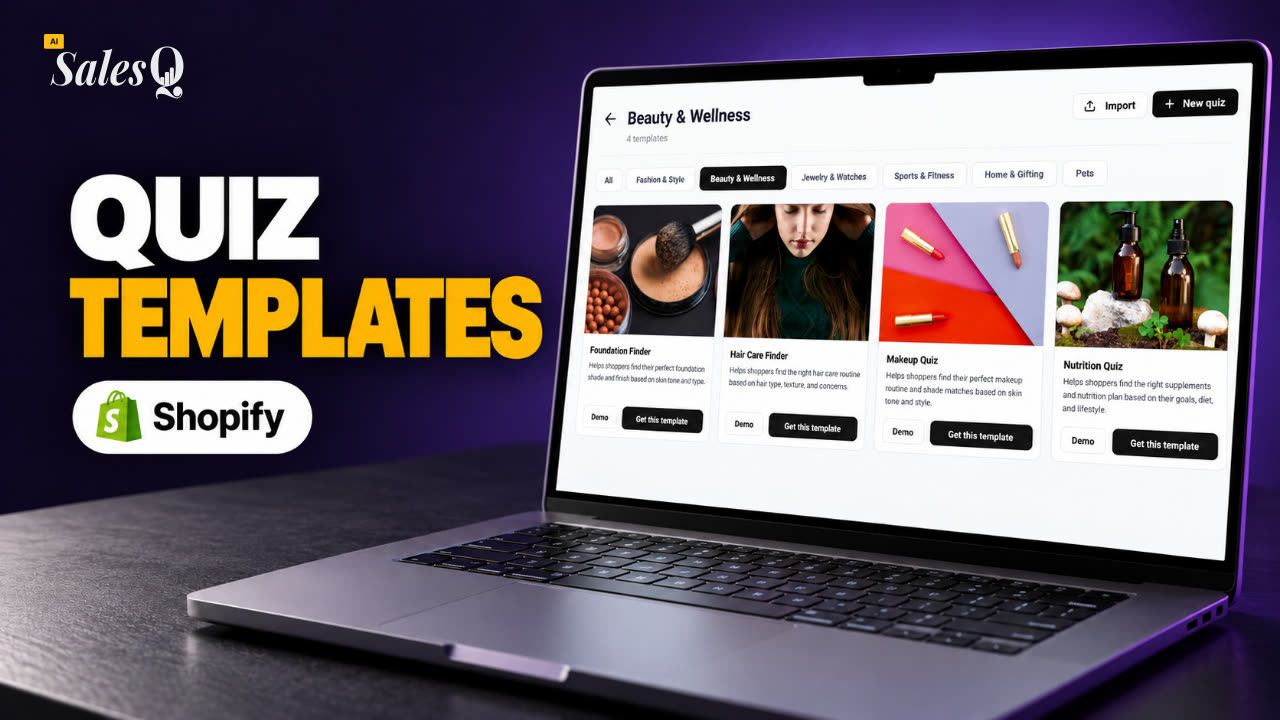 1:44Shopify Quiz Templates: Build a Product Quiz in Minutes
- 04
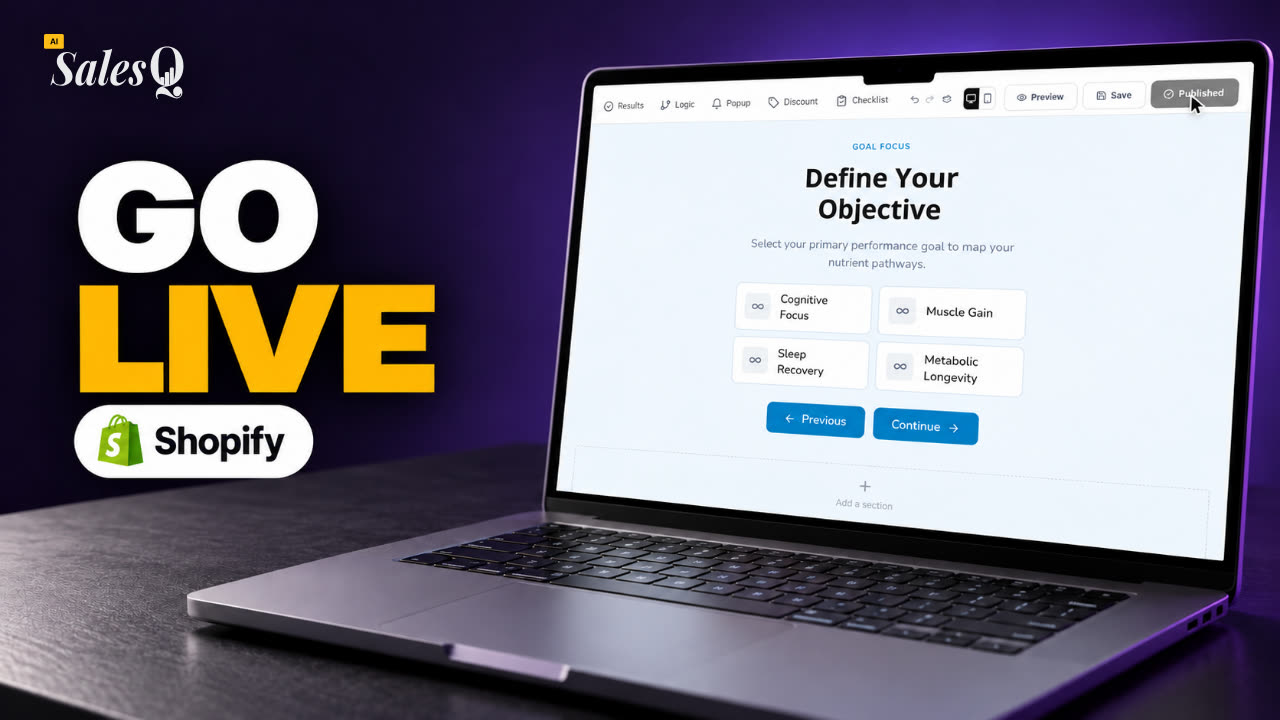 1:48How to Add a Quiz to Your Shopify Store (Publish & Embed)
- 05
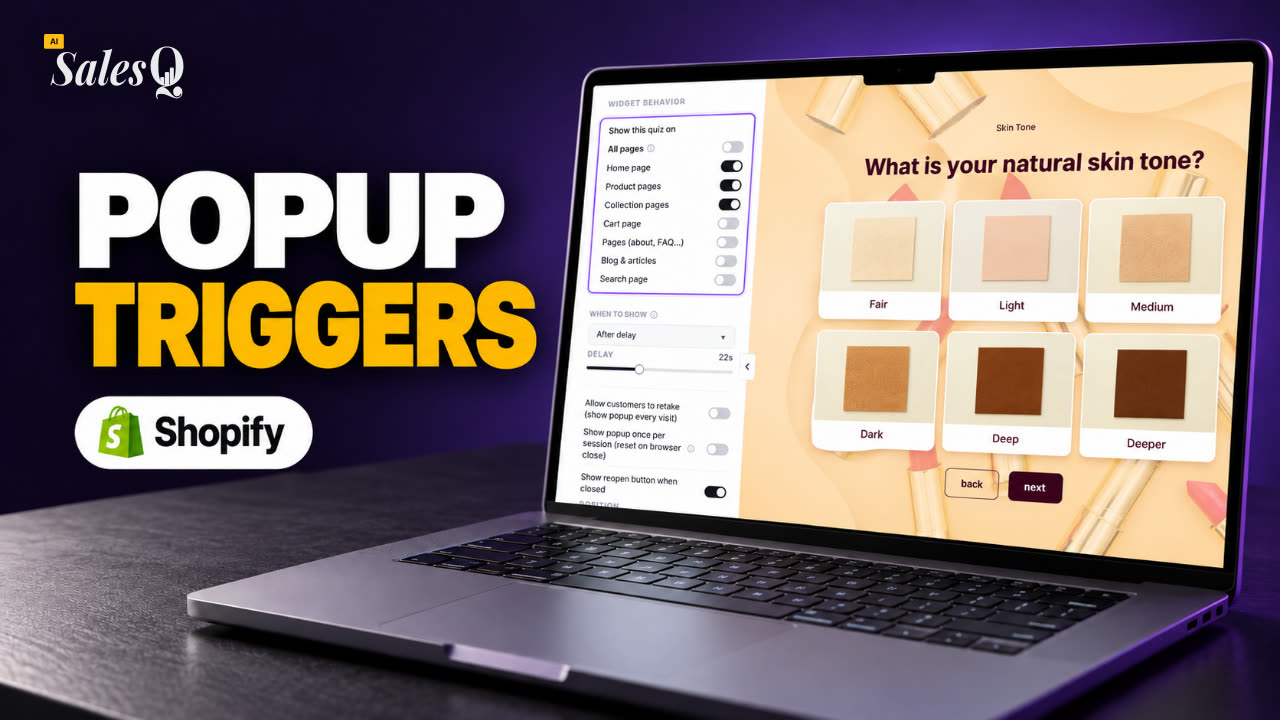 1:56Shopify Quiz Popup: Triggers, Timing & Page Targeting
- 06
 1:44Shopify Quiz Logic & Branching: Send Shoppers to the Right Product
- 07
 1:42Shopify Quiz Discount Codes: Unique Codes That Convert
- 08
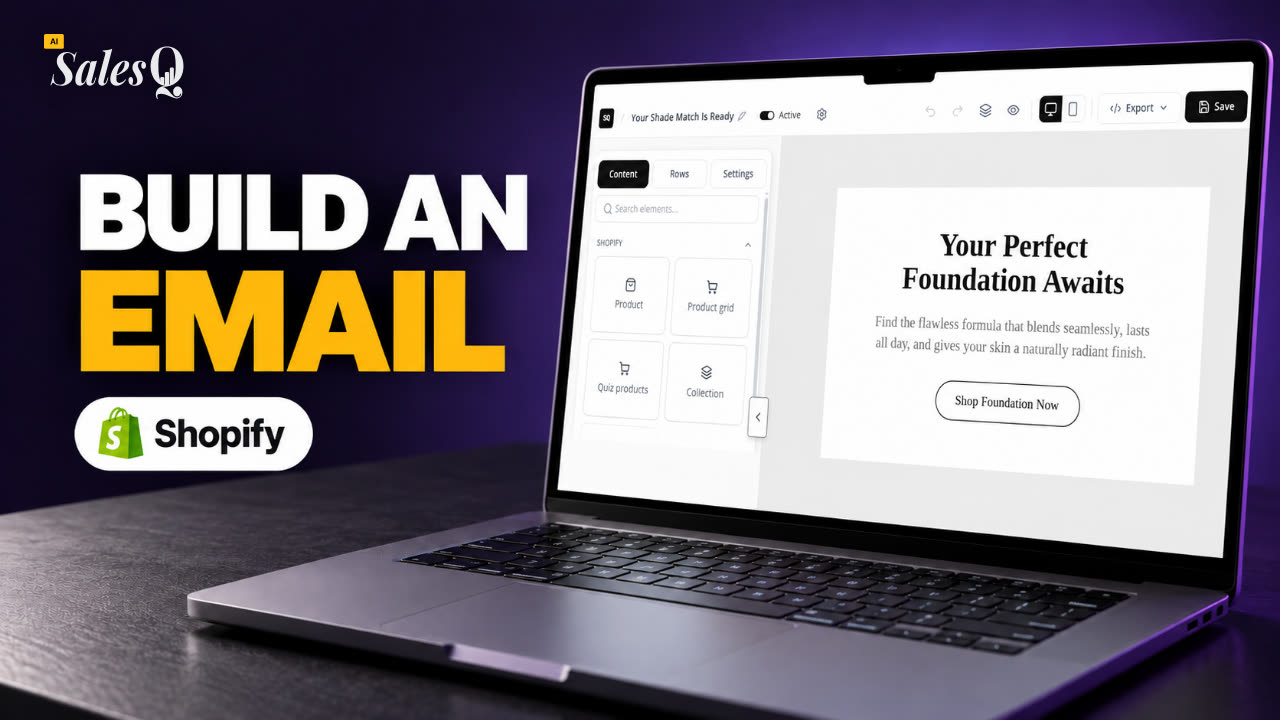 1:44Shopify Email Marketing: Create a Quiz Follow-Up Email
- 09
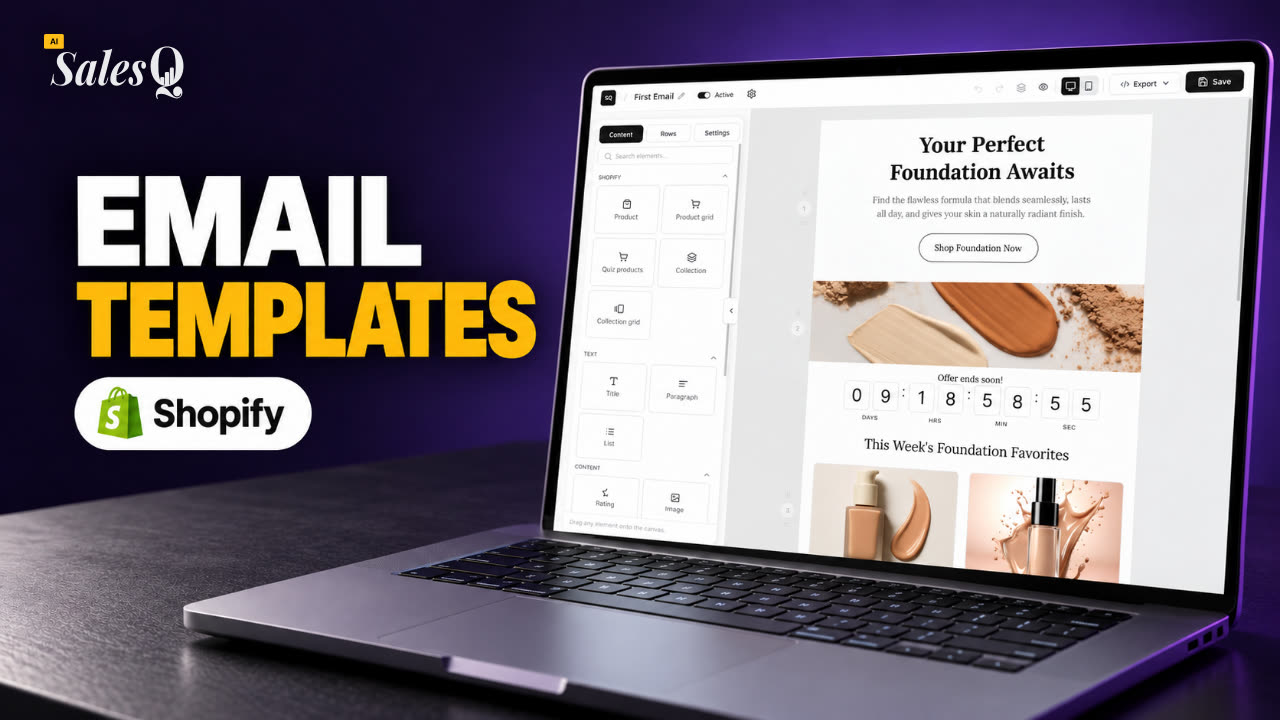 1:36Shopify Email Templates for Quiz Follow-Ups (Ready to Use)
- 10
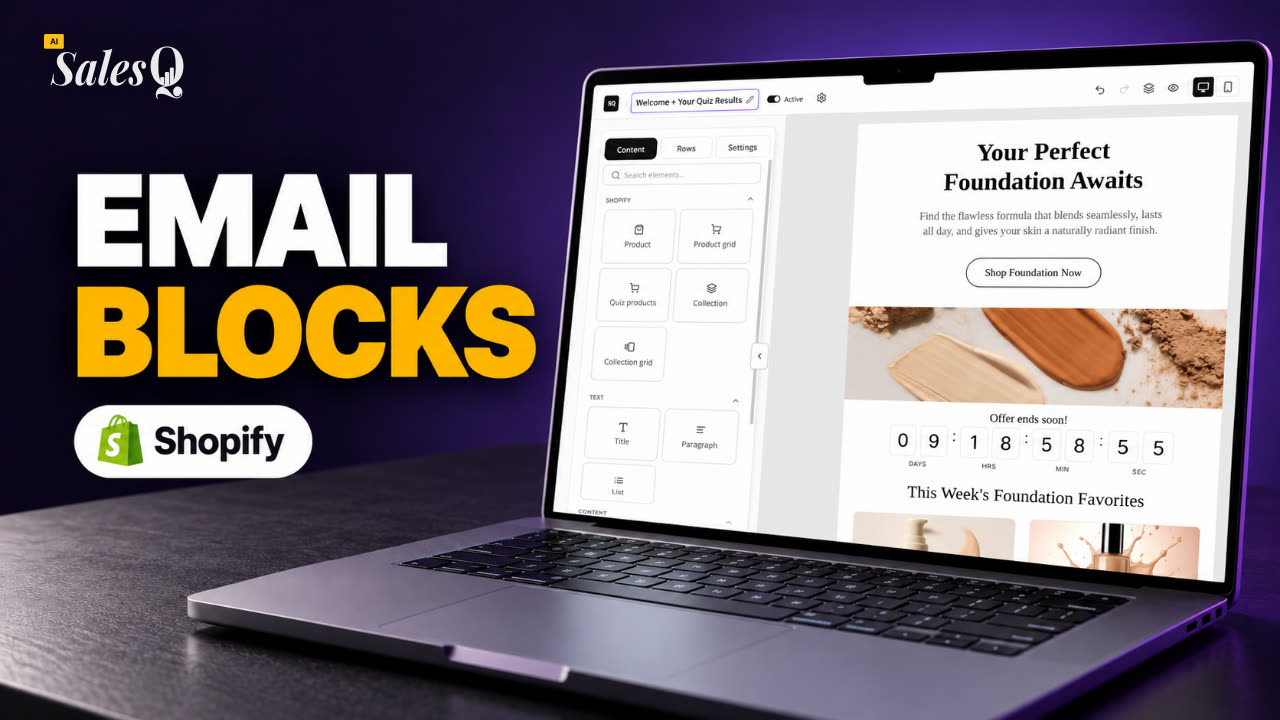 1:51Shopify Email Builder Tutorial: Drag-and-Drop BlocksNow playing
- 11
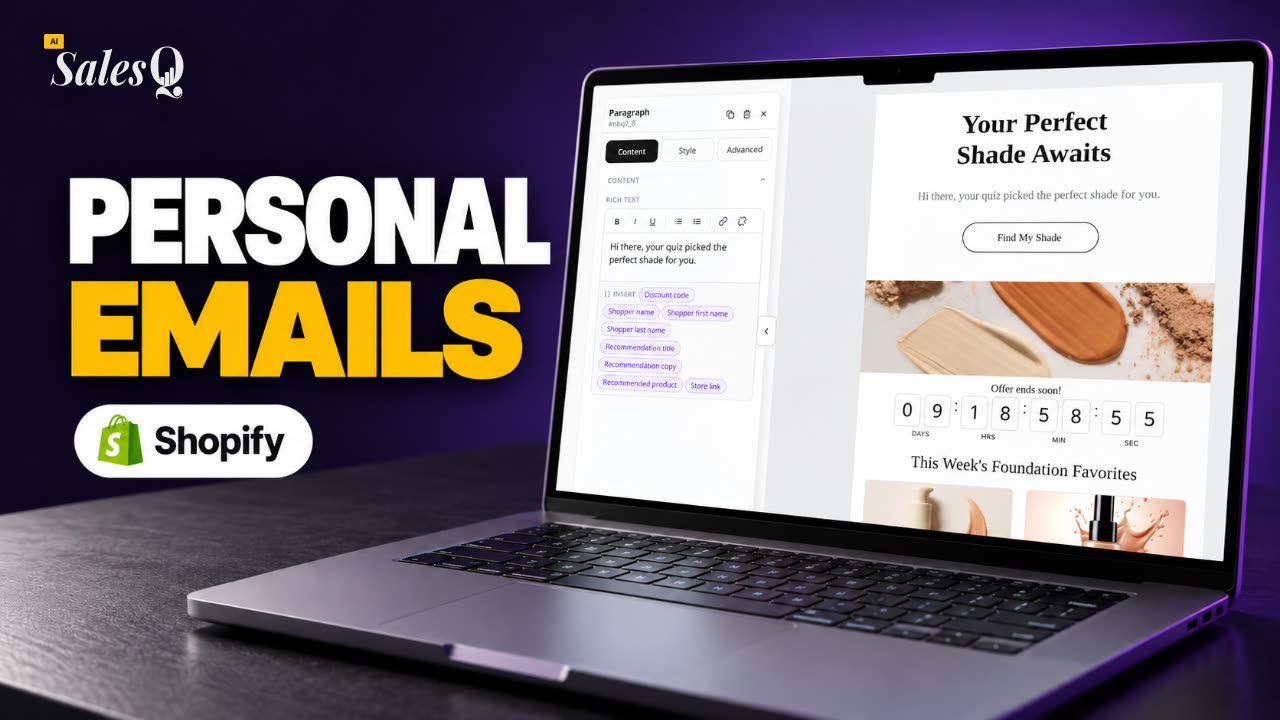 1:49Personalize Shopify Emails With Quiz Answers (Merge Tags)
- 12
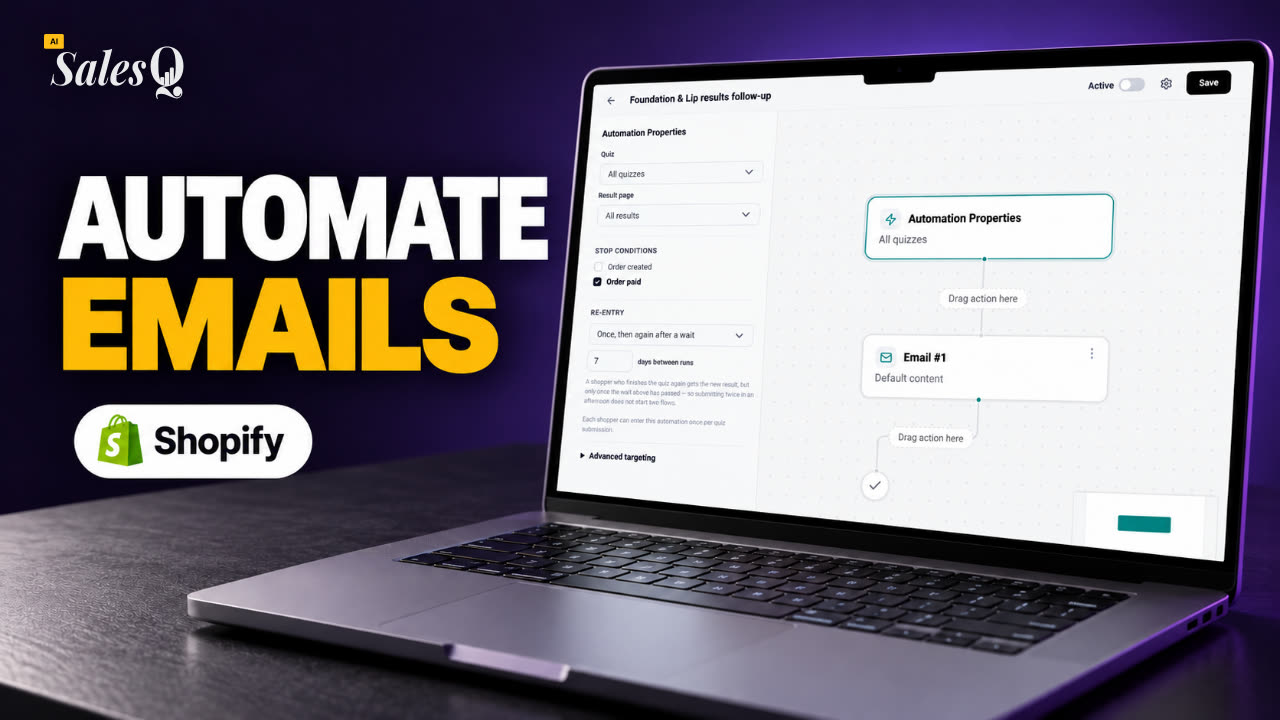 1:32Shopify Email Automation: Quiz Follow-Up Flow Step by Step
- 13
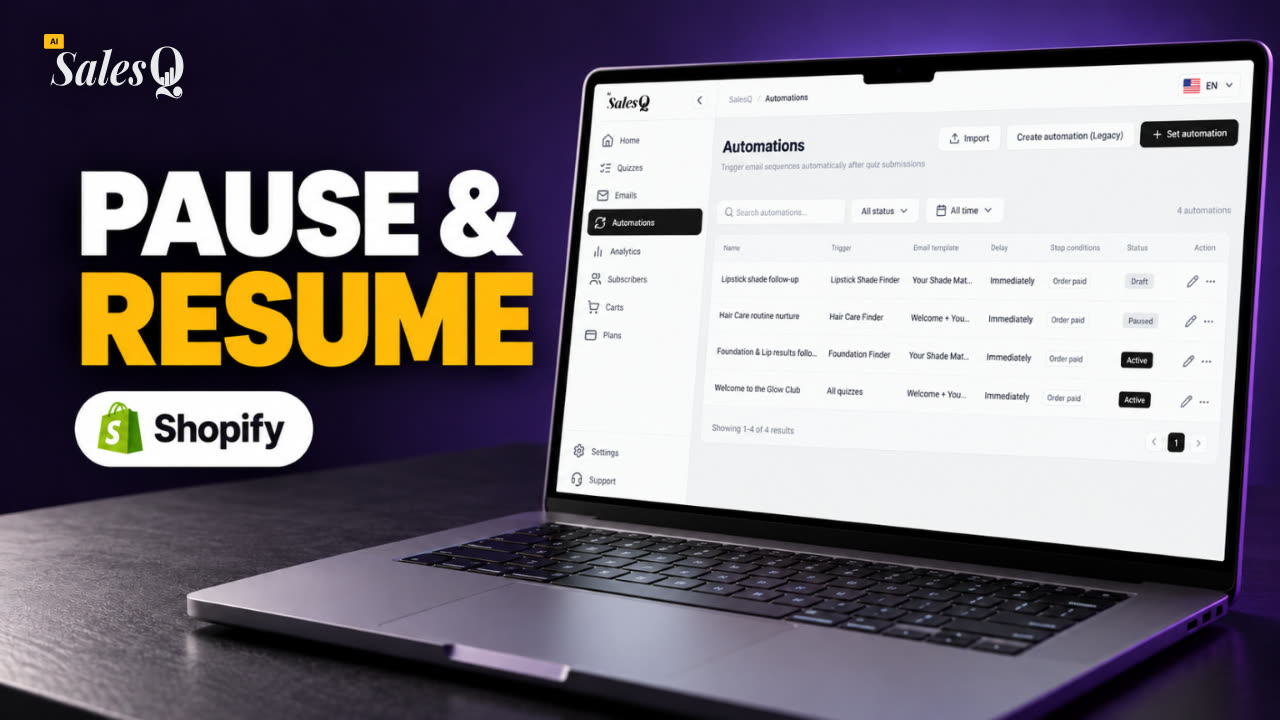 1:29Manage Shopify Email Automations: Pause, Resume & Edit Flows
- 14
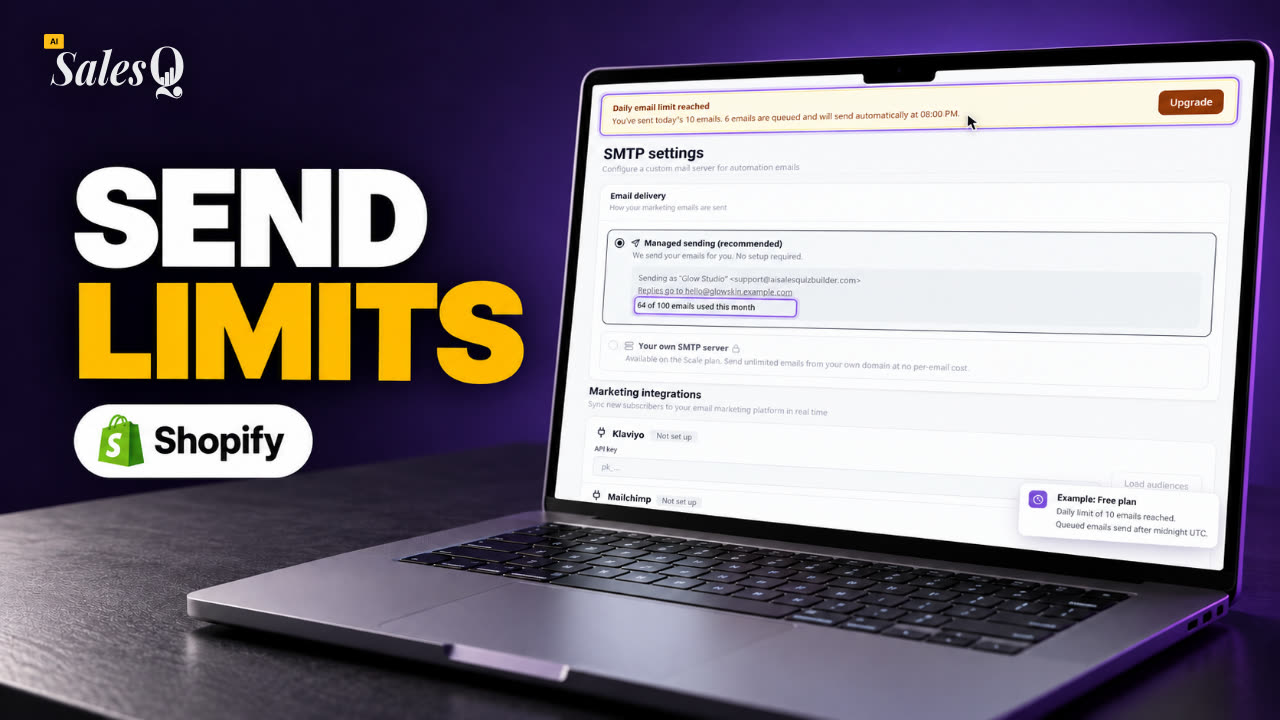 1:41Shopify Email Sending Limits Explained (Quiz Emails)
- 15
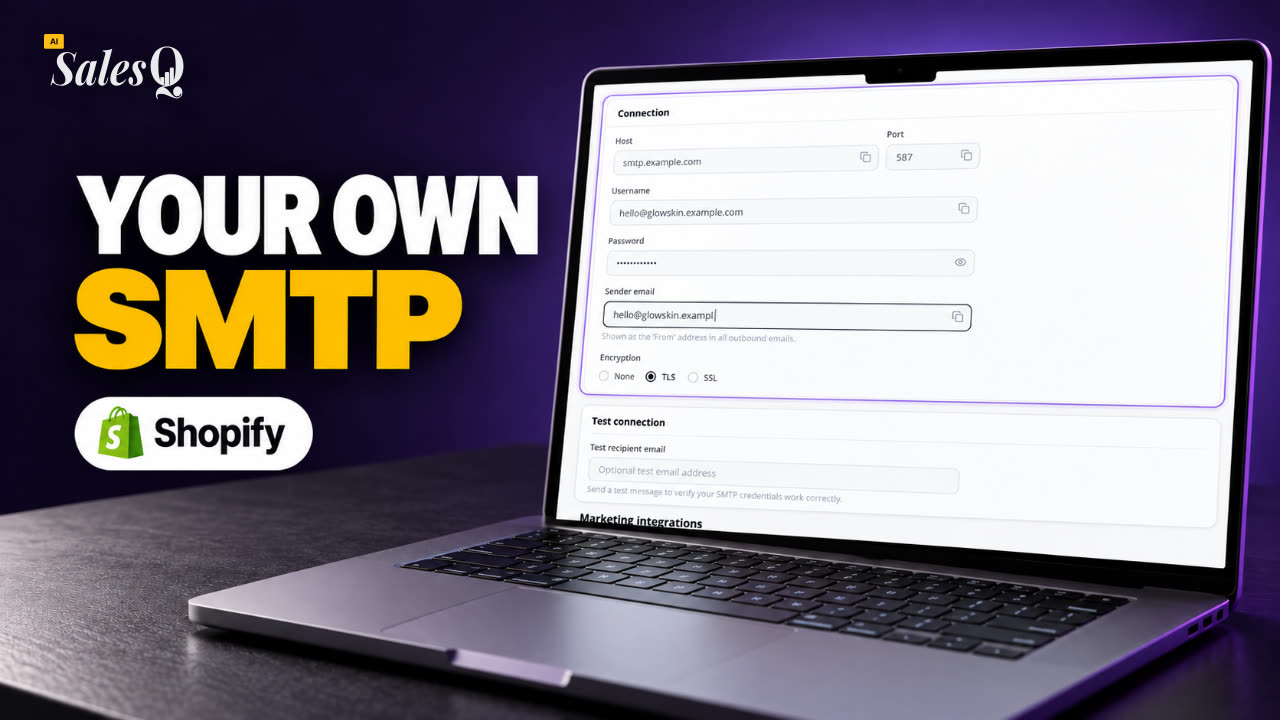 1:31Send Shopify Emails From Your Own SMTP Server
- 16
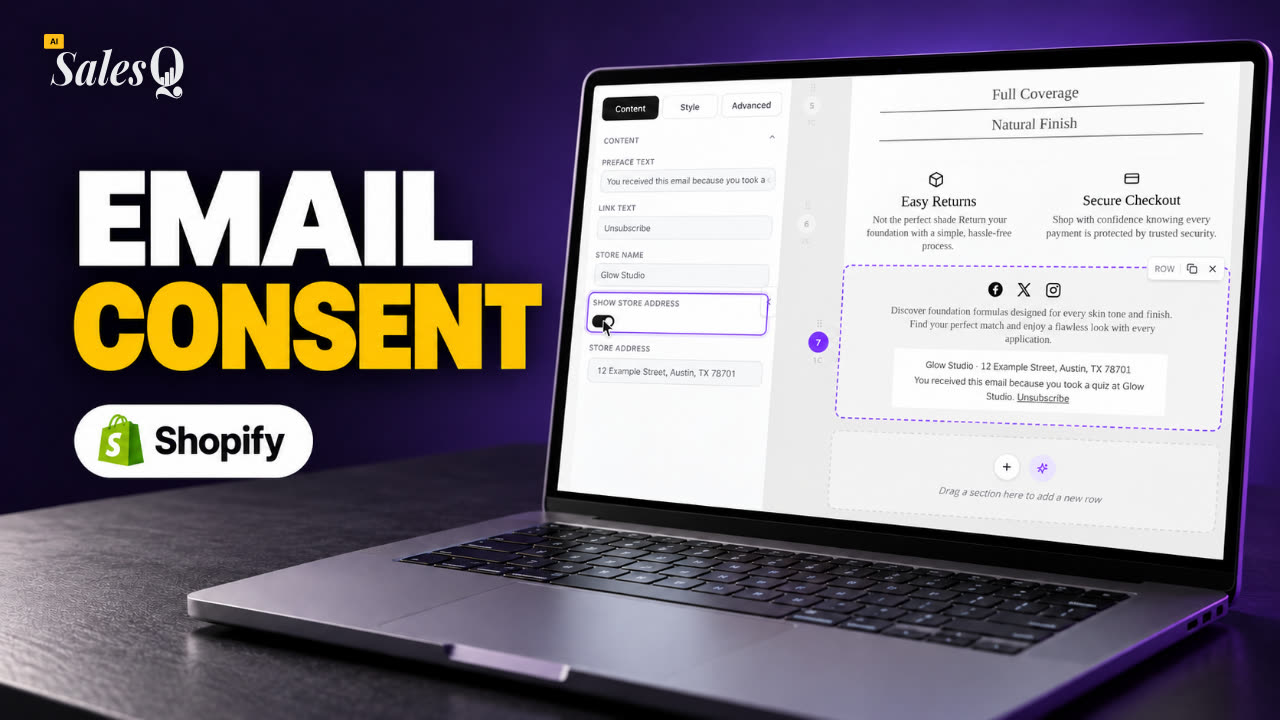 1:43Shopify Email Consent & Unsubscribe Link Explained
- 17
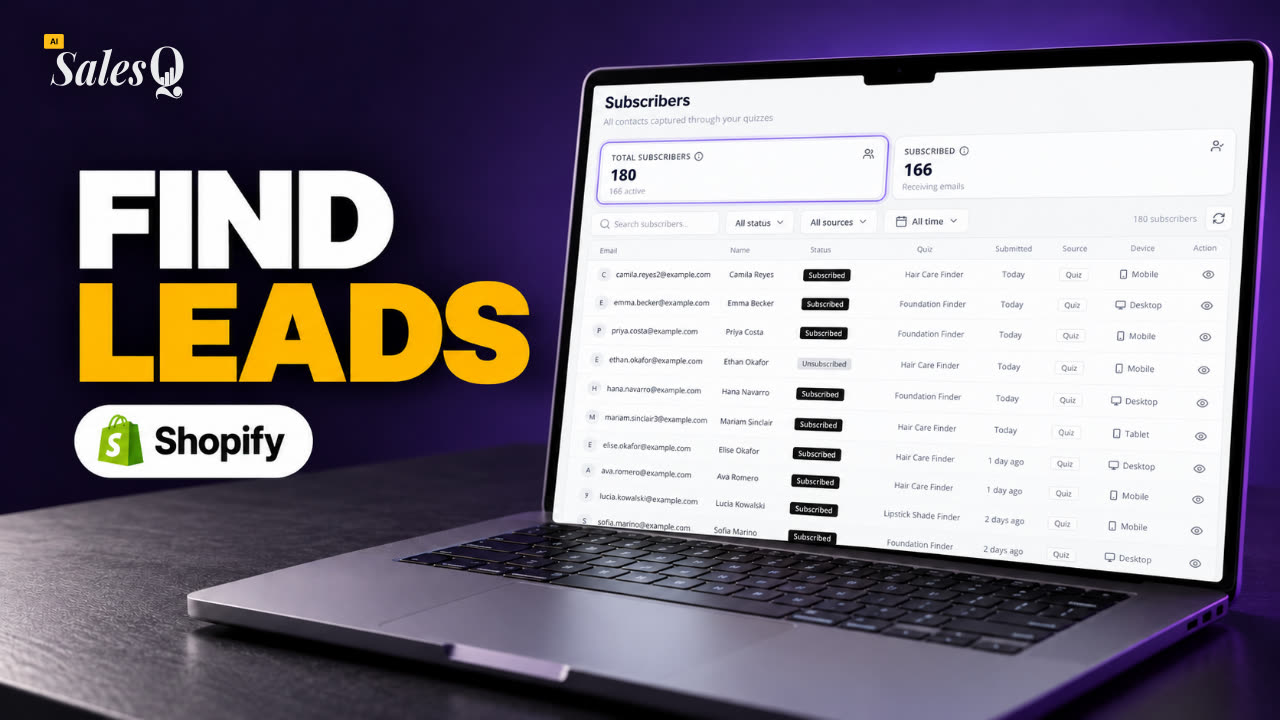 1:46Shopify Quiz Subscribers: Search, Filter & View Profiles
- 18
 1:45Shopify Quiz Analytics: Track Revenue, Conversions & Emails
- 19
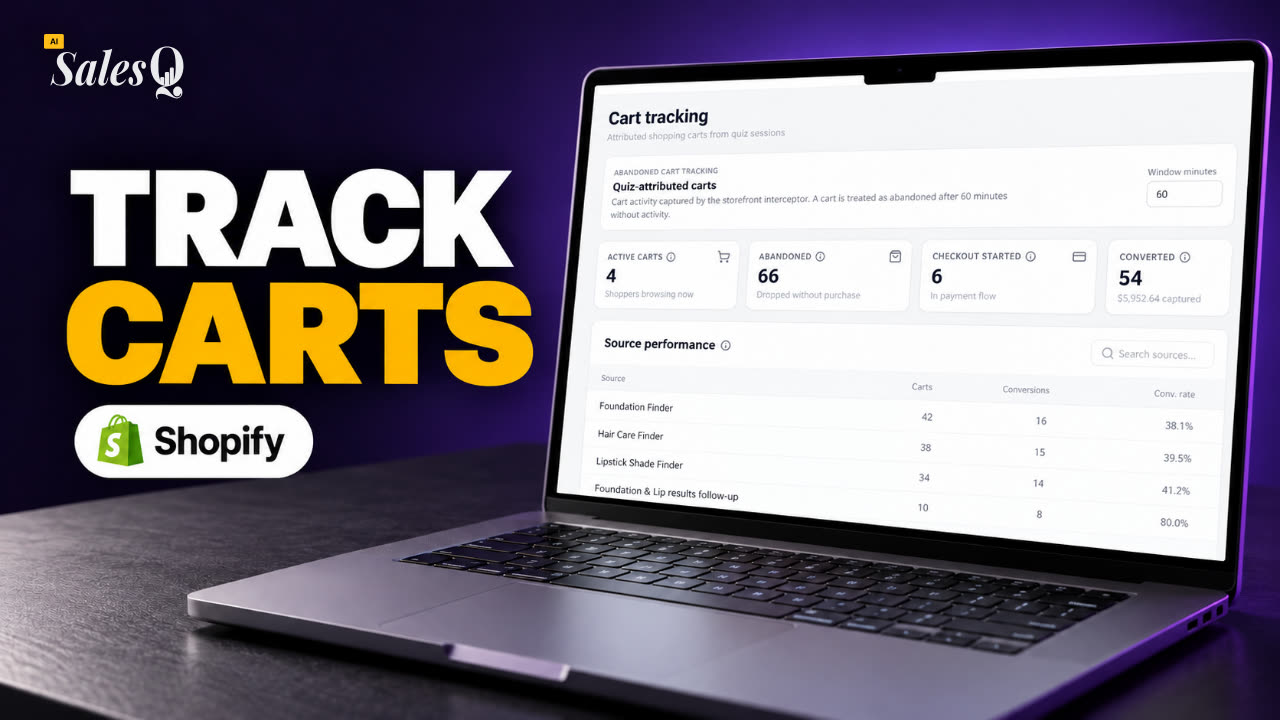 1:44Shopify Abandoned Cart Tracking for Quiz Shoppers
- 20
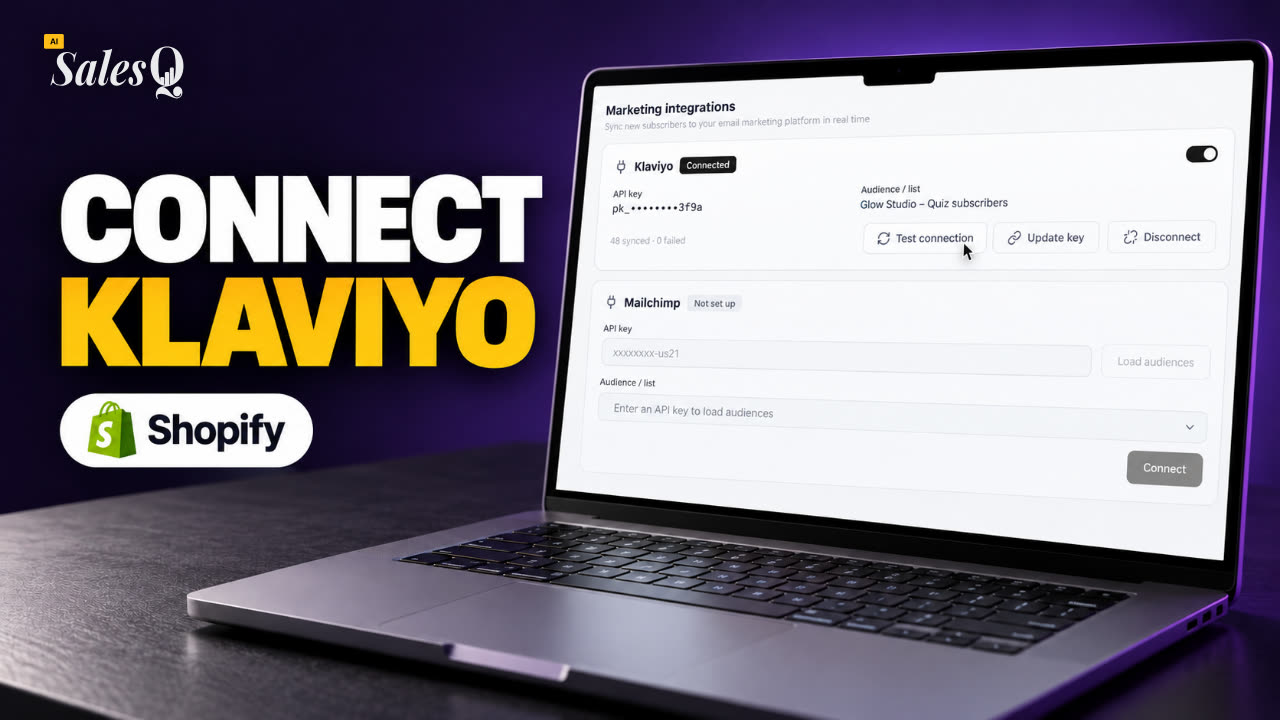 1:42Klaviyo Shopify Integration: Send Quiz Subscribers to Klaviyo
- 21
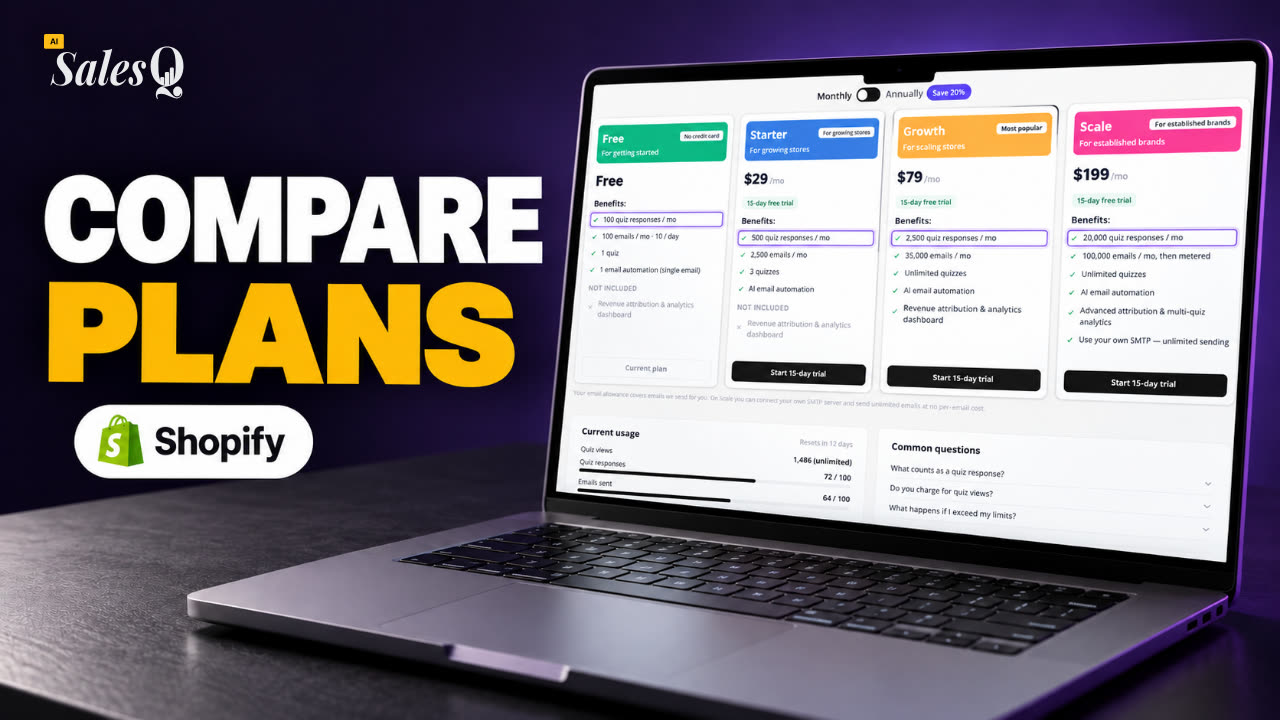 1:43Best Shopify Quiz App Pricing: AI Sales Quiz Builder Plans Compared
Learn more
Related articles
- Create an emailBuild a follow-up email in the AISalesQ email builder, give it a subject line, and save it as Active so your automations can send it.→
- Personalise emailsAdd the shopper's name, quiz result, discount code and recommended products to an email, filled in for each shopper when it sends.→
- Use email templatesPick a ready-made email from the template gallery, make it your own in the builder, and save it as Active.→
Was this page helpful?
Still need help?
Can't find what you need? Talk to the people who build the app.