Emails & automations
Create a quiz follow-up automation
Send emails automatically after a shopper finishes a quiz: choose the quiz, add emails and waits, and stop the sequence when the shopper buys.
6 min read·Updated October 20, 2026·All plans
In the appSalesQ/Automations/Set automation
In this guide
- 01Start an automation for one quiz or result page
- 02Add emails and waits after the first email
- 03Stop the emails when a shopper places or pays for an order
- 04Decide whether shoppers can go through it again
Before you start
- –A published quiz (Publish the quiz on your store)
- –At least one Active email template, or use the default content (Create an email)
An automation sends a sequence of emails to shoppers who submit a quiz with their email address. The first email goes out straight away, and you can add waits and more emails after it.
Start a new automation
- 1
Open Automations
In the app menu, click Automations, then click Set automation. If you don't have any automations yet, click Set up automation.
- 2
Name it
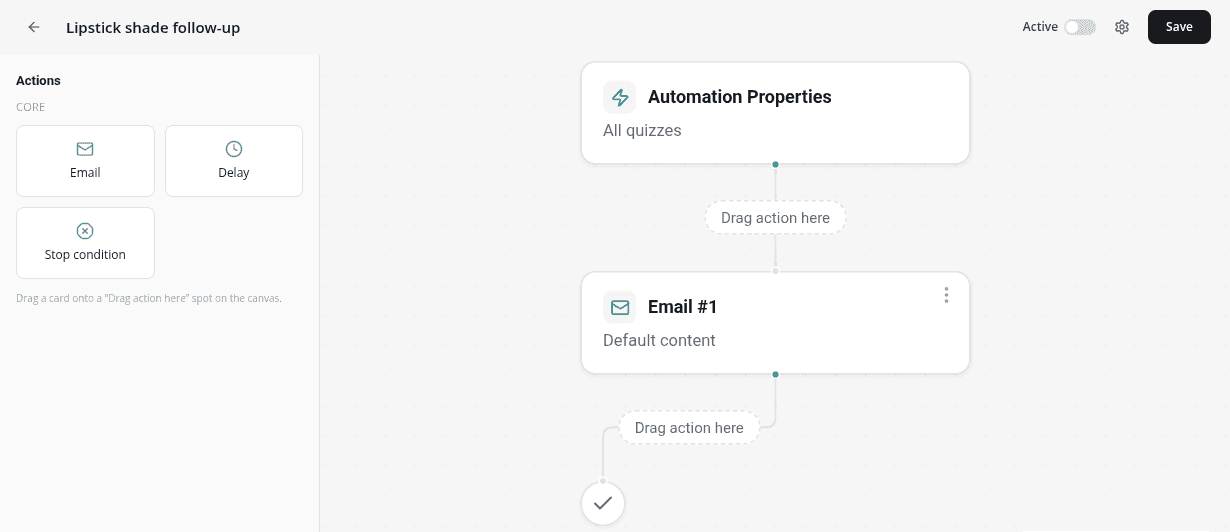
Type a name in Name your automation at the top. The canvas shows the starting flow: Automation Properties, Email #1 and End. If you leave the name empty, the automation is saved as Welcome automation.
Choose who gets it
- 1
Open Automation Properties
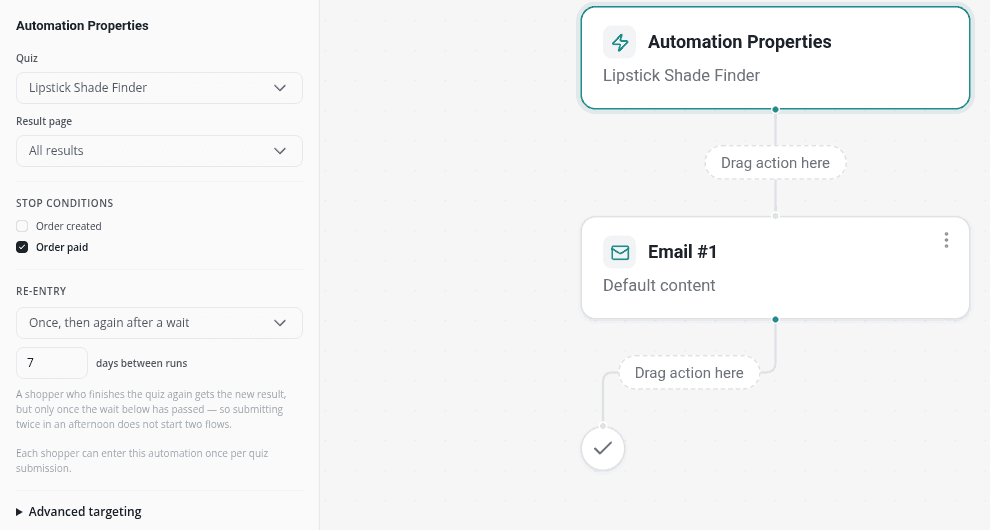
Click the Automation Properties card at the top of the flow. Its settings open in the left panel.
- 2
Pick the quiz and result
Under Quiz, choose one quiz or All quizzes. Under Result page, choose one result or All results. Picking a different quiz clears the result.
- 3
Narrow it down (optional)
Open Advanced targeting to pick several Quizzes or Results, or type Countries separated by commas. Leave these empty to include everyone.
Add emails and waits
- 1
Set up Email #1
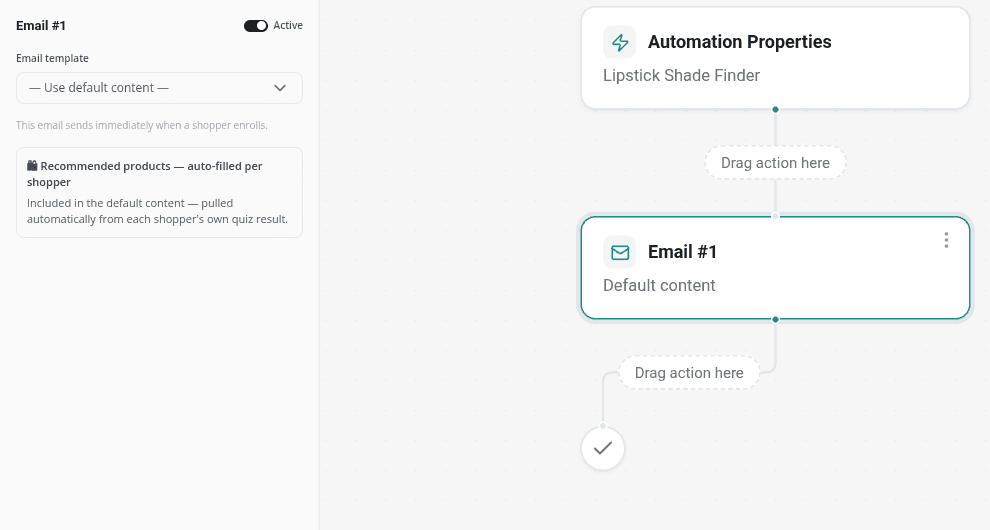
Click Email #1. Under Email template, pick one of your templates, or keep — Use default content —. This email sends as soon as the shopper submits the quiz.
- 2
Add a wait
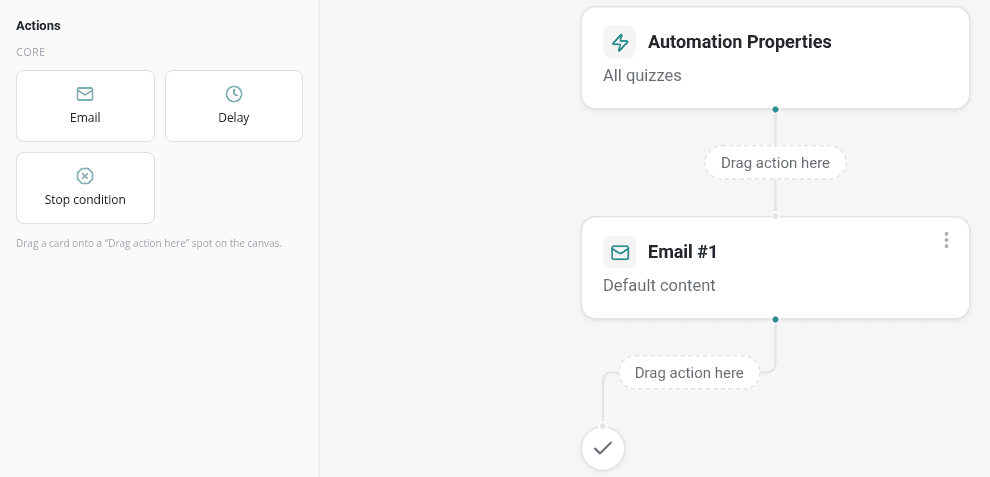
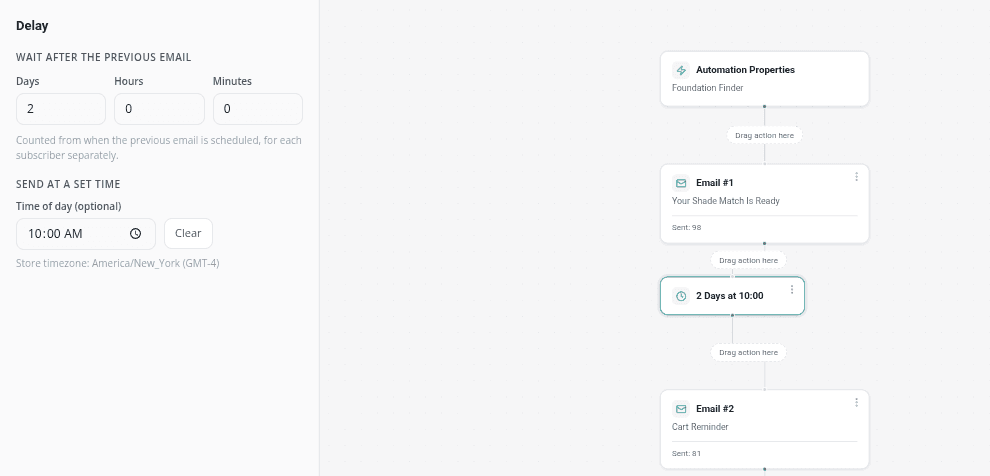
Click an empty part of the canvas to show Actions in the left panel. Drag Delay onto the Drag action here spot below Email #1. A new delay waits 1 day.
- 3
Set how long to wait
Click the delay card. Under Wait after the previous email, enter Days, Hours and Minutes. To send at a set time of day, fill in Time of day (optional) under Send at a set time. The time uses your store's time zone.
- 4
Add the next email
Drag Email onto the Drag action here spot below the delay. Click the new email card and choose its Email template.
- 5
Repeat as needed
Keep adding delays and emails. To move or remove a card, open its ⋮ menu and choose Move up, Move down or Delete.
Each shopper goes through the sequence on their own clock. A wait counts from the email before it: with a 2-day delay, Email #2 goes out two days after that shopper's Email #1.
Stop the emails when a shopper buys
- 1
Open the stop conditions
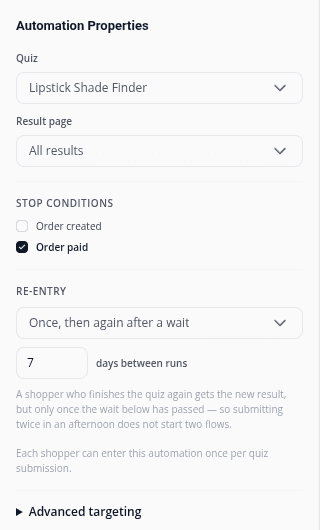
Click Automation Properties, or the red Stop conditions card. Under Stop conditions, tick what should end the sequence for a shopper.
- 2
Choose Order paid or Order created
Order paid stops the emails once the shopper's order is paid. It's ticked by default. Order created stops them as soon as the shopper places an order, paid or not.
Automations stop when an order is created or paid, matched by the shopper's email address. Adding a product to the cart or starting checkout doesn't stop an automation. Stop conditions apply to the whole automation, wherever the Stop conditions card sits in the flow.
An automation also always stops for a shopper who unsubscribes. See Unsubscribes and consent.
Decide if shoppers can go through it again
In Automation Properties, the Re-entry setting decides what happens when the same shopper takes the quiz again:
| Option | What happens |
|---|---|
| Only once per shopper | A shopper who has been through this automation never enters it again. |
| Once, then again after a wait | The shopper can enter again once the number of days between runs has passed. This is the default, set to 7 days. |
| Every time they trigger it | Each quiz submission starts a new run, so a shopper can get several copies of the sequence at once. |
Turn it on and save
- 1
Switch it on
Turn on Active in the top bar. If you leave it off, the automation is saved as a Draft and sends nothing.

- 2
Save
Click Save. You're taken back to Automations, where the new automation is listed.
Video tutorials
Watch the series in order, or jump to the one you need.
- 01
 1:32How to Install a Shopify Quiz App: AI Sales Quiz Builder Setup & Tour
- 02
 1:38How to Create a Product Recommendation Quiz on Shopify (Step by Step)
- 03
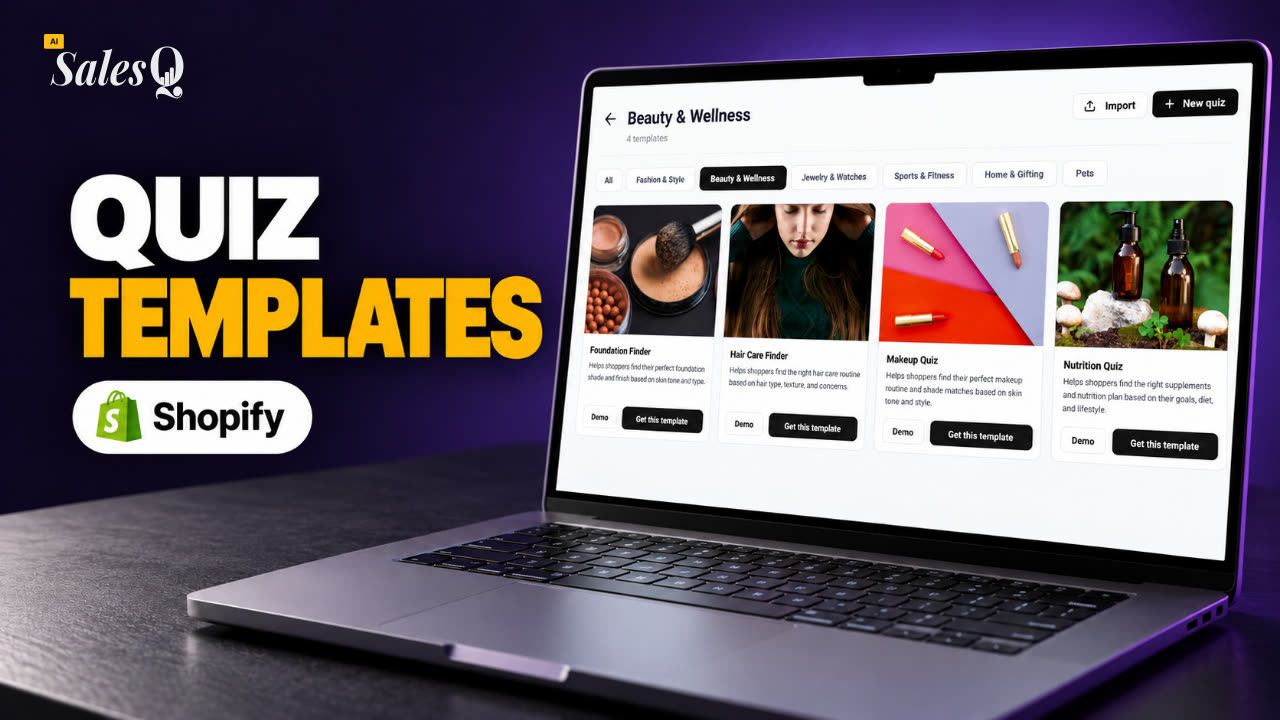 1:44Shopify Quiz Templates: Build a Product Quiz in Minutes
- 04
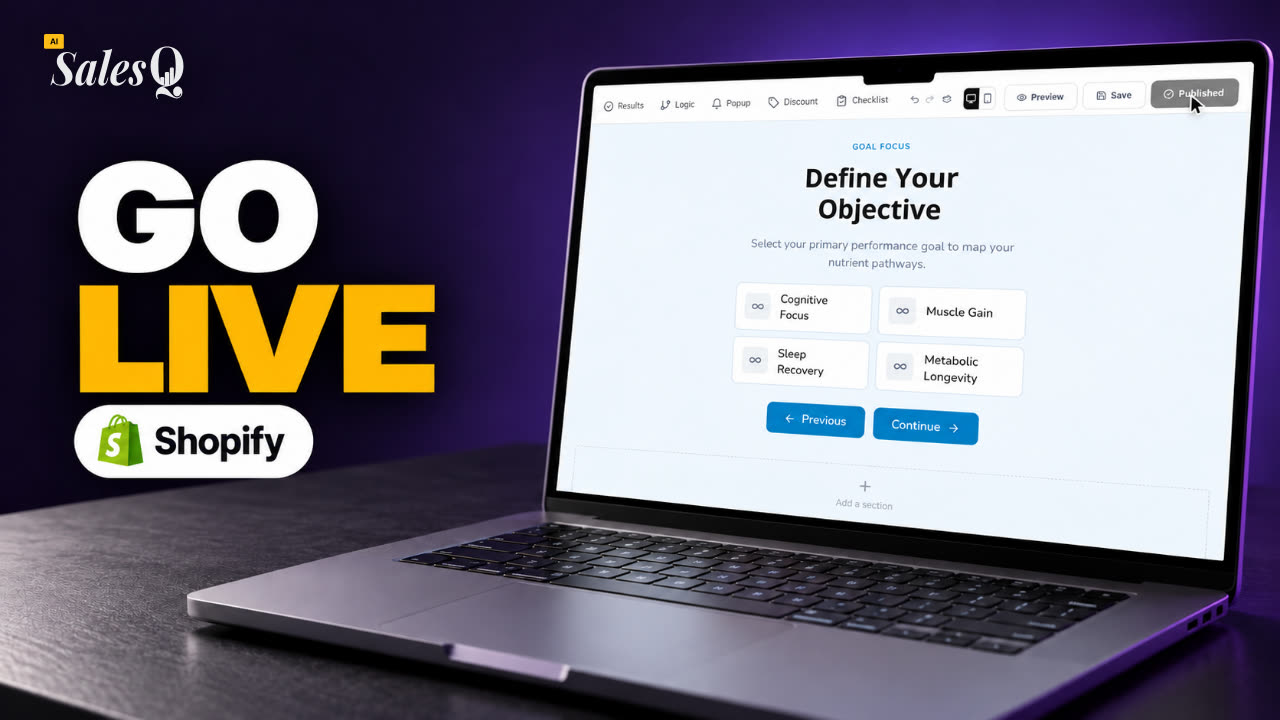 1:48How to Add a Quiz to Your Shopify Store (Publish & Embed)
- 05
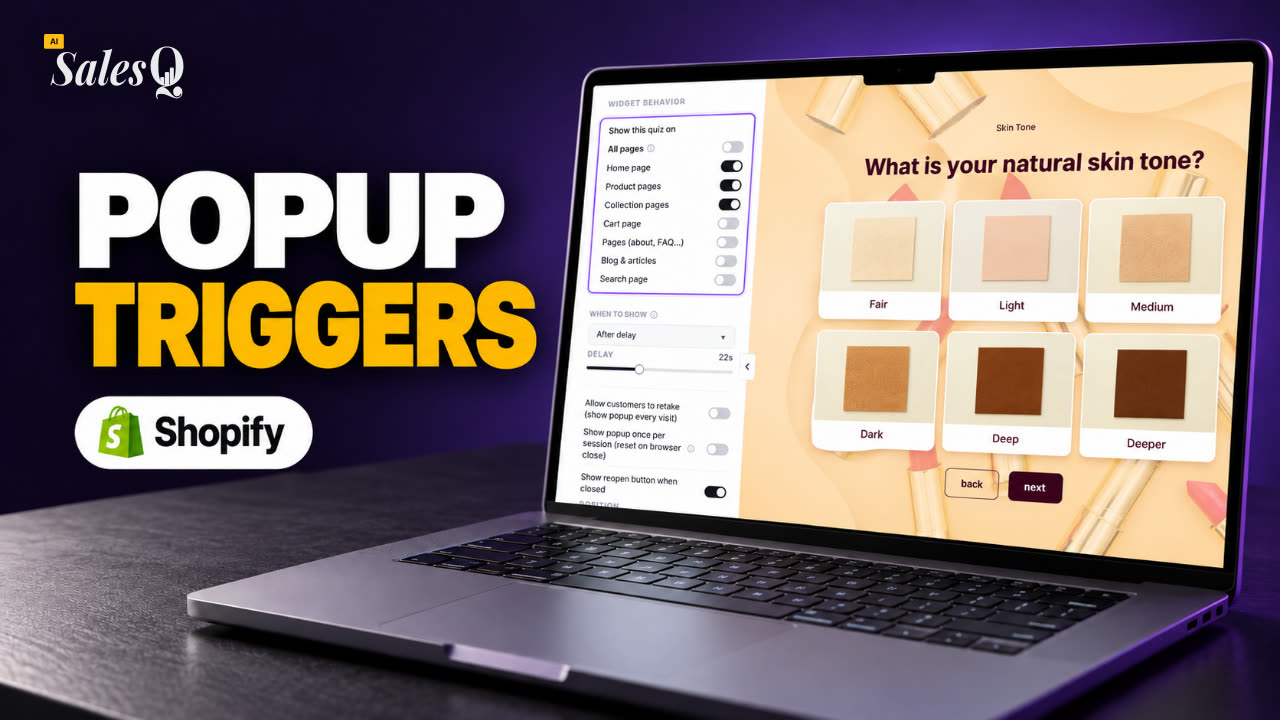 1:56Shopify Quiz Popup: Triggers, Timing & Page Targeting
- 06
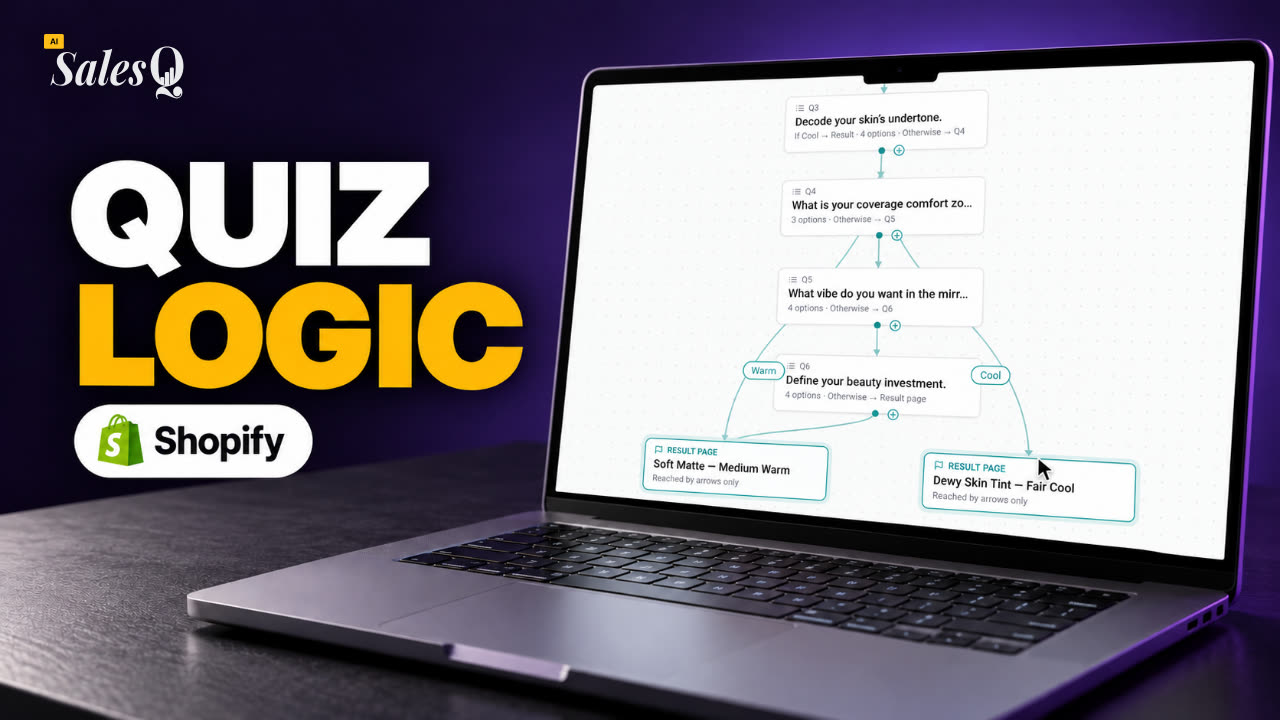 1:44Shopify Quiz Logic & Branching: Send Shoppers to the Right Product
- 07
 1:42Shopify Quiz Discount Codes: Unique Codes That Convert
- 08
 1:44Shopify Email Marketing: Create a Quiz Follow-Up Email
- 09
 1:36Shopify Email Templates for Quiz Follow-Ups (Ready to Use)
- 10
 1:51Shopify Email Builder Tutorial: Drag-and-Drop Blocks
- 11
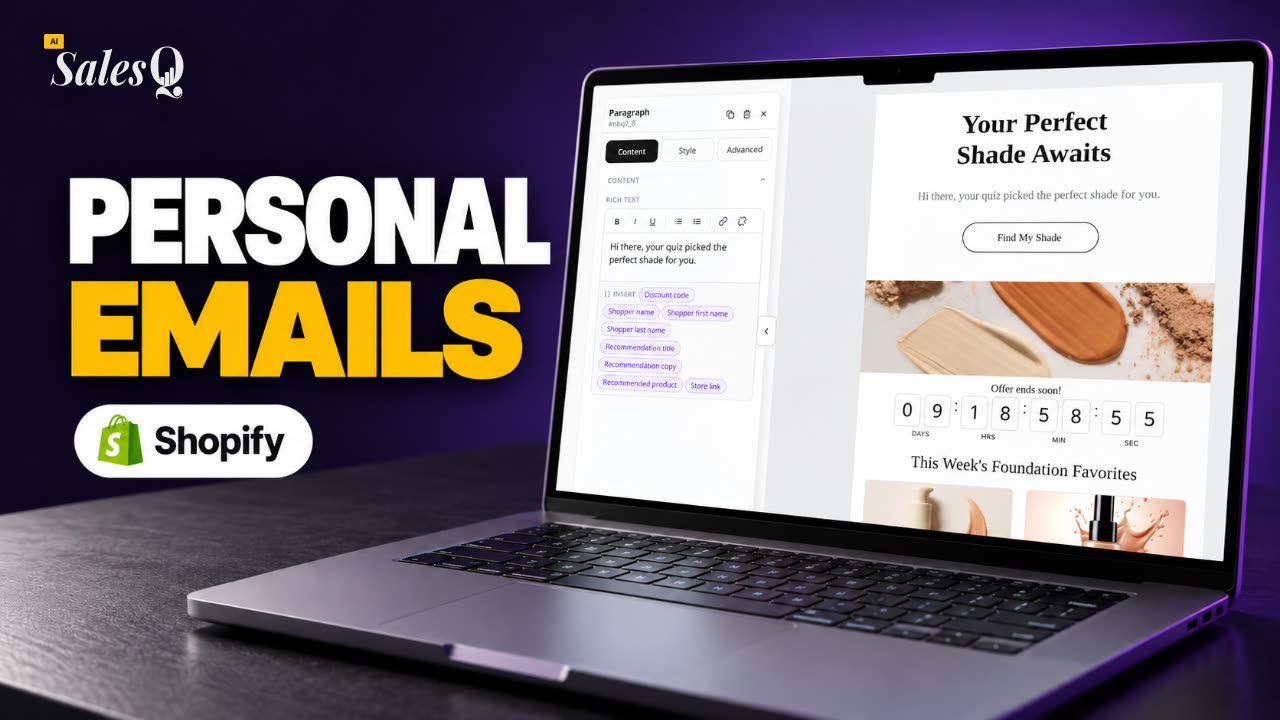 1:49Personalize Shopify Emails With Quiz Answers (Merge Tags)
- 12
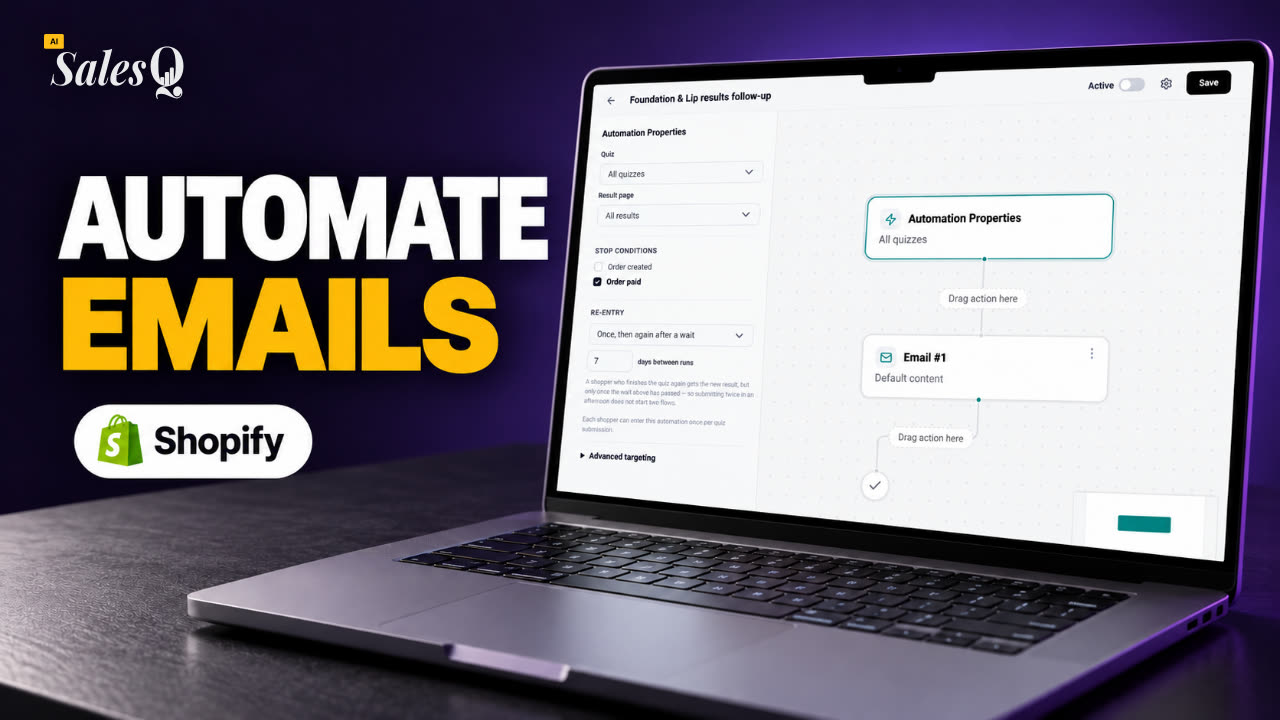 1:32Shopify Email Automation: Quiz Follow-Up Flow Step by StepNow playing
- 13
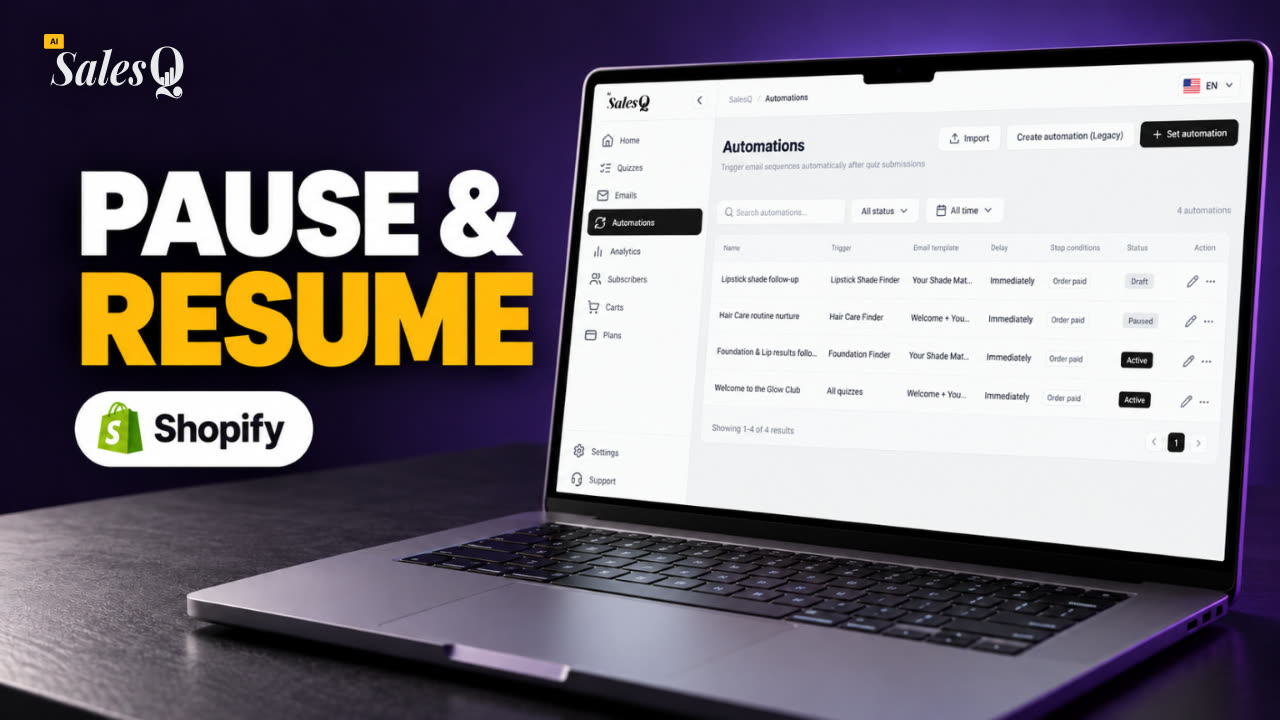 1:29Manage Shopify Email Automations: Pause, Resume & Edit Flows
- 14
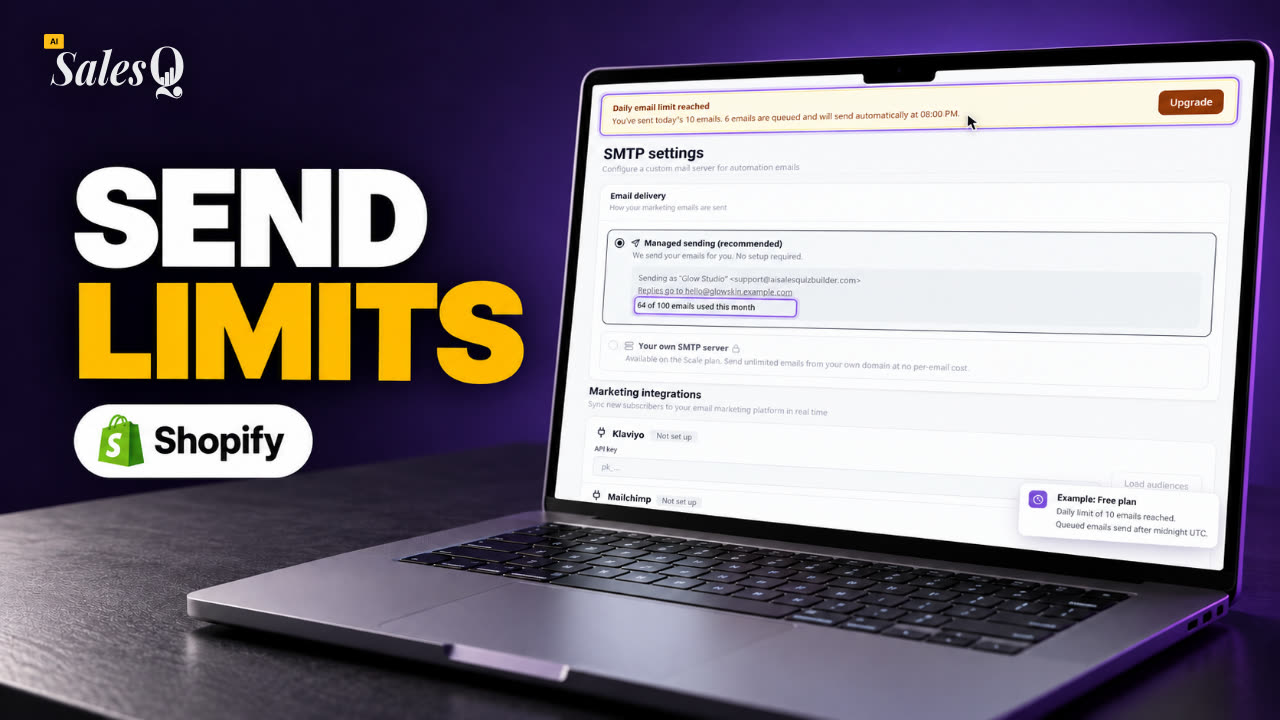 1:41Shopify Email Sending Limits Explained (Quiz Emails)
- 15
 1:31Send Shopify Emails From Your Own SMTP Server
- 16
 1:43Shopify Email Consent & Unsubscribe Link Explained
- 17
 1:46Shopify Quiz Subscribers: Search, Filter & View Profiles
- 18
 1:45Shopify Quiz Analytics: Track Revenue, Conversions & Emails
- 19
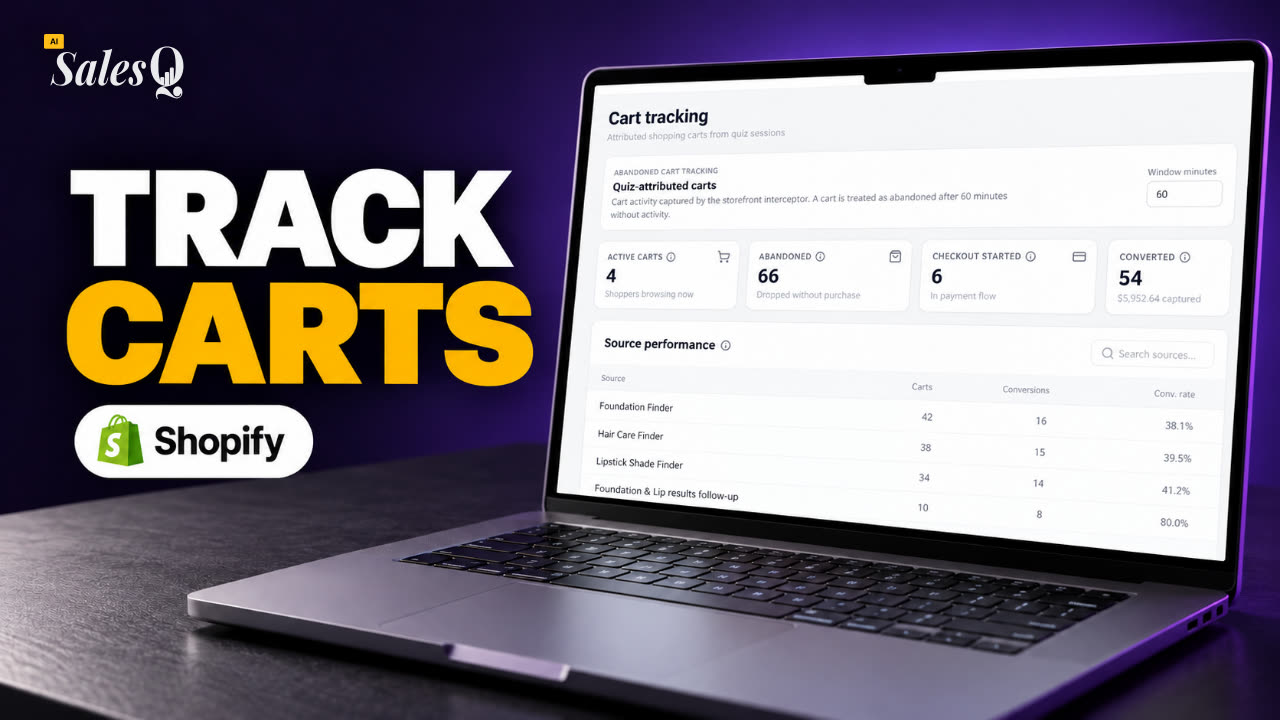 1:44Shopify Abandoned Cart Tracking for Quiz Shoppers
- 20
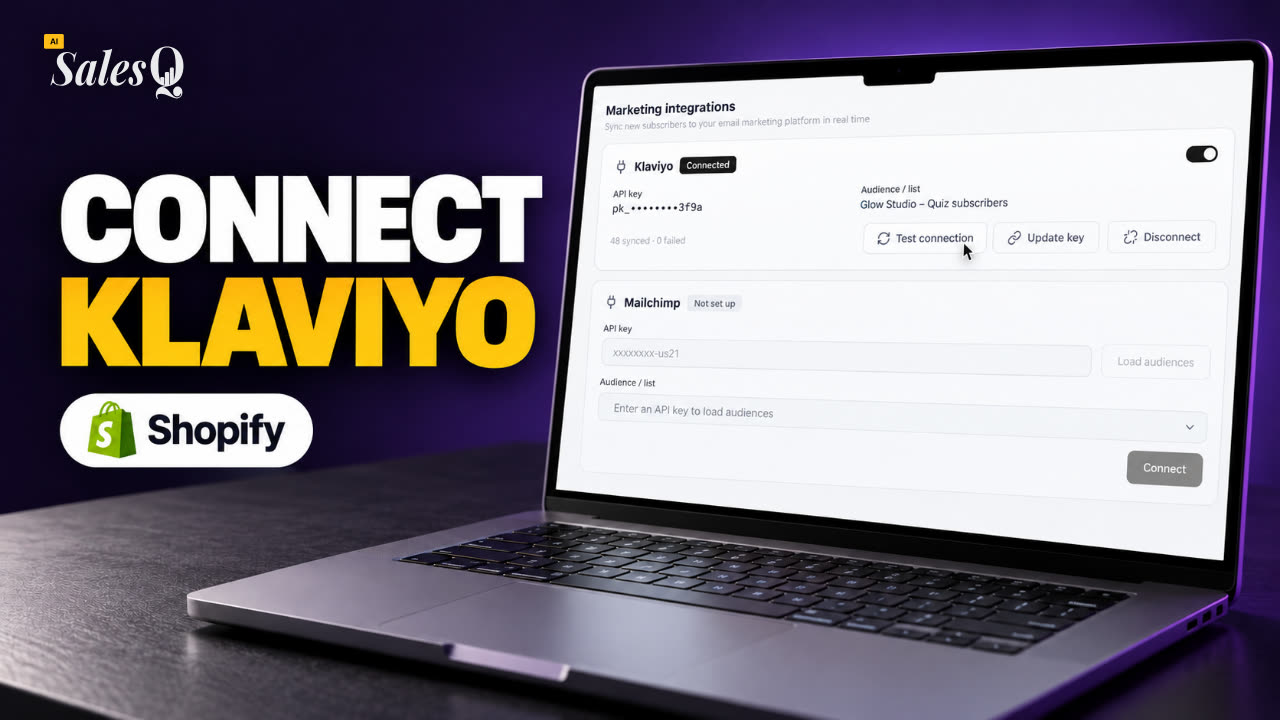 1:42Klaviyo Shopify Integration: Send Quiz Subscribers to Klaviyo
- 21
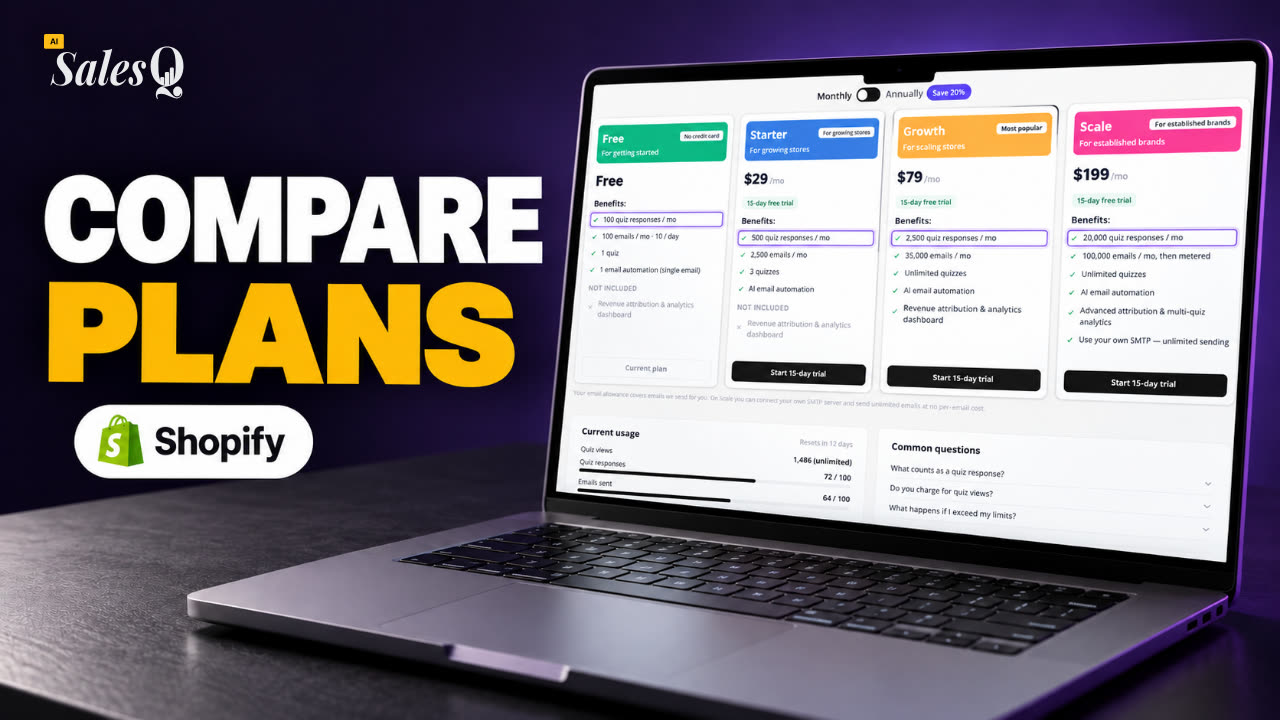 1:43Best Shopify Quiz App Pricing: AI Sales Quiz Builder Plans Compared
Learn more
Related articles
- Manage automationsSee all your automations, switch them on and off, send due emails now, check their runs and delete the ones you no longer need.→
- Personalise emailsAdd the shopper's name, quiz result, discount code and recommended products to an email, filled in for each shopper when it sends.→
- Unsubscribe and consentWho receives your automation emails, how shoppers unsubscribe, and what happens to their emails after they do.→
Was this page helpful?
Still need help?
Can't find what you need? Talk to the people who build the app.