Quiz builder
Send shoppers to the right result with logic
Use the Logic tab to send each answer to the right result page, jump to another question, or skip questions that don't apply.
5 min read·Updated October 20, 2026·All plans
In the appSalesQ/Quizzes/Edit/Logic
In this guide
- 01Connect answers to result pages with arrows
- 02Jump to a different question based on an answer
- 03Skip questions that don't apply to a shopper
- 04Show a result page only when certain answers are picked
Before you start
- –A quiz with questions and at least two result pages. See Result pages and product recommendations
By default, shoppers go through your questions in order and then see a result page. Logic lets you change that path. You can send an answer straight to a result, jump ahead or back to another question, or skip a question that doesn't fit earlier answers.
The flow diagram
Click Logic in the top bar. The canvas turns into a map of your quiz: one box for each question and each result page, with arrows for the routes between them.
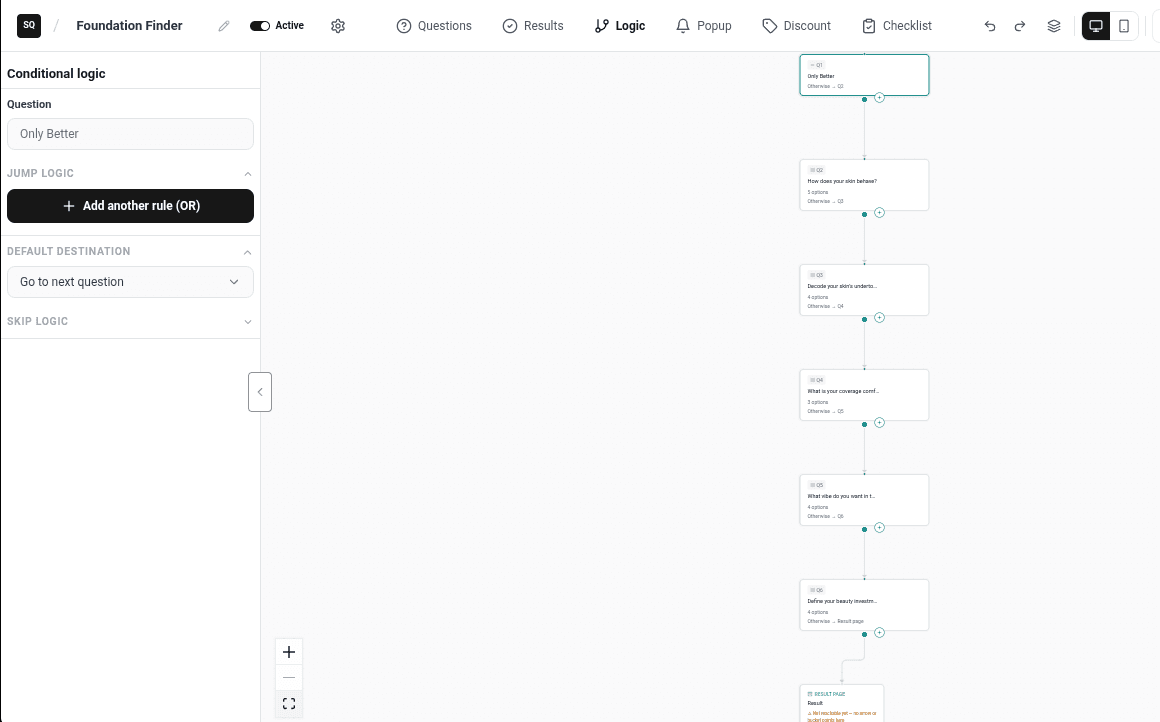
- Each question box lists its rules, for example "If Dry → Dry skin".
- Each result page box shows how shoppers reach it, for example Reached by arrows only. A page no route leads to shows a warning that starts with ⚠ Not reachable yet.
- Drag boxes to tidy the map, or click Auto-arrange to lay it out again. Use the zoom buttons and the small map in the corner to move around.
Connect answers to results with arrows
- 1
Draw an arrow
Drag from the handle on a question box to a result page or to another question. You can also click the + on a question (Add a route from this question) and pick where it goes.
- 2
Pick the answer
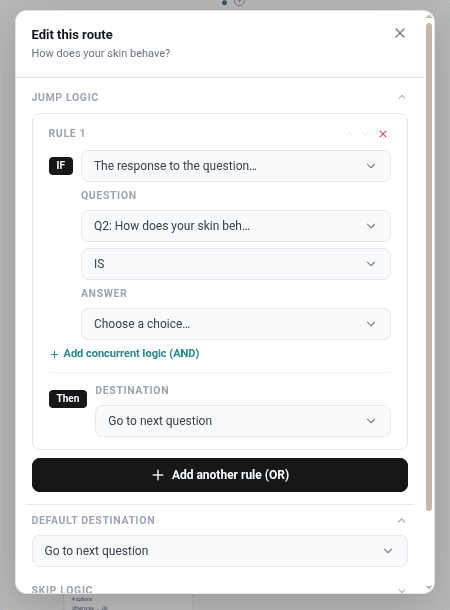
Edit this route opens with a new rule under Jump logic that already points where you dropped the arrow. Under Answer, choose the answer that should go there and click Save. For each other answer that needs its own page, click Add another rule (OR).
- 3
Repeat for each result
Draw one arrow per result page from the question that decides the outcome. Check that every result page box no longer shows ⚠ Not reachable yet.
- 4
Change or remove an arrow
Click an arrow to open Edit this route. Change the answers and click Save, or click Delete to remove it.
When a shopper picks an answer with an arrow and clicks Next, they go straight to where the arrow points. Answers without an arrow follow the question's Default destination, which is the next question unless you change it.
Jump to another question
- 1
Open a question's rules
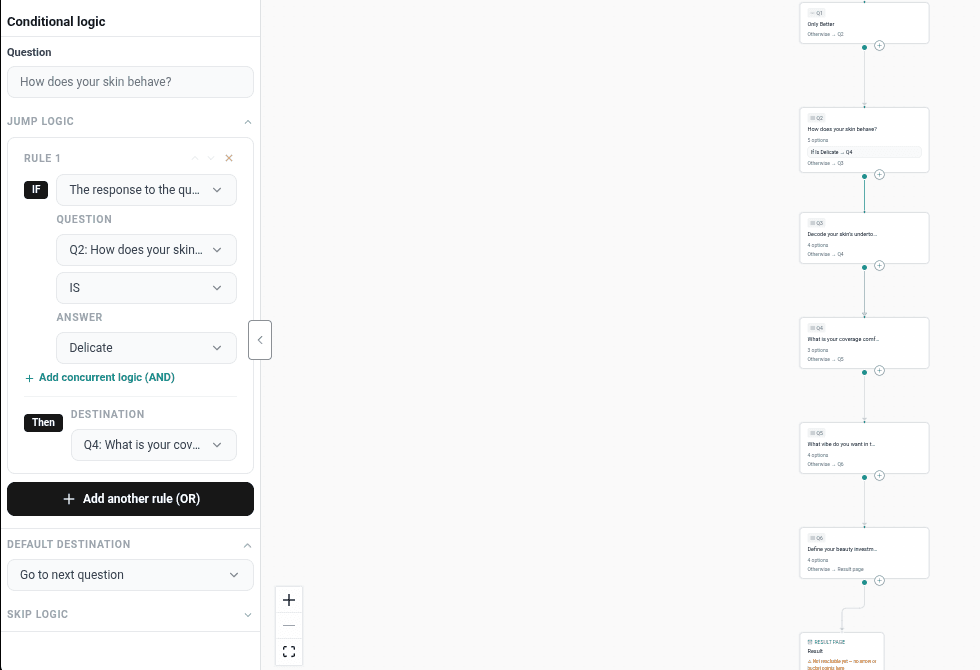
Click a question box in the flow. The Conditional logic panel opens on the left.
- 2
Add a jump rule
Under Jump logic, click Add another rule (OR). In the IF row, choose The response to the question…, pick a question, choose IS or IS NOT, and pick an answer. For a slider, choose A slider value… and set a value or a Min and Max.
- 3
Choose where it goes
Under THEN go to…, pick Go to next question, any question, a result page (shown as Result: and its name) or Link to URL. A link opens a page of your choice, for example a collection. Turn Open in new tab on or off.
- 4
Combine conditions
Click Add concurrent logic (AND) to add an AND IF row. The rule then only applies when every row matches. Click Add another rule (OR) to add a separate rule.
- 5
Set the default
Under Default destination, choose where everyone else goes when no rule matches.
Skip questions that don't apply
- 1
Open the question to skip
Click the question box in the flow, then open Skip logic in the left panel.
- 2
Add the condition
Click Add another rule (OR) and set the condition based on an earlier answer, for example "The response to the question 'Do you have a dog?' IS No". The rule reads THEN — this question is skipped.
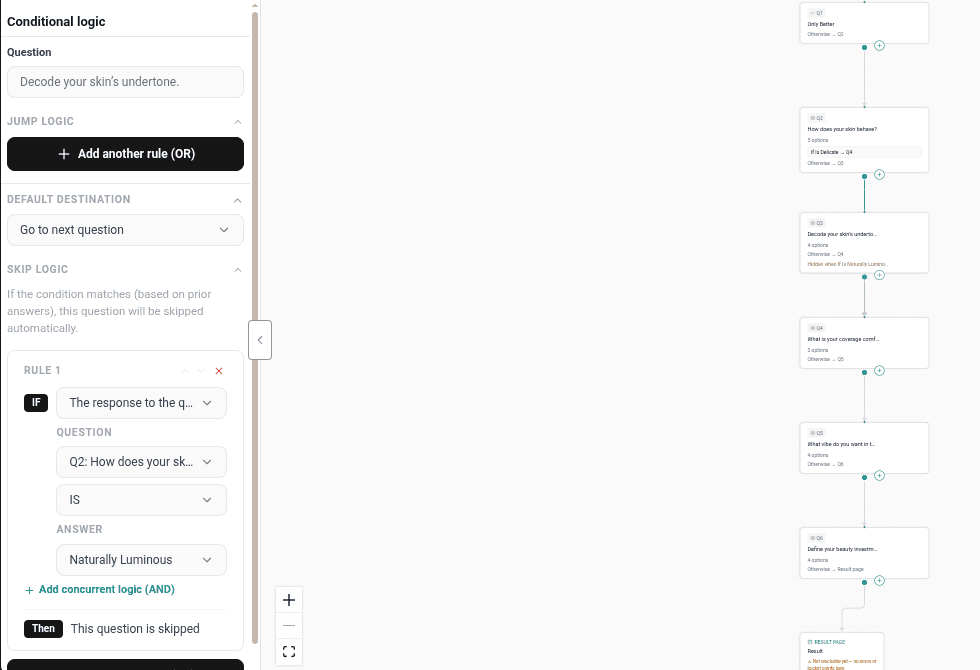
Before showing the question, the quiz checks its skip rules against the answers so far. If any rule matches, the shopper moves on without seeing it.
Show a result page only for certain answers
Instead of arrows, you can put the rules on the result pages themselves. This is handy when a result depends on answers from several questions.
- 1
Open the result page settings
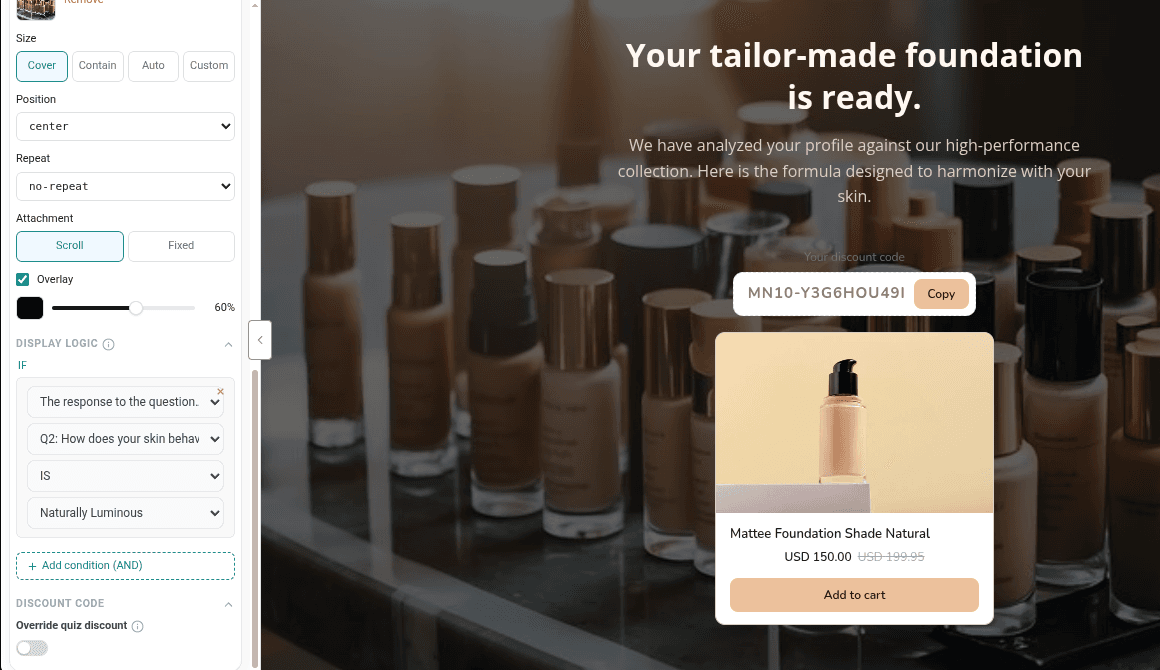
In Results, click Settings on a page's row and scroll to Display logic.
- 2
Add conditions
Click Add condition, choose The response to the question…, then pick a question, IS or IS NOT, and an answer. Add more conditions to require all of them.
- 3
Keep a fallback page
Leave one page without conditions. Shoppers who match no other page see it.
- 4
Check the order
Result pages are checked from the top of the Results list. The first page whose conditions all match is shown, so drag the most specific pages to the top.
Test your logic
Click Preview and go through the quiz once for each result, picking different answers each time. Preview follows the same rules as your store, so if a path works here, it works for shoppers. Click Save when you're done.
Video tutorials
Watch the series in order, or jump to the one you need.
- 01
 1:32How to Install a Shopify Quiz App: AI Sales Quiz Builder Setup & Tour
- 02
 1:38How to Create a Product Recommendation Quiz on Shopify (Step by Step)
- 03
 1:44Shopify Quiz Templates: Build a Product Quiz in Minutes
- 04
 1:48How to Add a Quiz to Your Shopify Store (Publish & Embed)
- 05
 1:56Shopify Quiz Popup: Triggers, Timing & Page Targeting
- 06
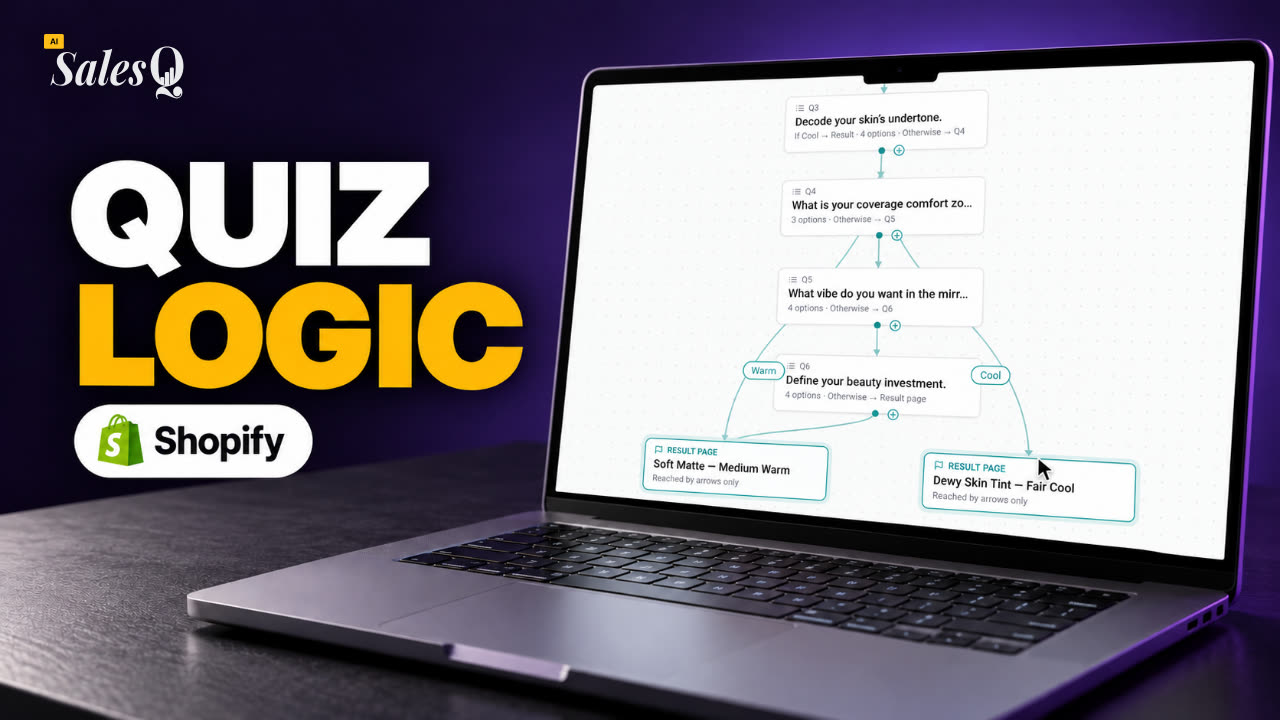 1:44Shopify Quiz Logic & Branching: Send Shoppers to the Right ProductNow playing
- 07
 1:42Shopify Quiz Discount Codes: Unique Codes That Convert
- 08
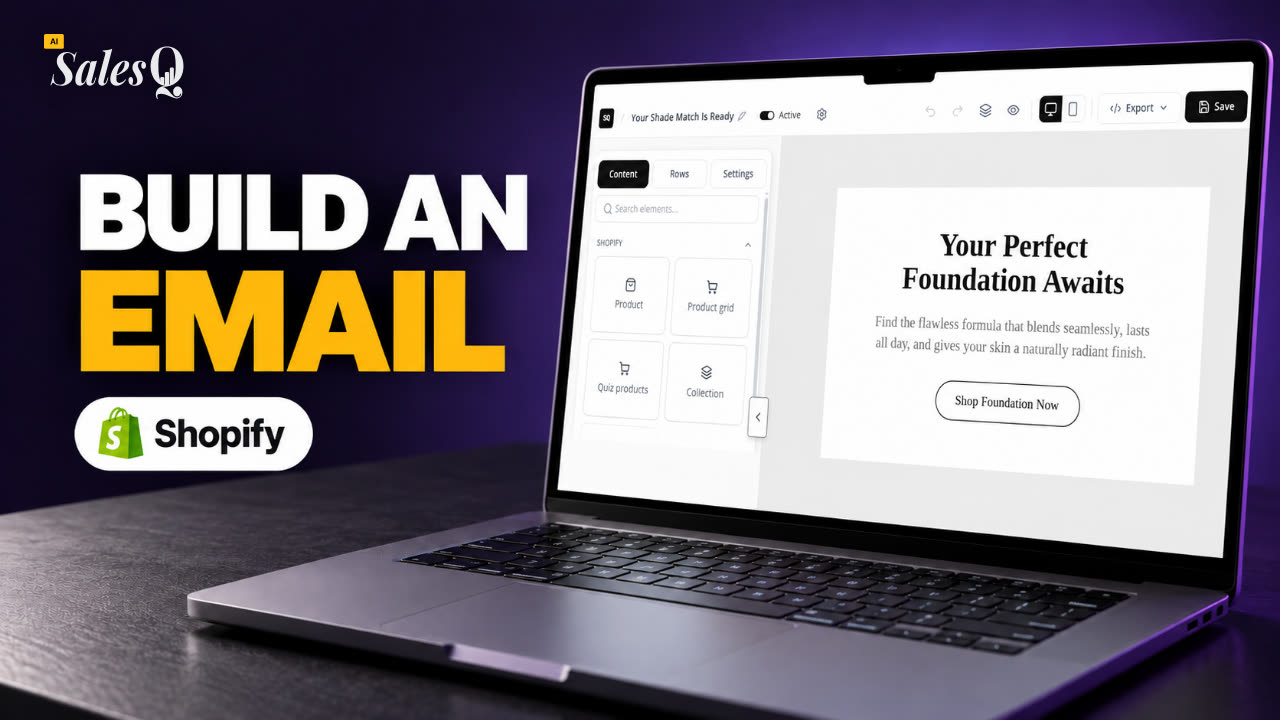 1:44Shopify Email Marketing: Create a Quiz Follow-Up Email
- 09
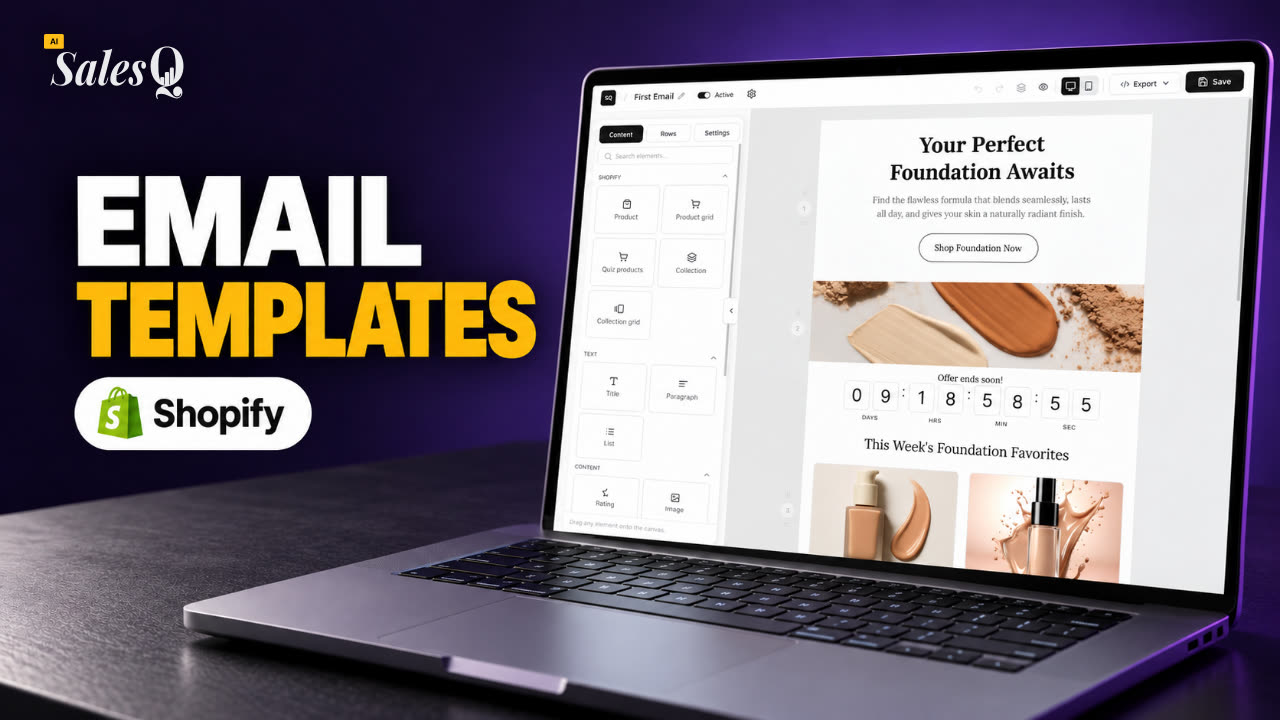 1:36Shopify Email Templates for Quiz Follow-Ups (Ready to Use)
- 10
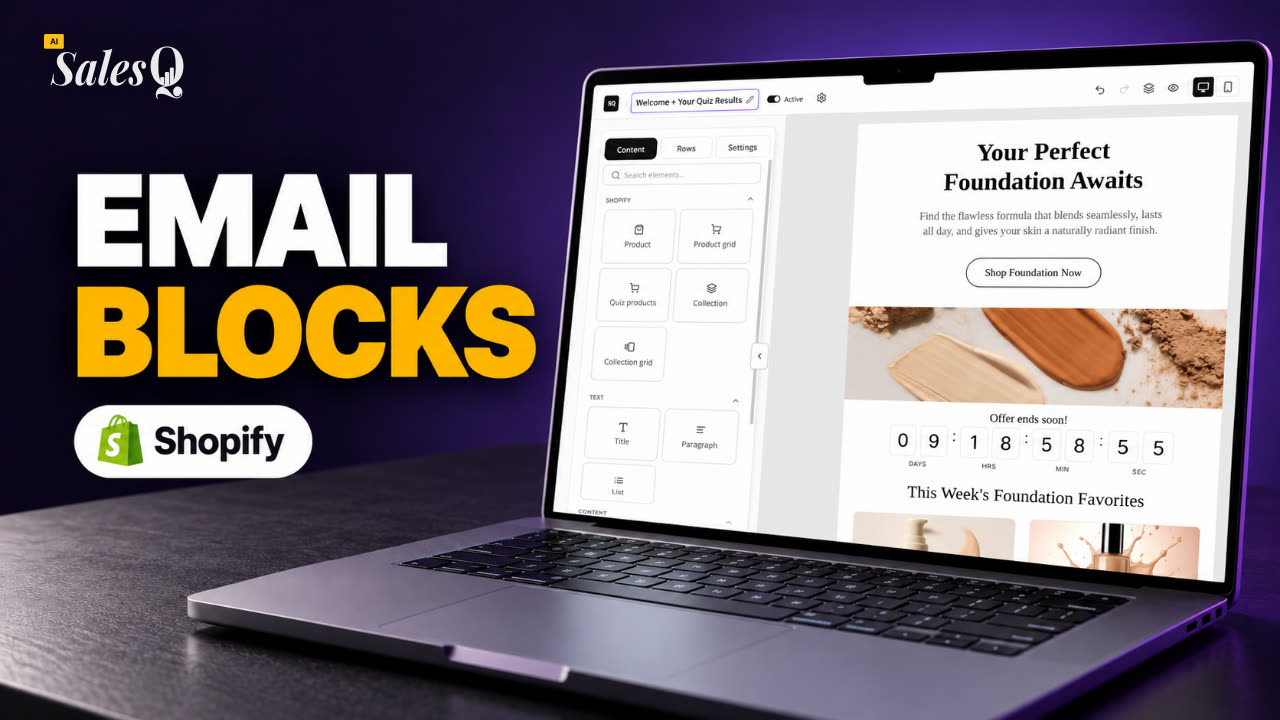 1:51Shopify Email Builder Tutorial: Drag-and-Drop Blocks
- 11
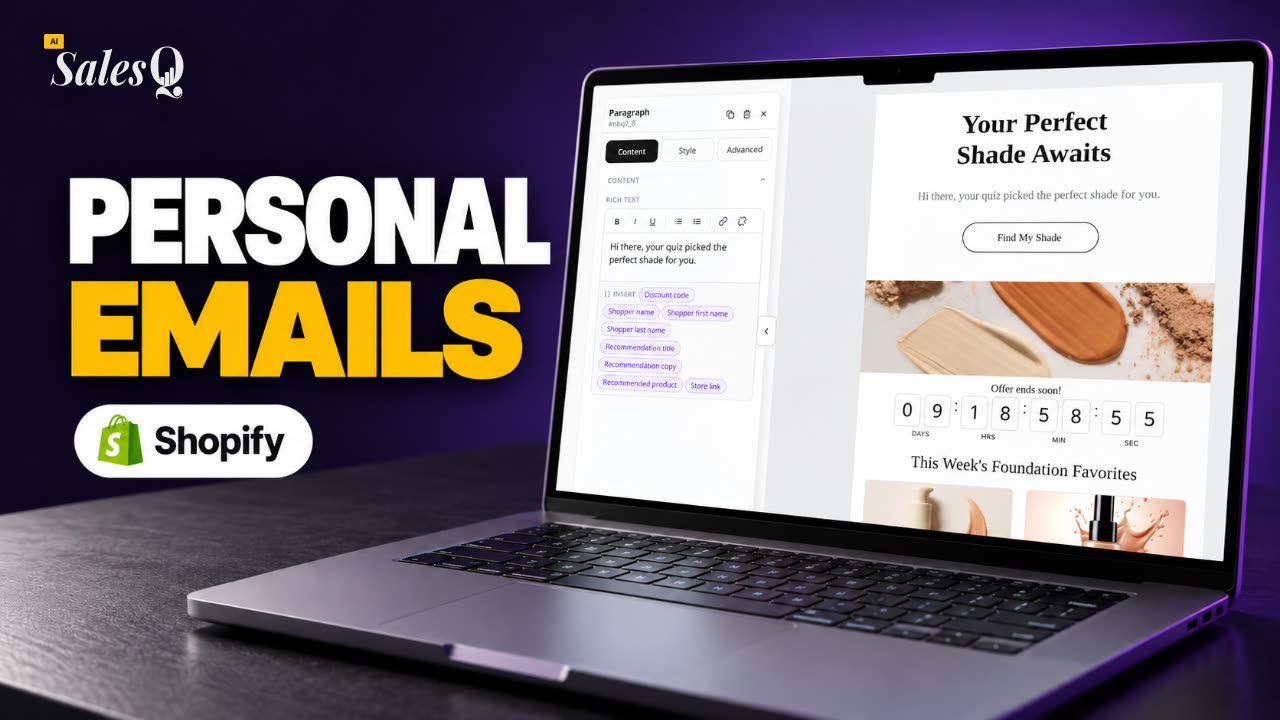 1:49Personalize Shopify Emails With Quiz Answers (Merge Tags)
- 12
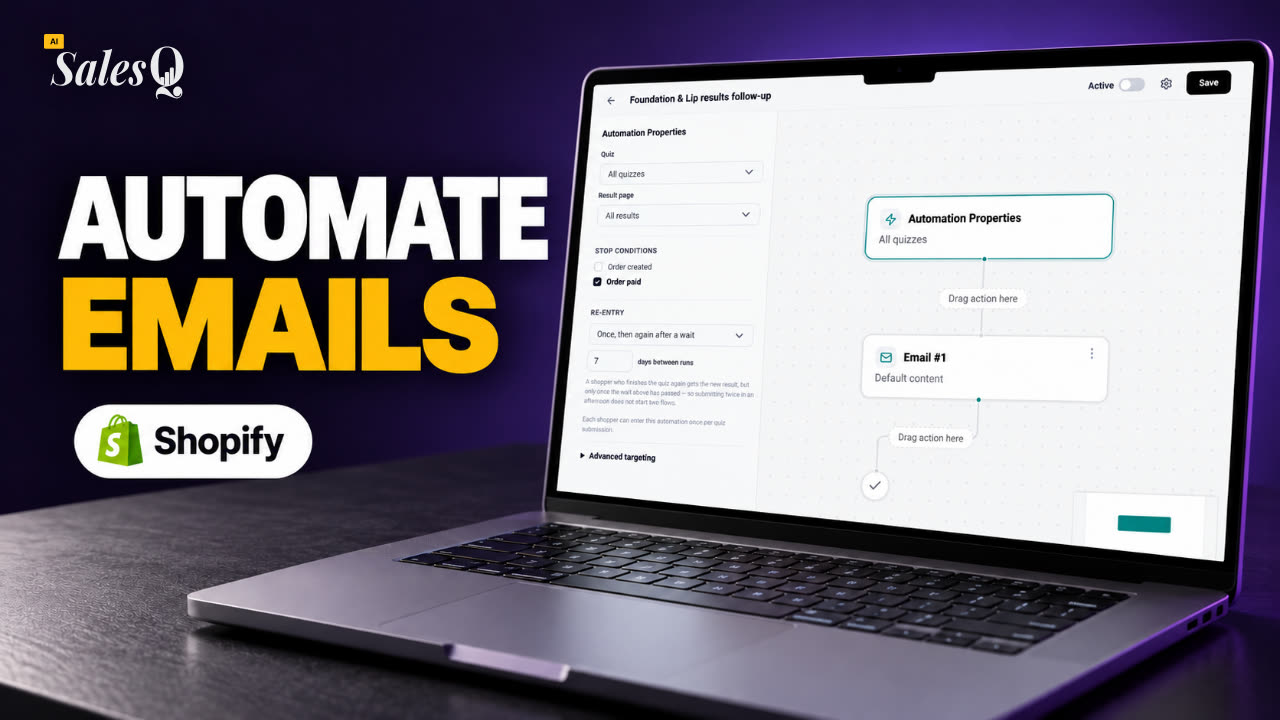 1:32Shopify Email Automation: Quiz Follow-Up Flow Step by Step
- 13
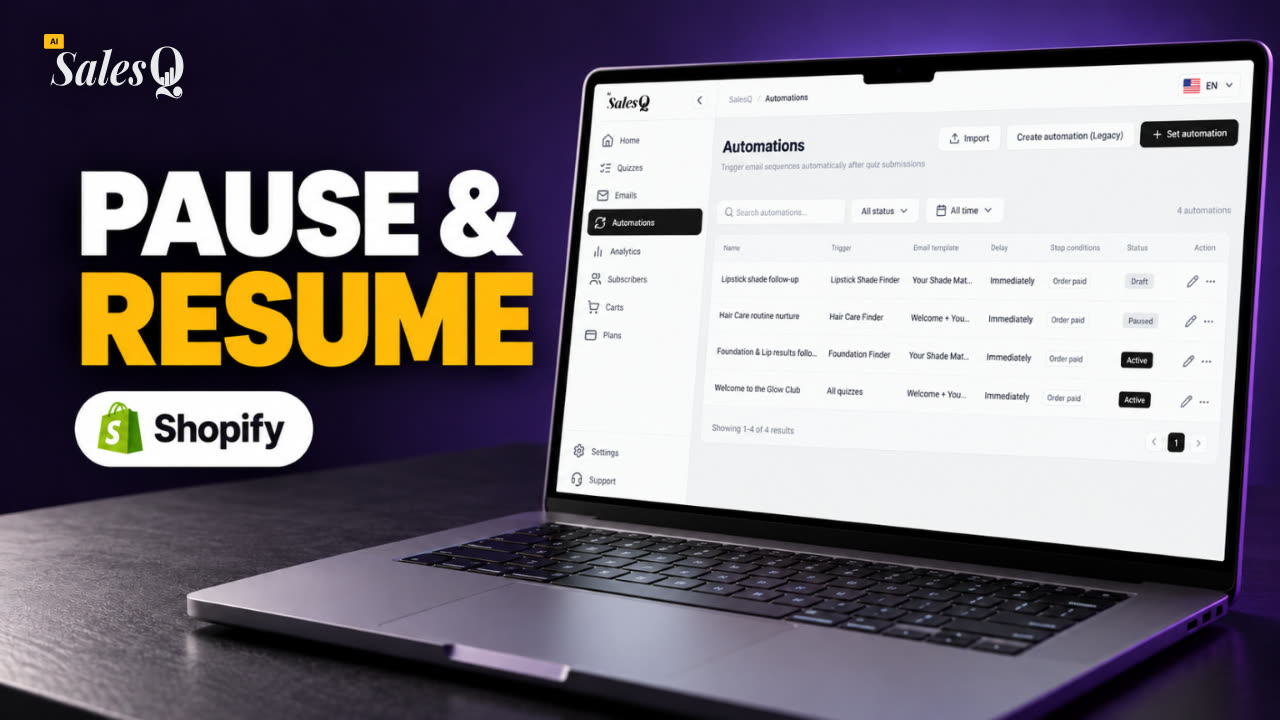 1:29Manage Shopify Email Automations: Pause, Resume & Edit Flows
- 14
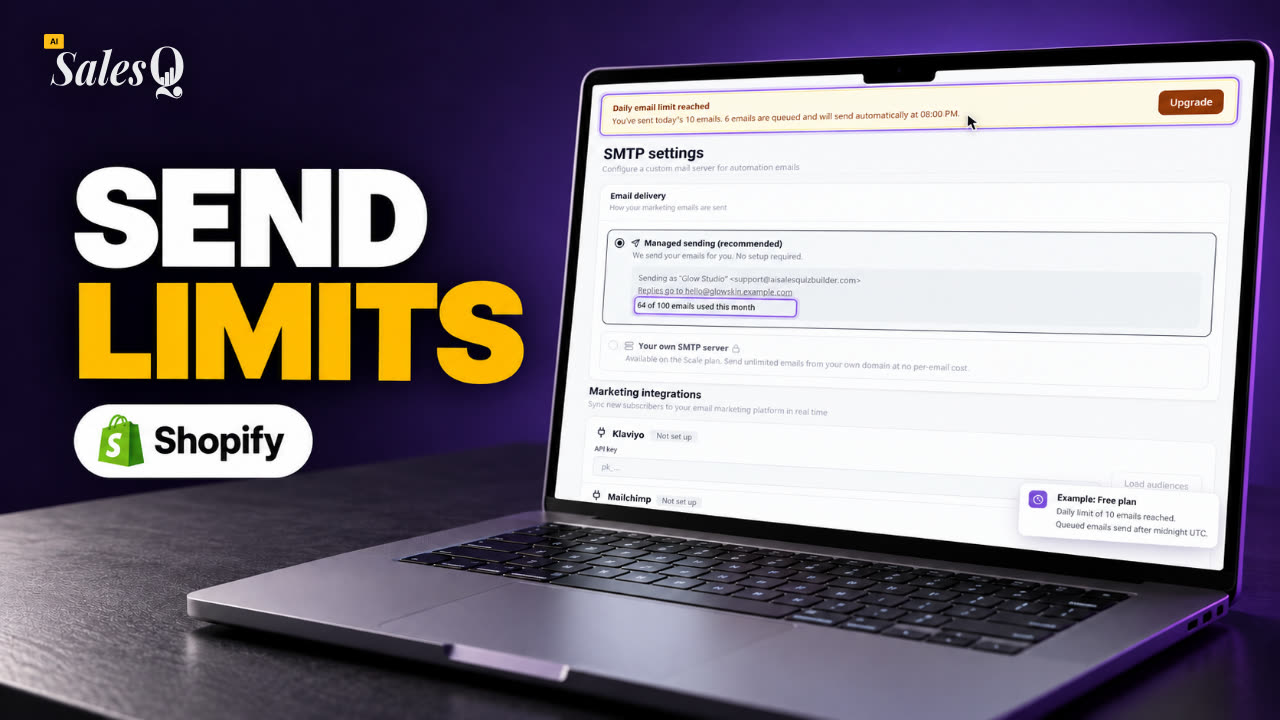 1:41Shopify Email Sending Limits Explained (Quiz Emails)
- 15
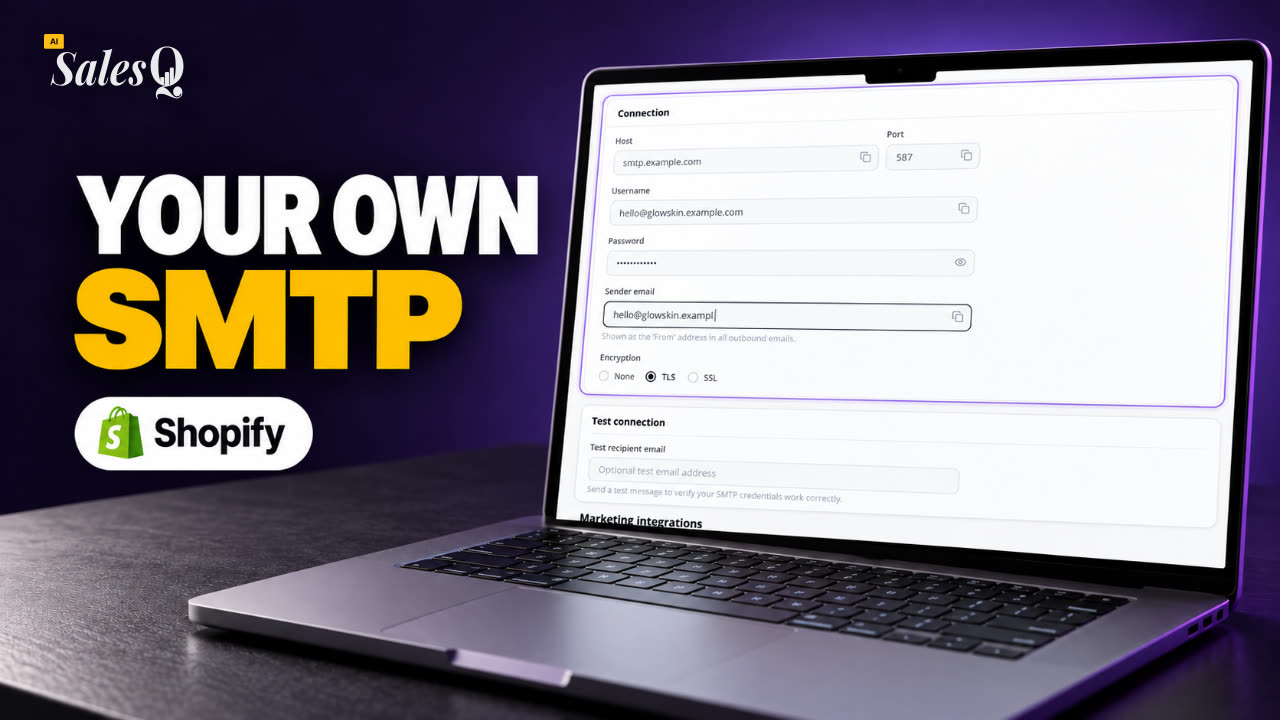 1:31Send Shopify Emails From Your Own SMTP Server
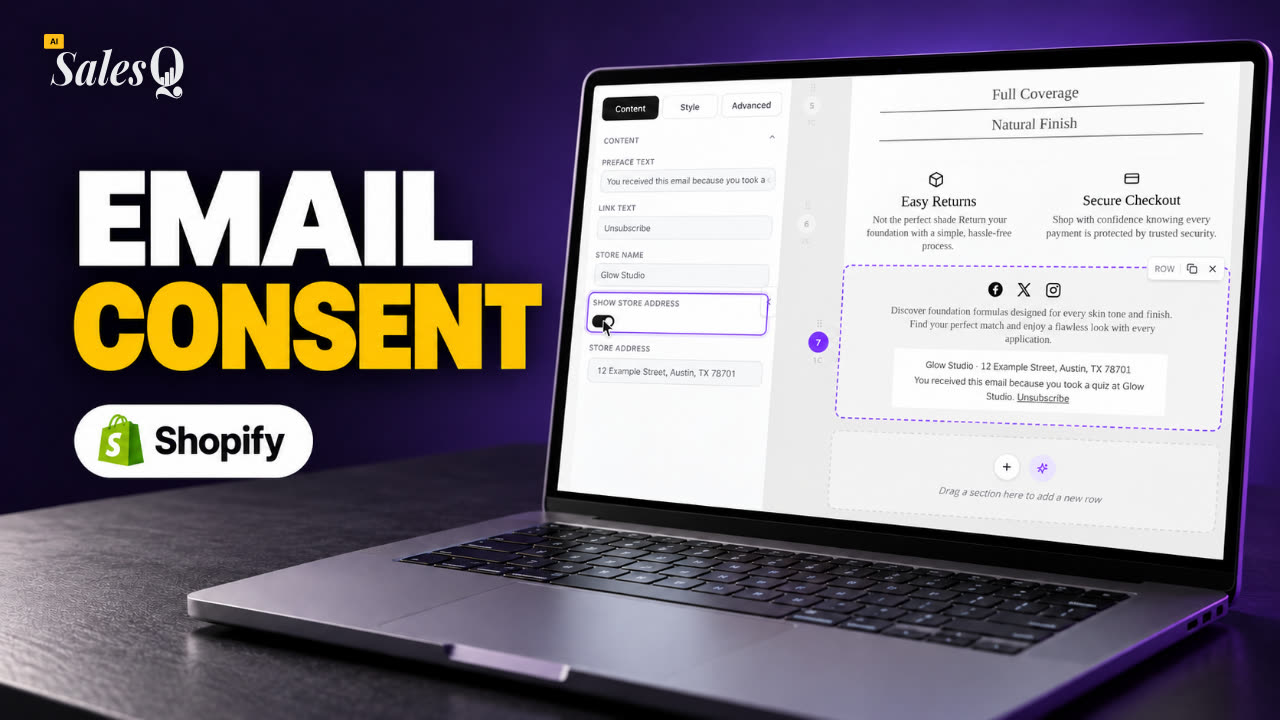
- 16
 1:43Shopify Email Consent & Unsubscribe Link Explained
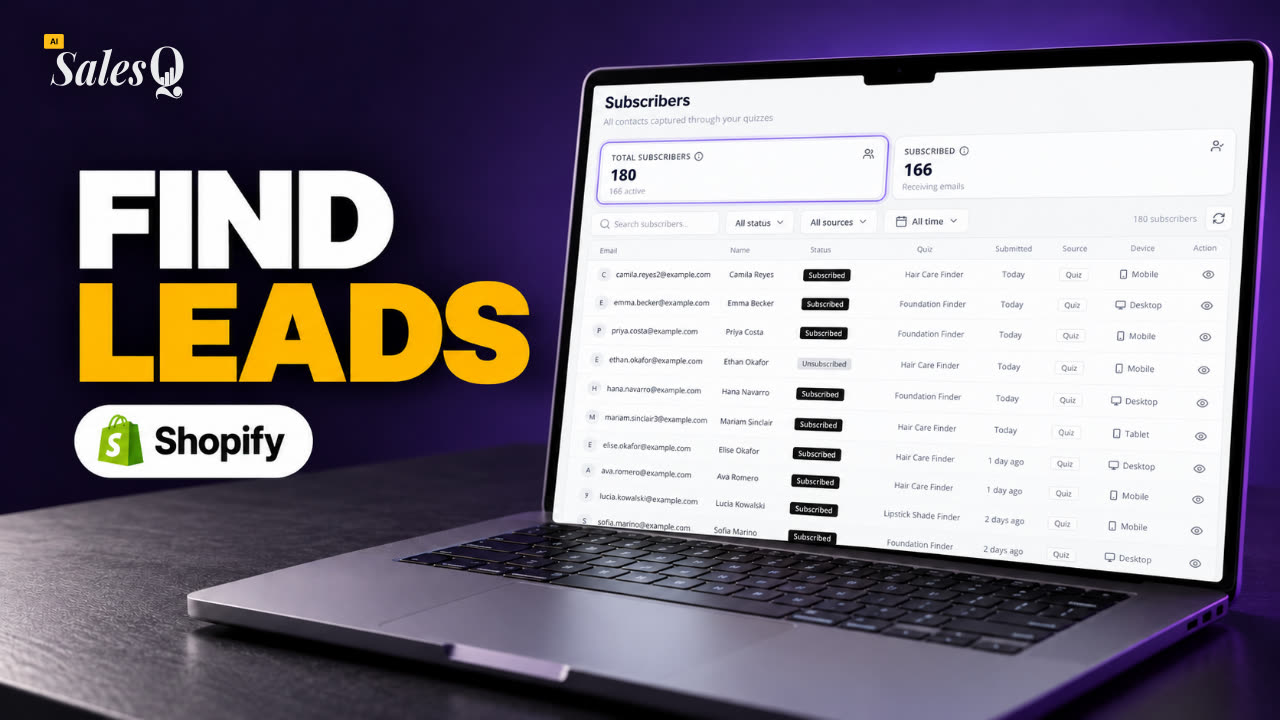
- 17
 1:46Shopify Quiz Subscribers: Search, Filter & View Profiles
- 18
 1:45Shopify Quiz Analytics: Track Revenue, Conversions & Emails
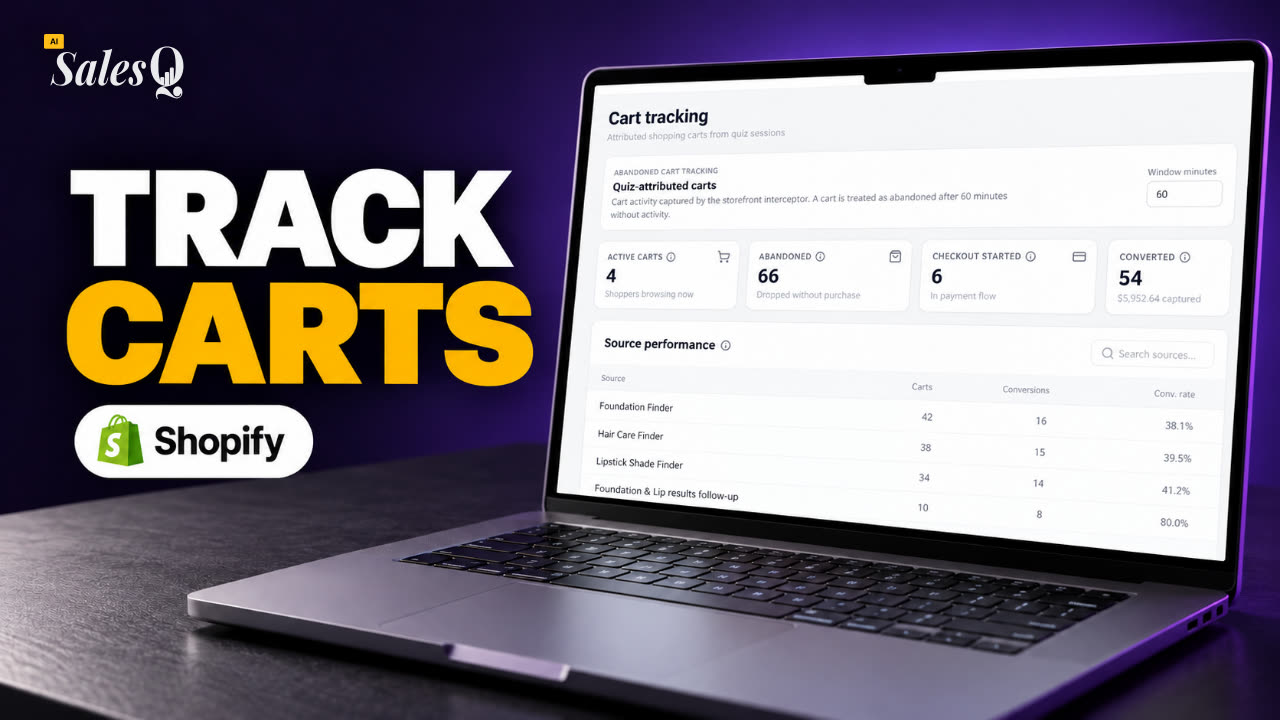
- 19
 1:44Shopify Abandoned Cart Tracking for Quiz Shoppers
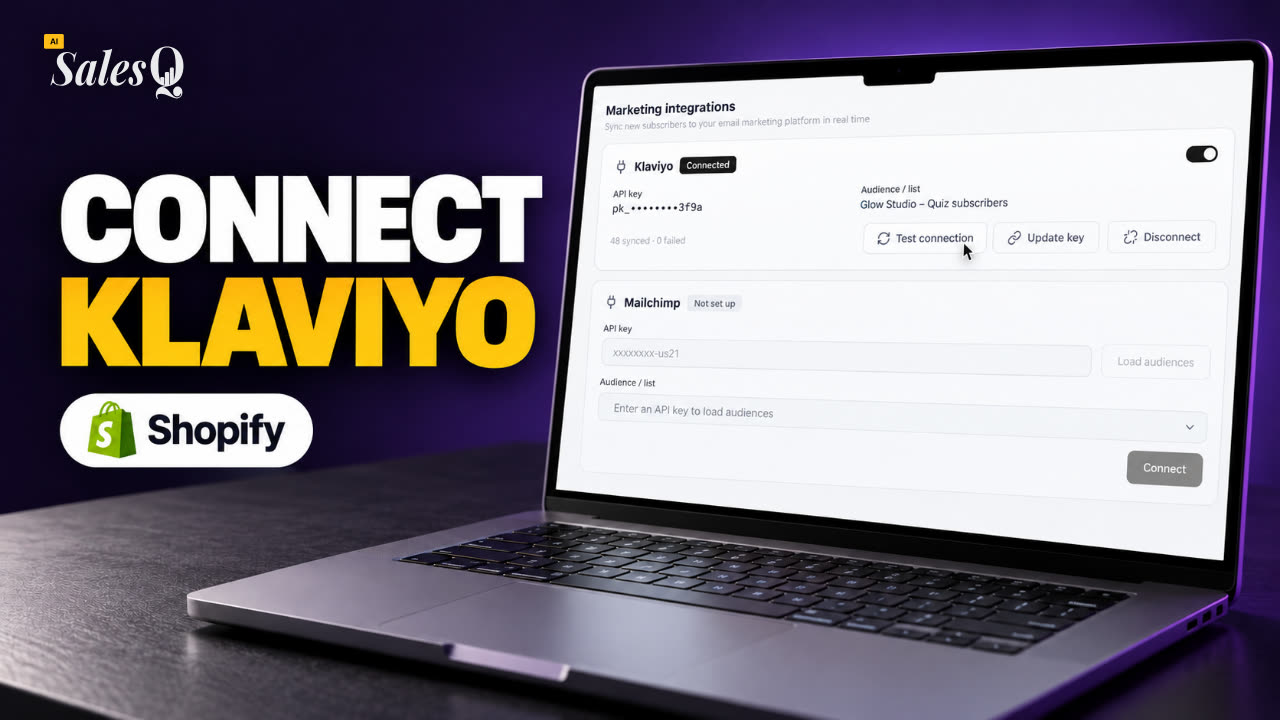
- 20
 1:42Klaviyo Shopify Integration: Send Quiz Subscribers to Klaviyo
- 21
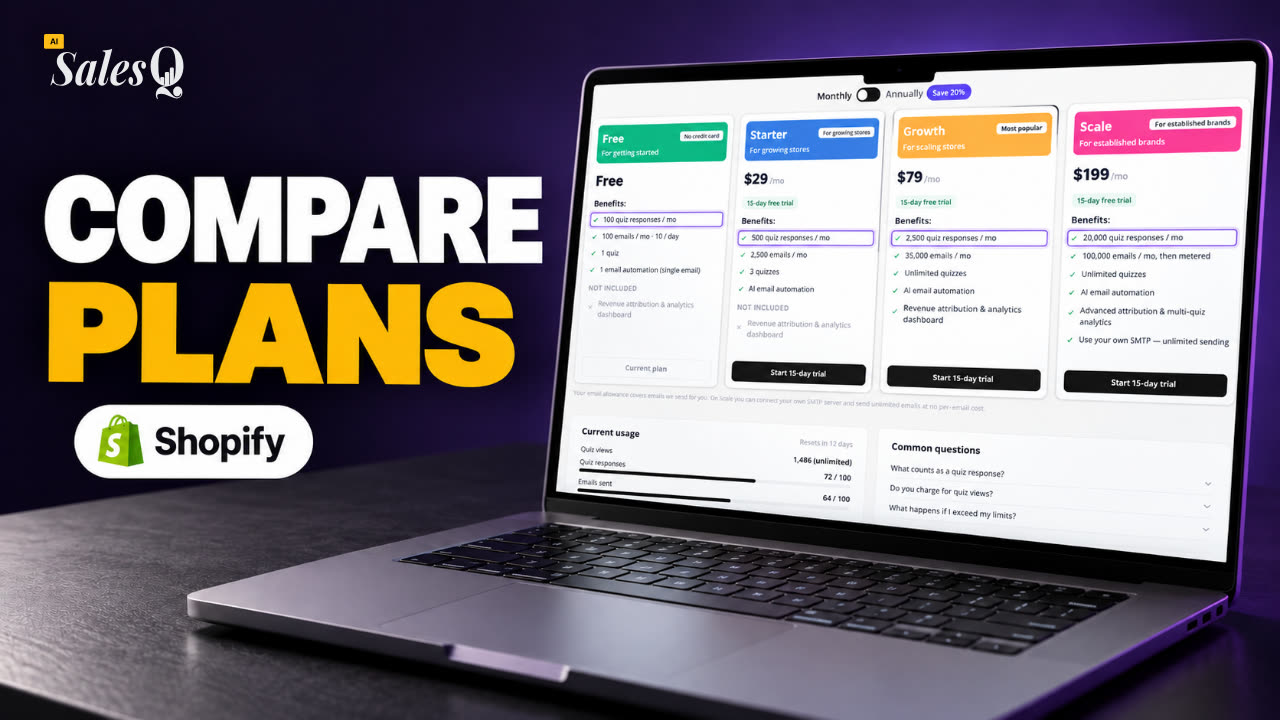 1:43Best Shopify Quiz App Pricing: AI Sales Quiz Builder Plans Compared
Learn more
Related articles
- Results and productsBuild the pages shoppers see at the end of the quiz, and choose how products are picked: one page per outcome, or products attached to each answer.→
- Question typesEvery question type and building block you can add to a quiz screen, and how to set answers, limits and layout.→
- Create your first quizStart a quiz from a template or a blank page, add your questions, connect the answers to products, then save and preview it.→
Was this page helpful?
Still need help?
Can't find what you need? Talk to the people who build the app.