Emails & automations
Start from a pre-built email template
Pick a ready-made email from the template gallery, make it your own in the builder, and save it as Active.
3 min read·Updated October 20, 2026·All plans
In the appSalesQ/Emails/View all templates/Use template
In this guide
- 01Browse the pre-built templates by category
- 02Preview a template before you use it
- 03Copy a template into your store and edit it
- 04Check its subject line and set it to Active
Before you start
- –Room for one more template on your plan (Sending and limits)
AISalesQ comes with ready-made emails you can copy and edit. You start with a finished layout, so you only need to change the text, images and products.
Find a template
- 1
Open the gallery
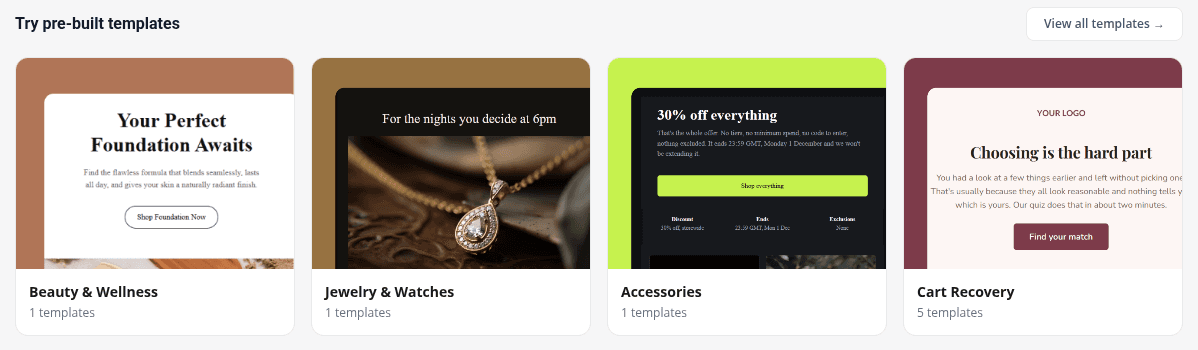
Go to Emails. Under Try pre-built templates, click View all templates →, or click a category card to go straight to that category.
- 2
Pick a category
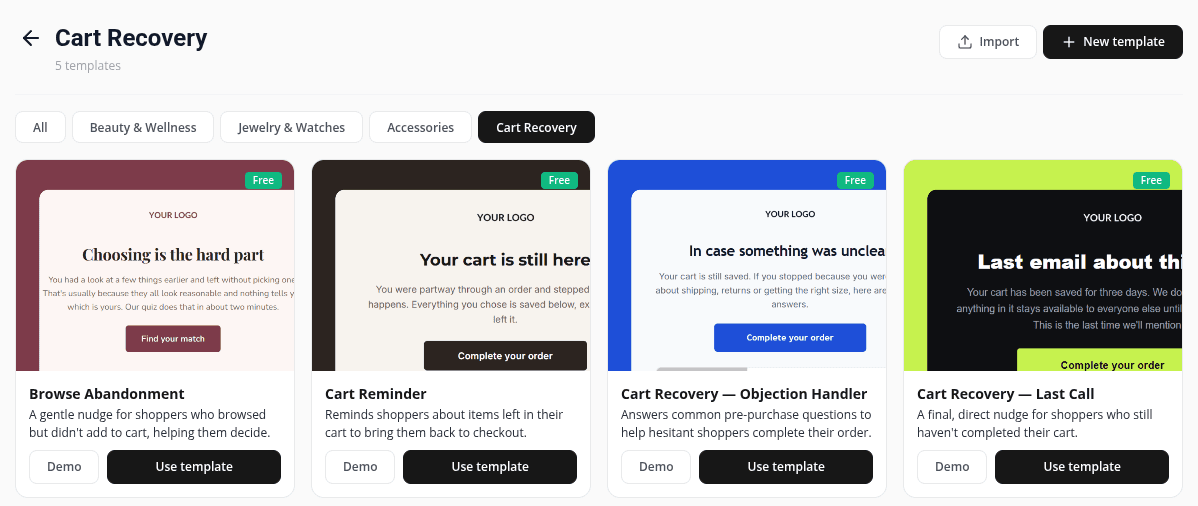
Use the tabs at the top: All, Beauty & Wellness, Jewelry & Watches, Accessories or Cart Recovery.
- 3
Preview it
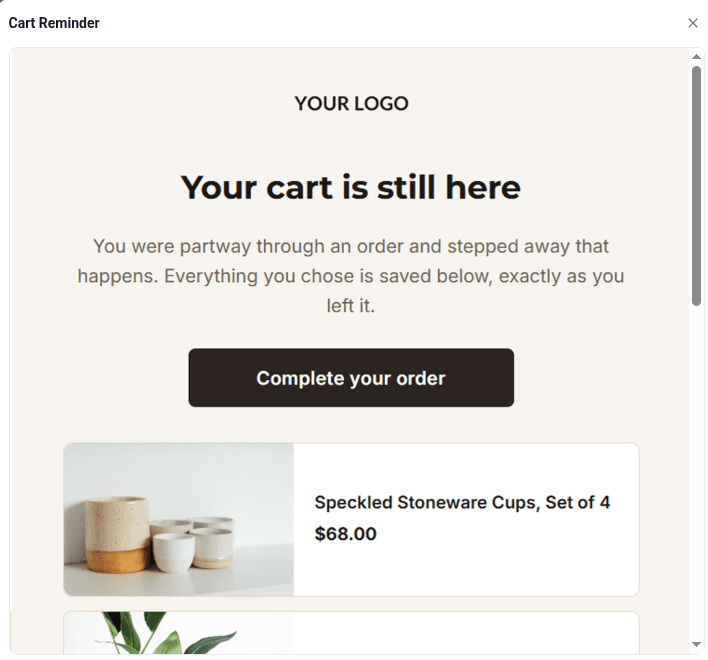
Click Demo on a card to see the whole email. Close the preview with the X icon.
Use a template
- 1
Add it to your templates
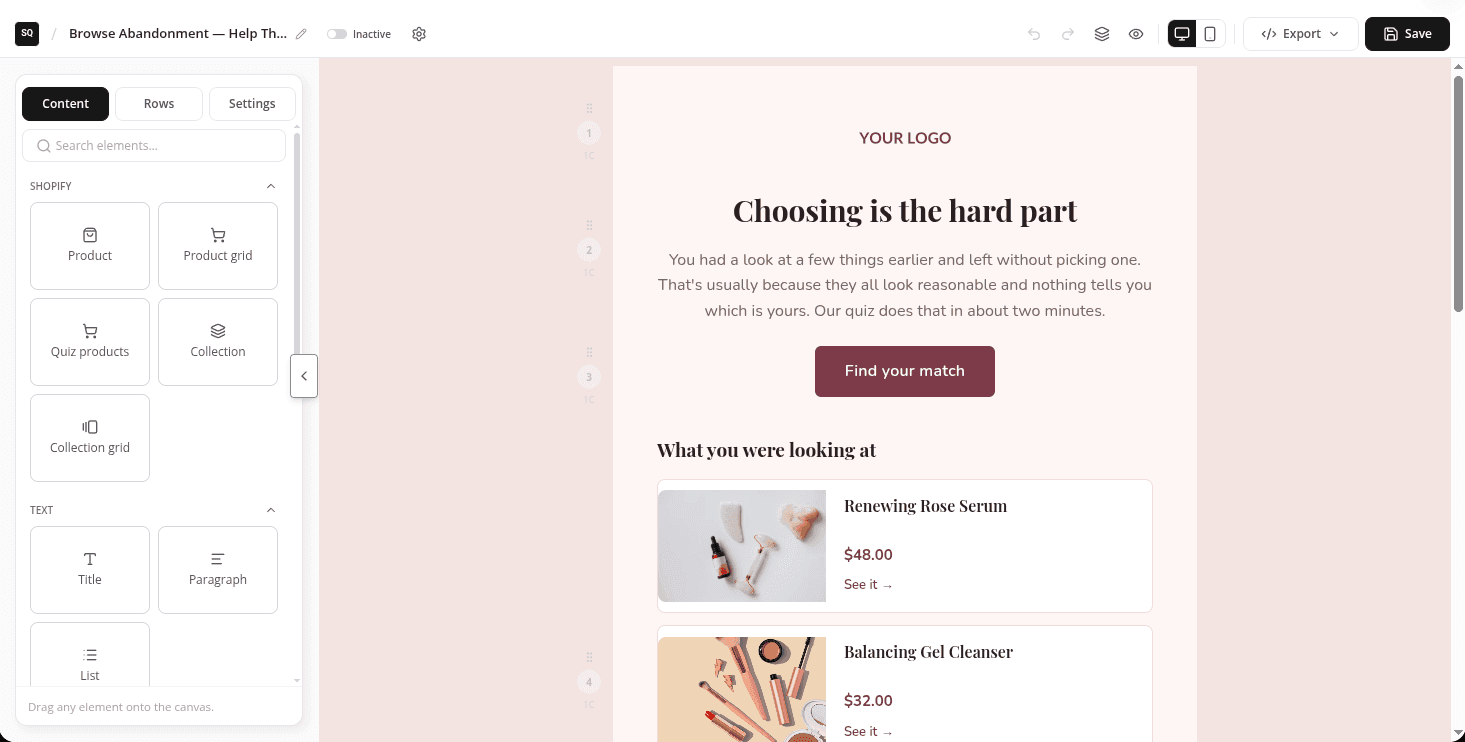
Click Use template. AISalesQ adds a copy to your templates and opens it in the builder.
- 2
Rename it
The copy's name can differ from the title on the card. Click the name at the top left and give it one you'll recognise.
- 3
Make it yours
Change the text, images, buttons and products to suit your store. To show each shopper the products their quiz picked, add the Quiz products block. See Personalise emails.
- 4
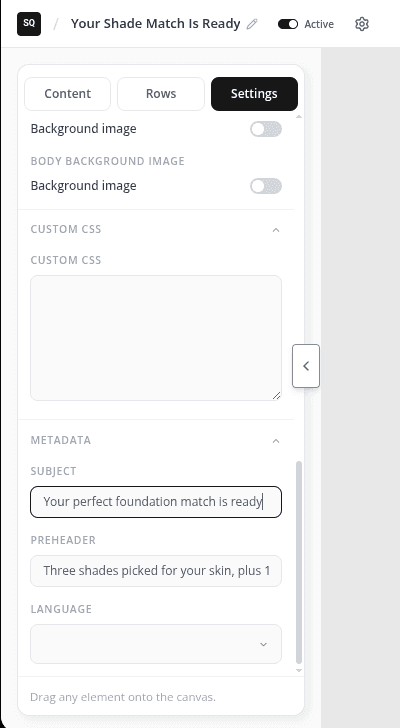
Check the subject line
Open Settings, scroll to Metadata and check Subject. Some templates come with a subject line and some don't.
- 5
Set it to Active and save
Some templates arrive as Inactive. Switch the toolbar toggle to Active and click Save.

What to do next
- Personalise the email with the shopper's name, discount code and quiz products.
- Set up a follow-up automation that sends it after a quiz.
Video tutorials
Watch the series in order, or jump to the one you need.
- 01
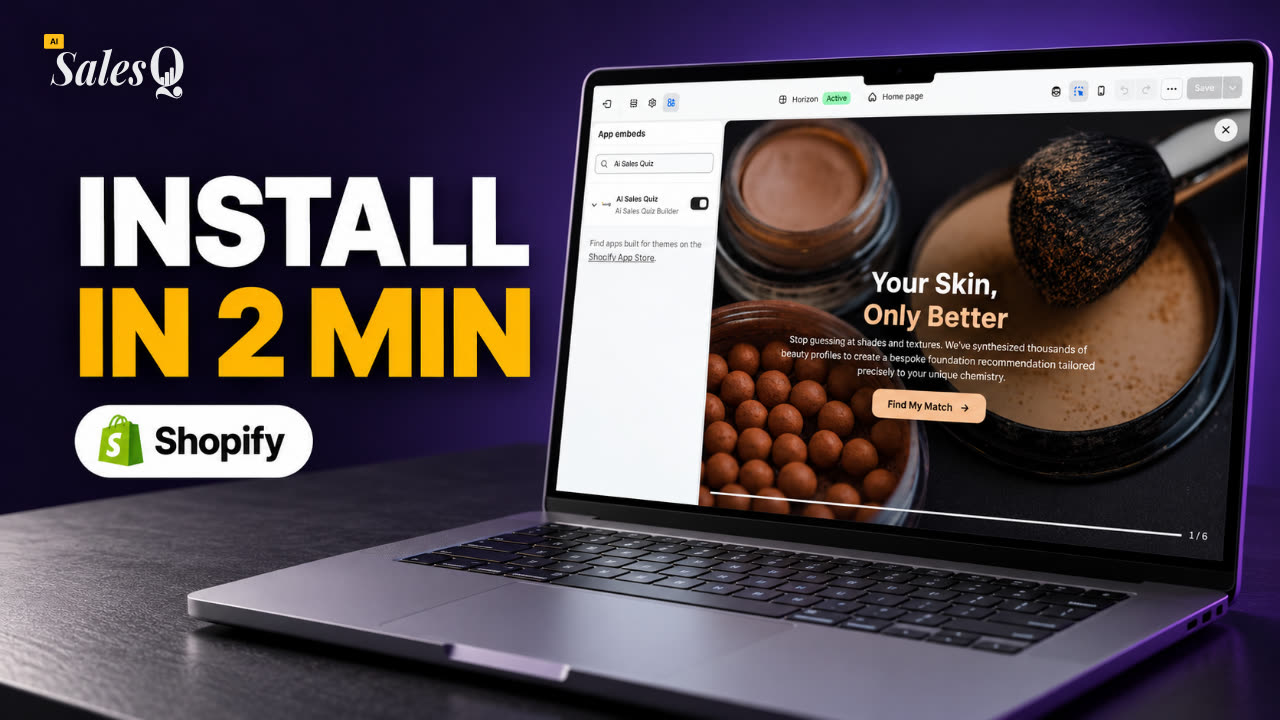 1:32How to Install a Shopify Quiz App: AI Sales Quiz Builder Setup & Tour
- 02
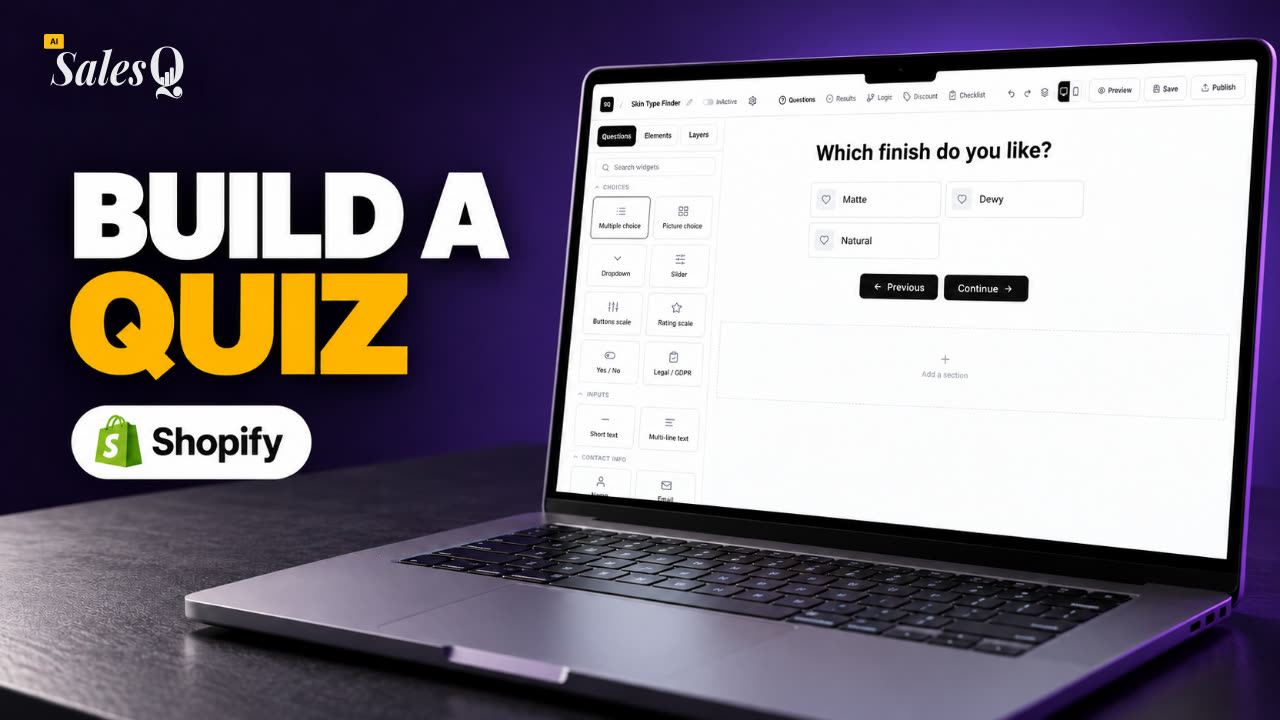 1:38How to Create a Product Recommendation Quiz on Shopify (Step by Step)
- 03
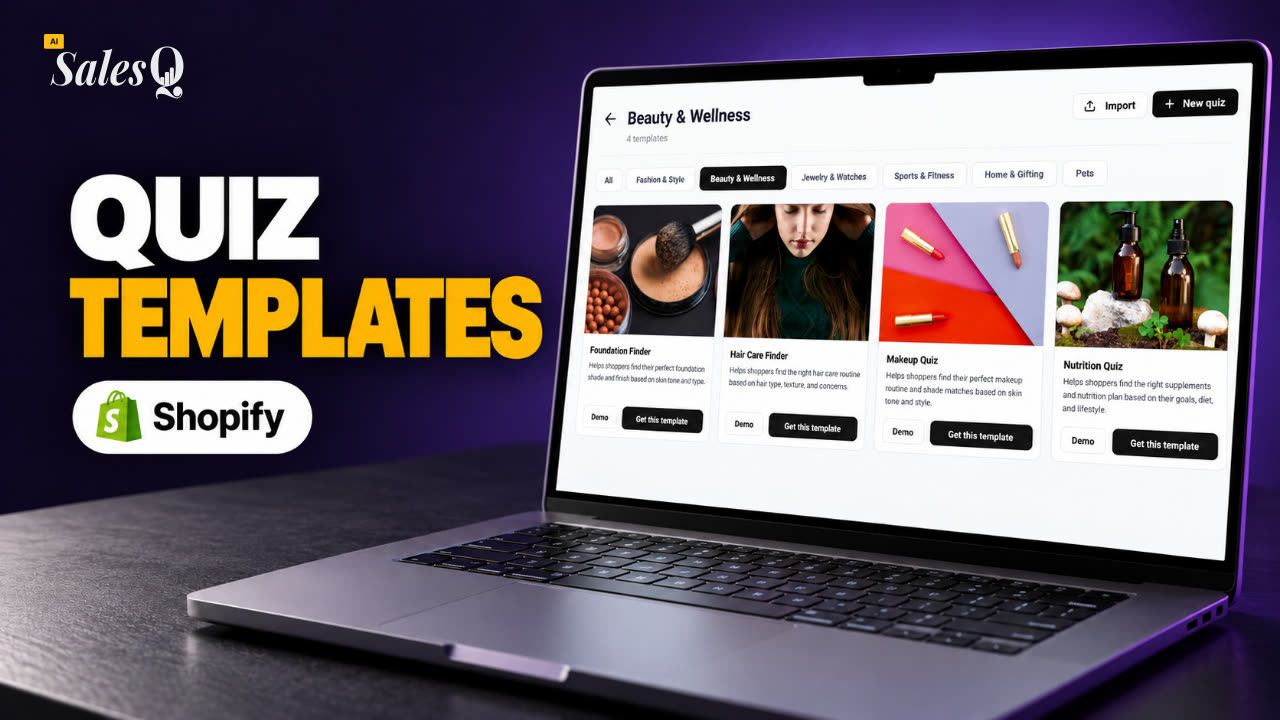 1:44Shopify Quiz Templates: Build a Product Quiz in Minutes
- 04
 1:48How to Add a Quiz to Your Shopify Store (Publish & Embed)
- 05
 1:56Shopify Quiz Popup: Triggers, Timing & Page Targeting
- 06
 1:44Shopify Quiz Logic & Branching: Send Shoppers to the Right Product
- 07
 1:42Shopify Quiz Discount Codes: Unique Codes That Convert
- 08
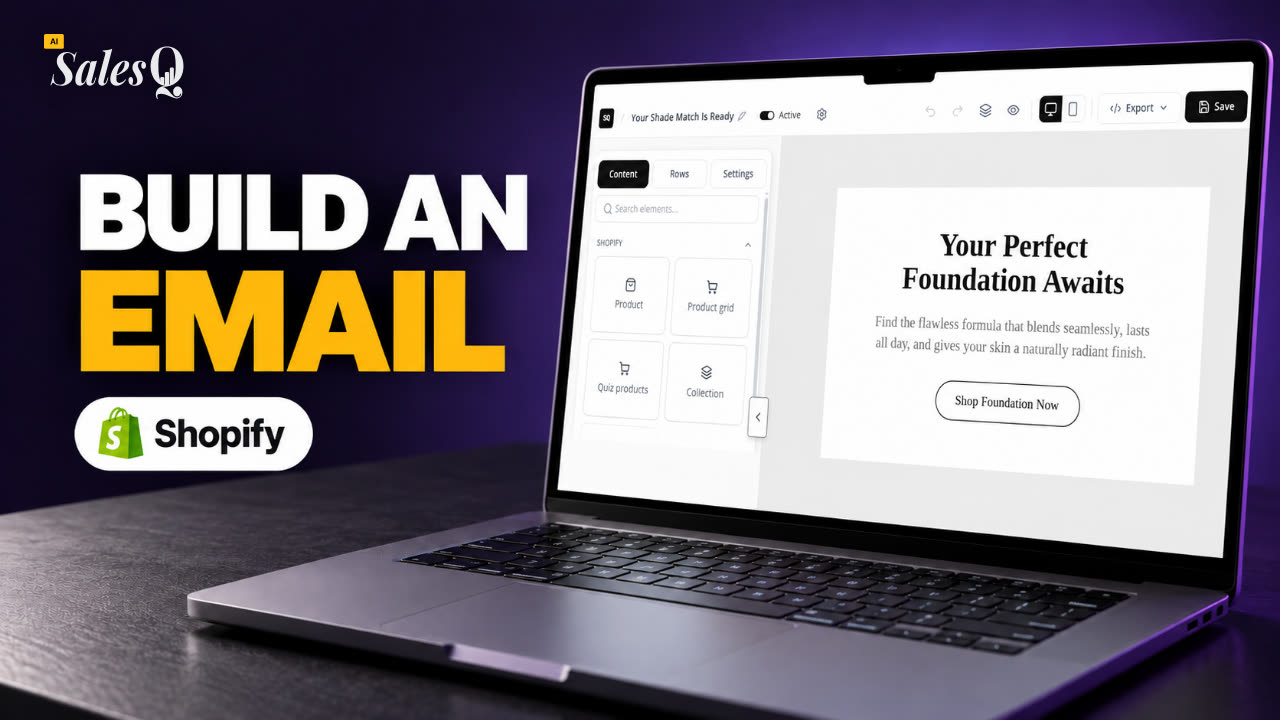 1:44Shopify Email Marketing: Create a Quiz Follow-Up Email
- 09
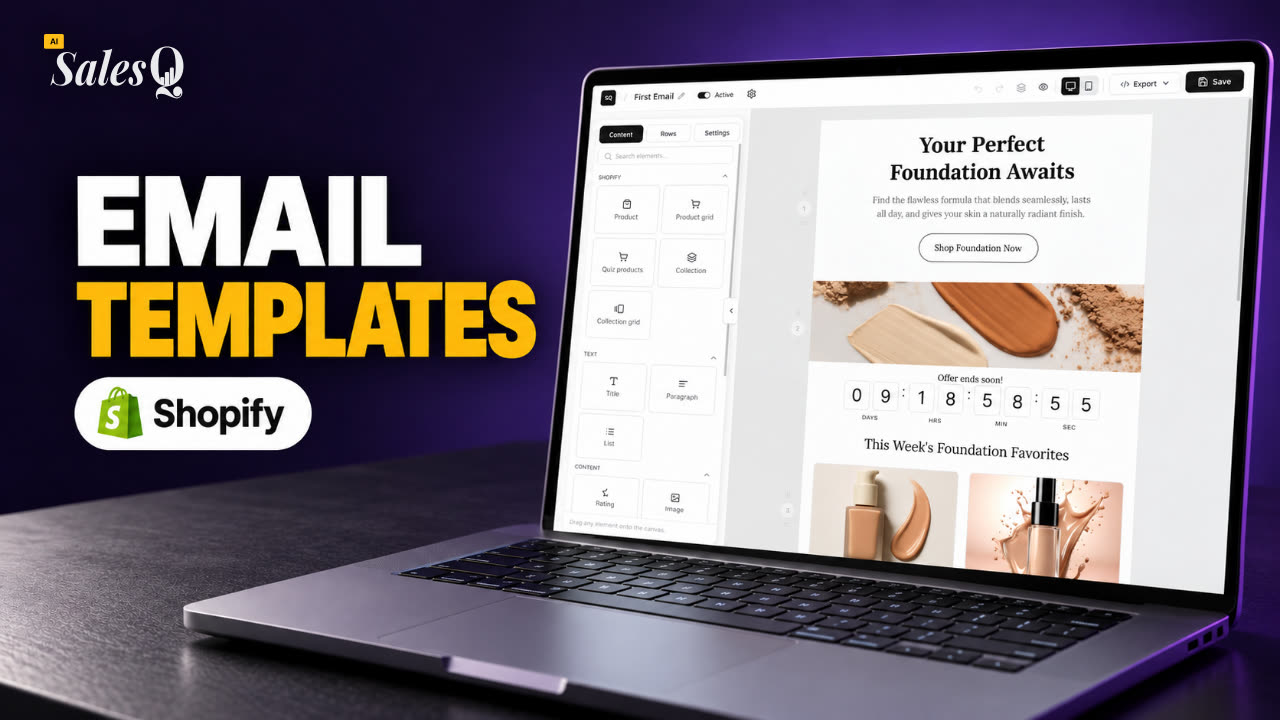 1:36Shopify Email Templates for Quiz Follow-Ups (Ready to Use)Now playing
- 10
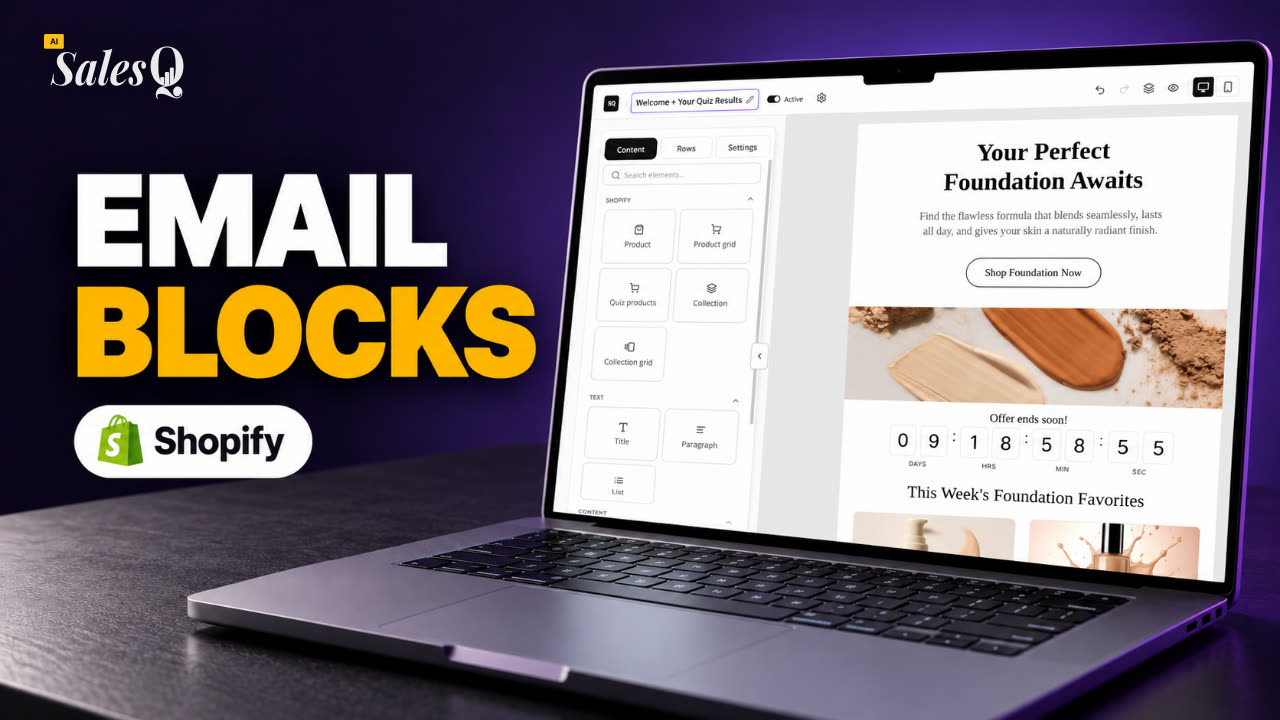 1:51Shopify Email Builder Tutorial: Drag-and-Drop Blocks
- 11
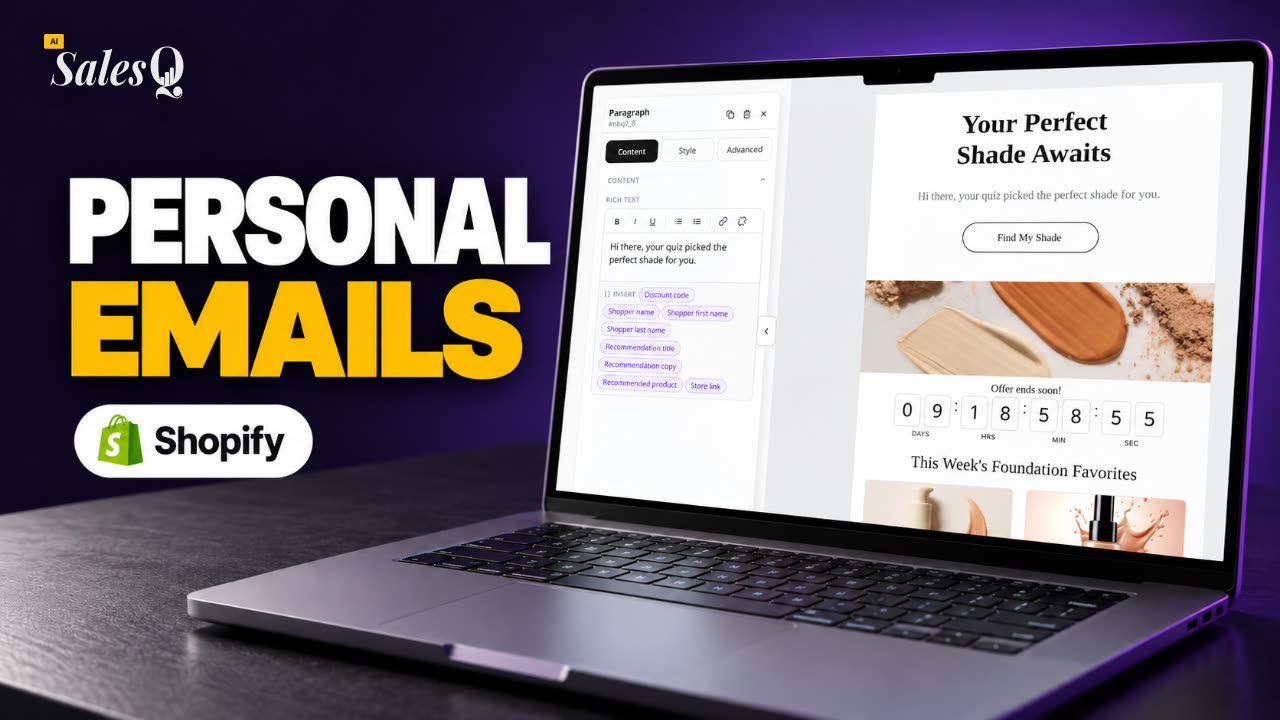 1:49Personalize Shopify Emails With Quiz Answers (Merge Tags)
- 12
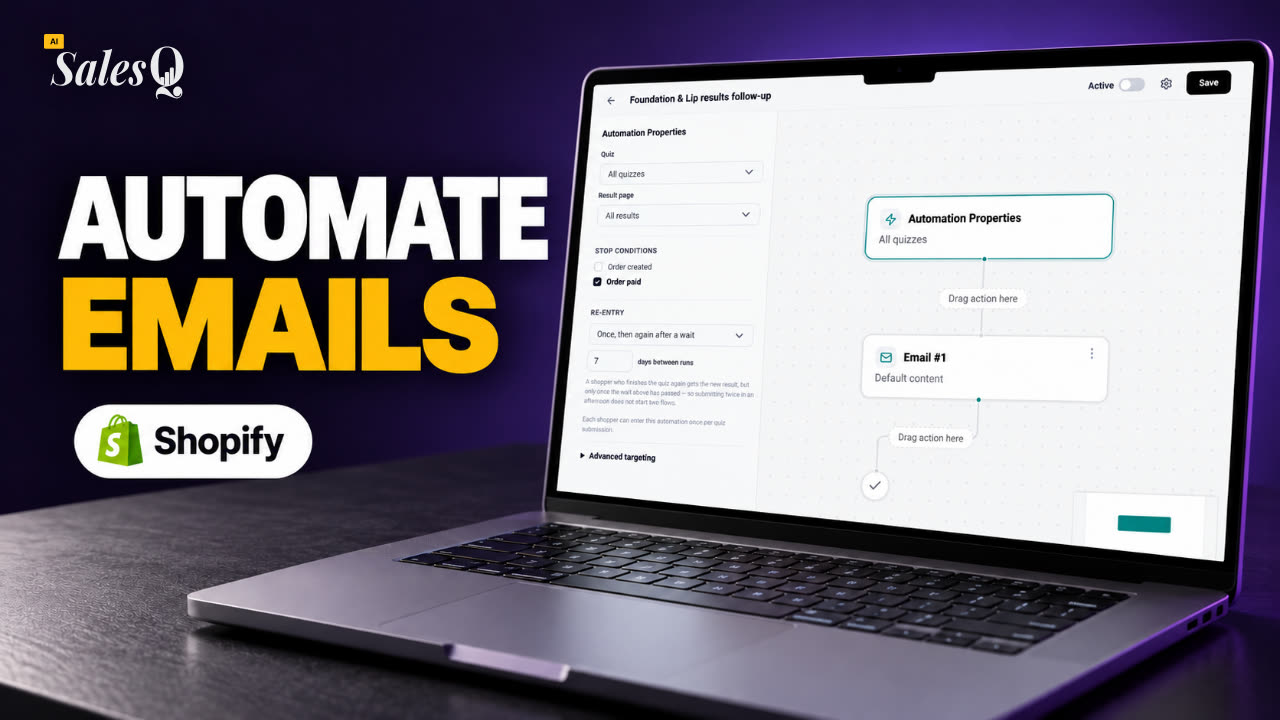 1:32Shopify Email Automation: Quiz Follow-Up Flow Step by Step
- 13
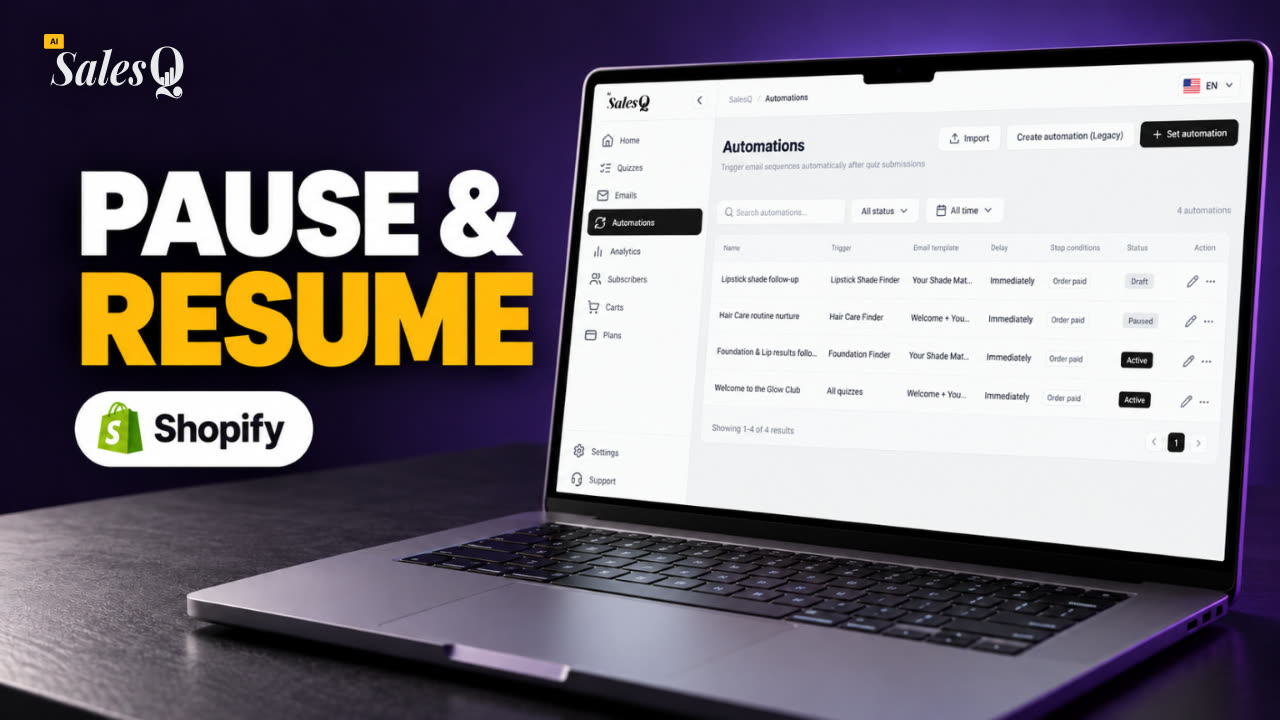 1:29Manage Shopify Email Automations: Pause, Resume & Edit Flows
- 14
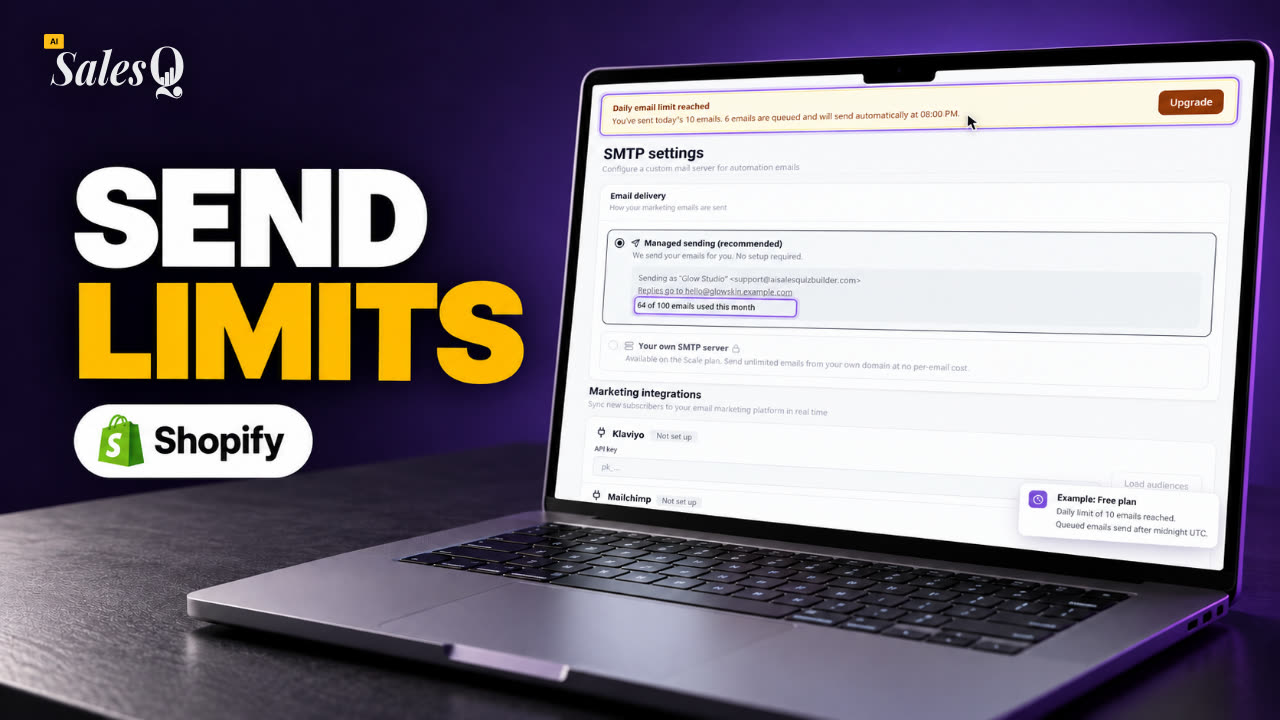 1:41Shopify Email Sending Limits Explained (Quiz Emails)
- 15
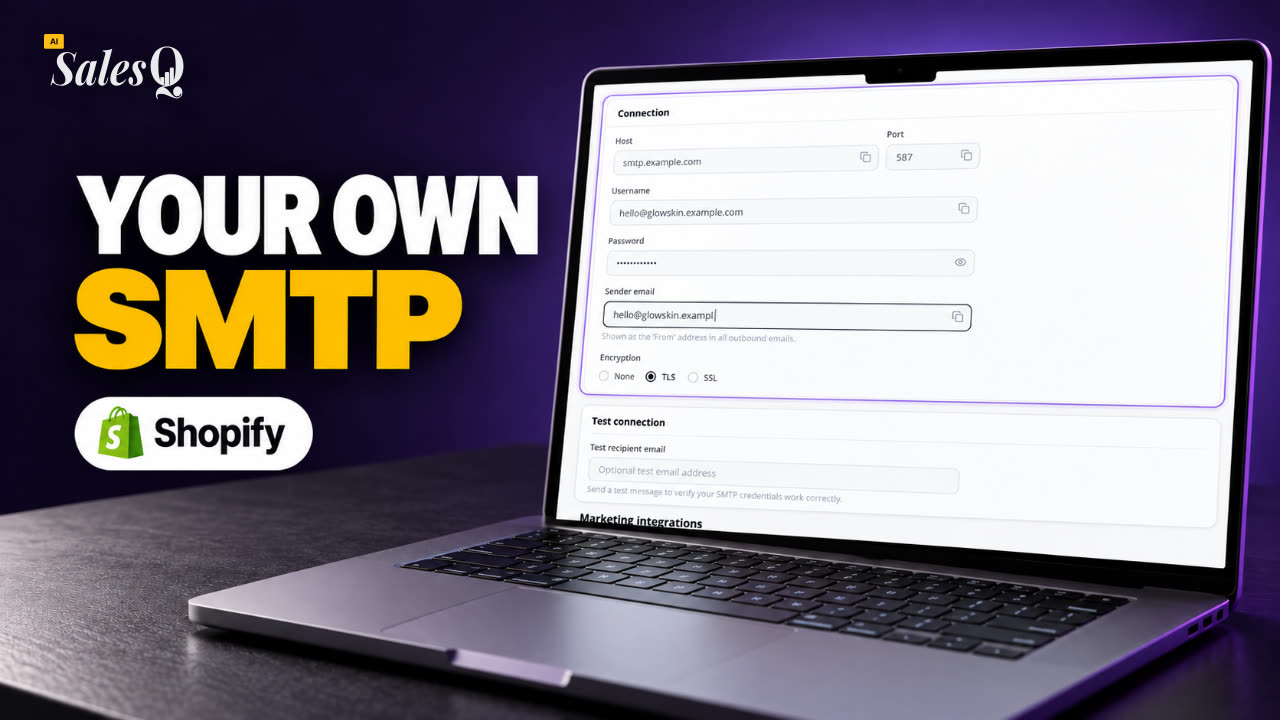 1:31Send Shopify Emails From Your Own SMTP Server
- 16
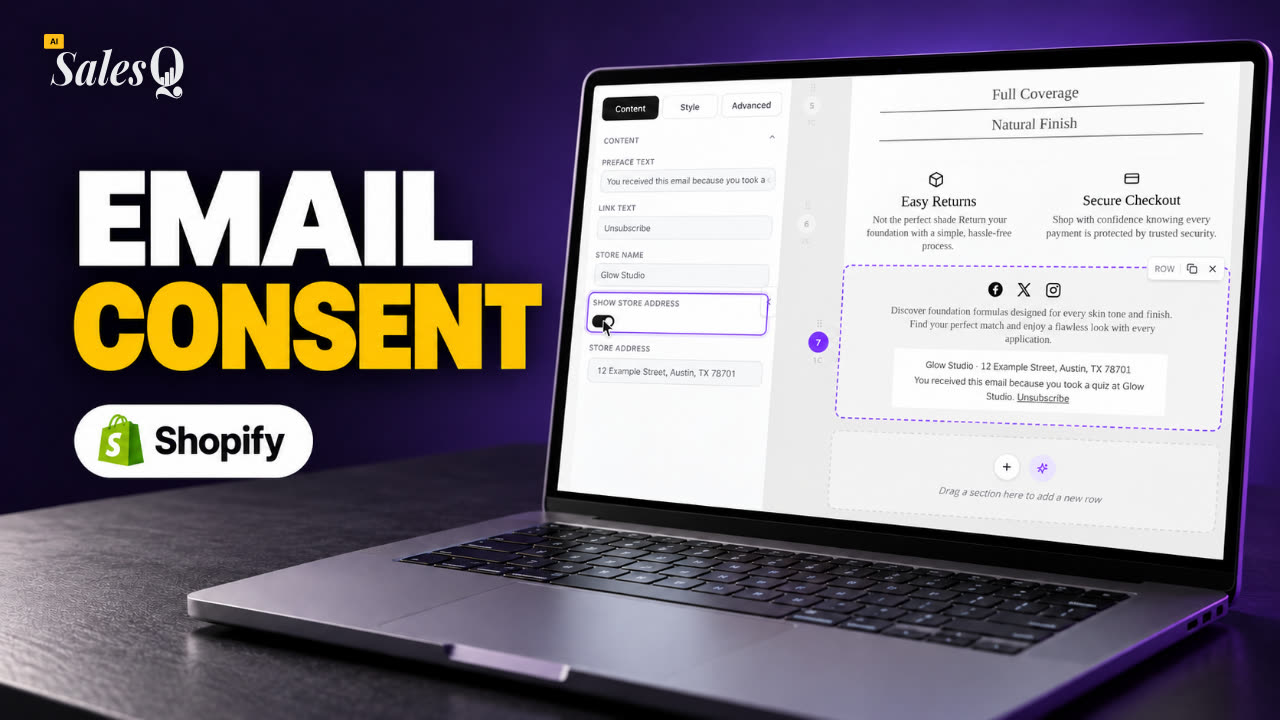 1:43Shopify Email Consent & Unsubscribe Link Explained
- 17
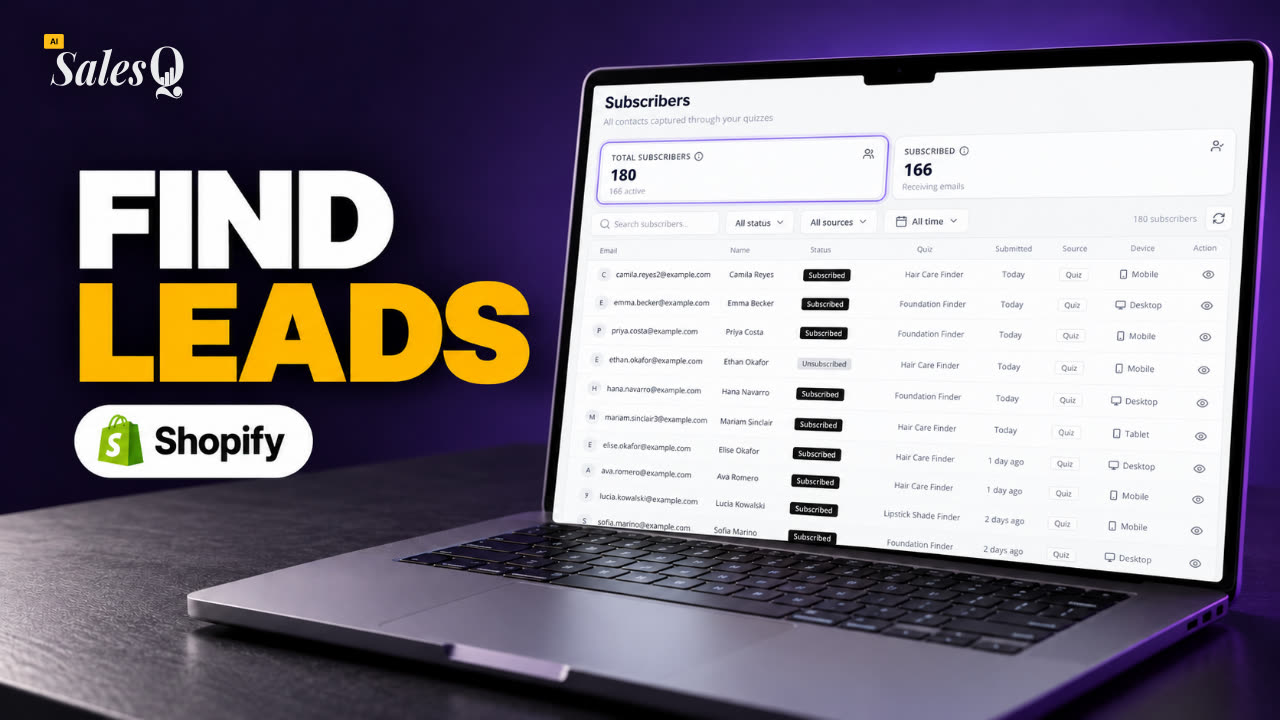 1:46Shopify Quiz Subscribers: Search, Filter & View Profiles
- 18
 1:45Shopify Quiz Analytics: Track Revenue, Conversions & Emails
- 19
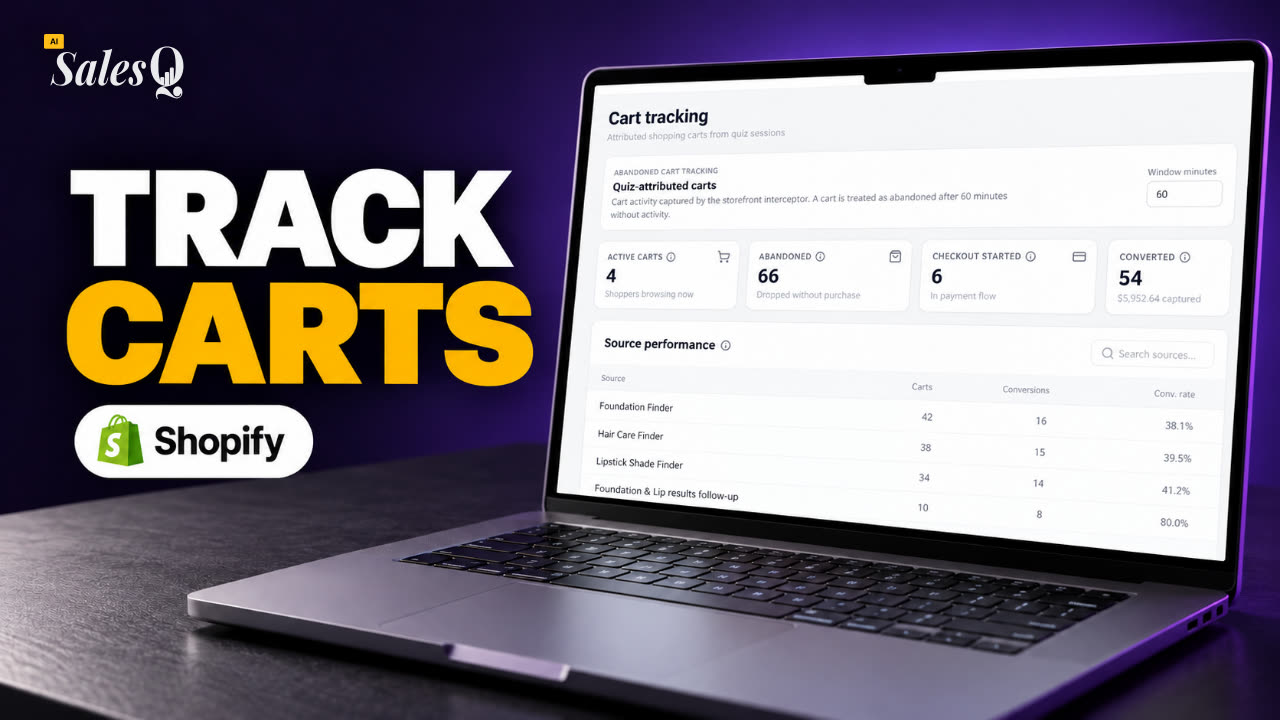 1:44Shopify Abandoned Cart Tracking for Quiz Shoppers
- 20
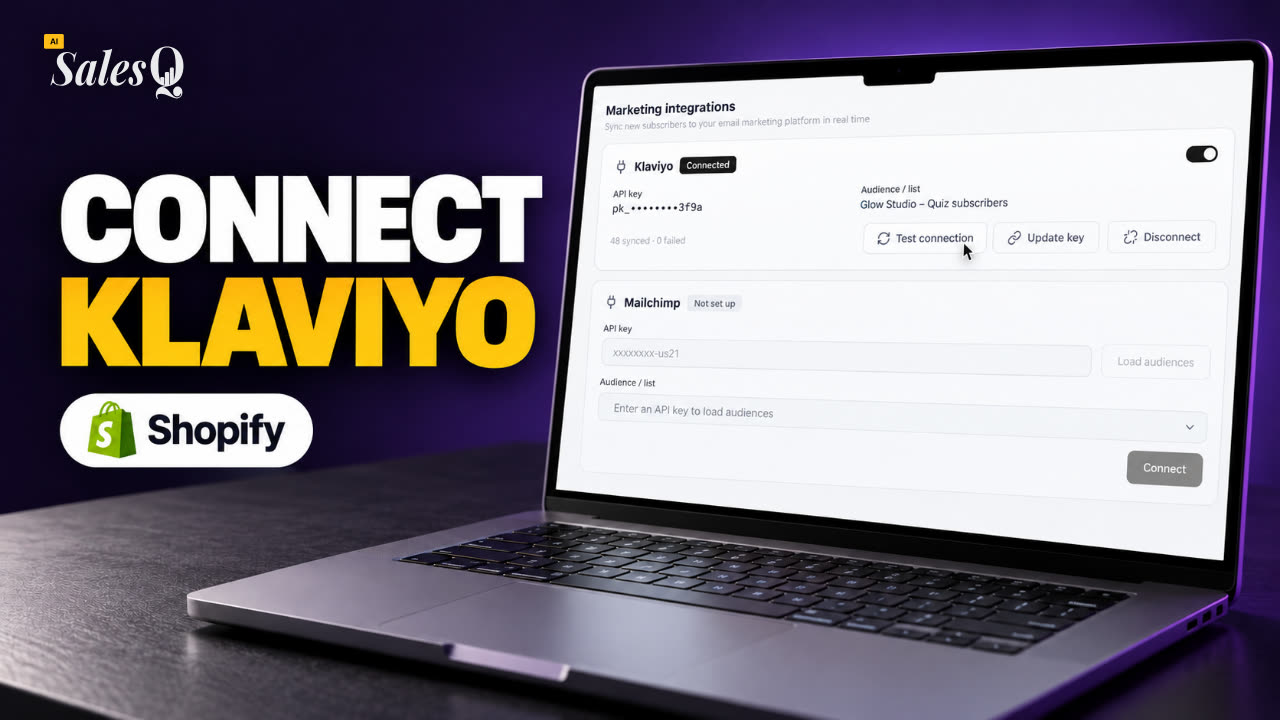 1:42Klaviyo Shopify Integration: Send Quiz Subscribers to Klaviyo
- 21
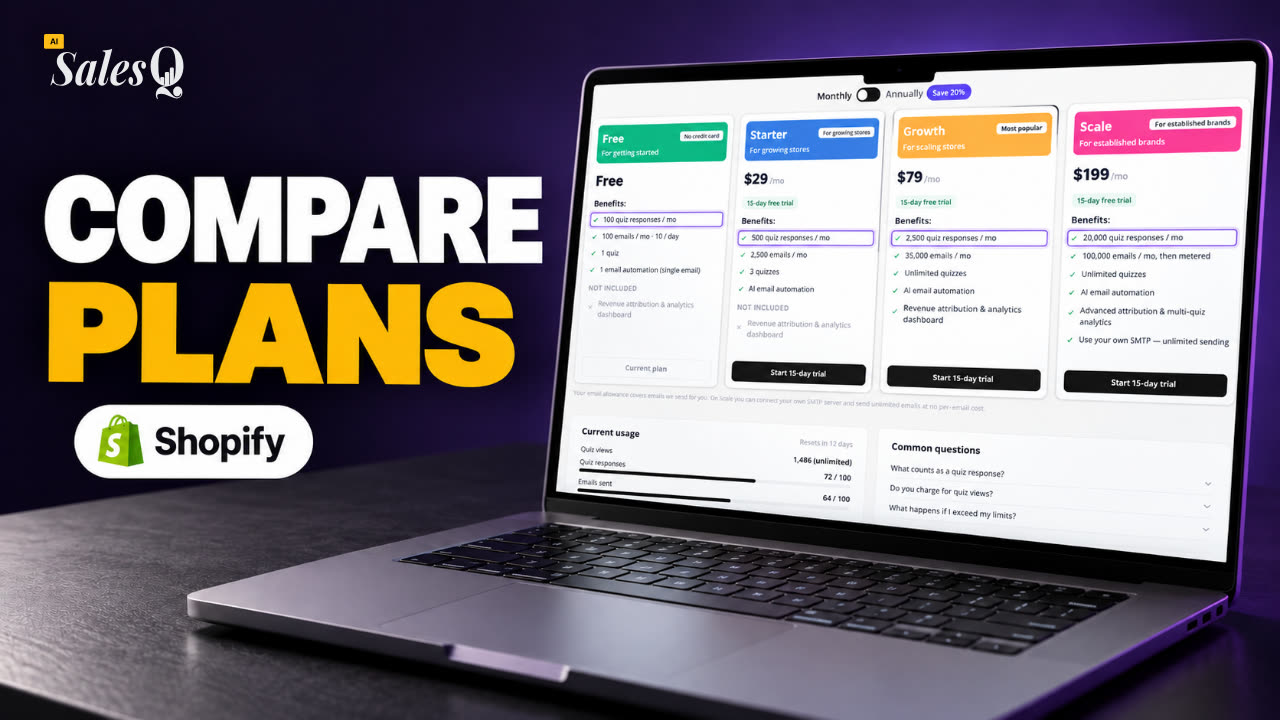 1:43Best Shopify Quiz App Pricing: AI Sales Quiz Builder Plans Compared
Learn more
Related articles
- Create an emailBuild a follow-up email in the AISalesQ email builder, give it a subject line, and save it as Active so your automations can send it.→
- Personalise emailsAdd the shopper's name, quiz result, discount code and recommended products to an email, filled in for each shopper when it sends.→
- Create an automationSend emails automatically after a shopper finishes a quiz: choose the quiz, add emails and waits, and stop the sequence when the shopper buys.→
Was this page helpful?
Still need help?
Can't find what you need? Talk to the people who build the app.