Getting started
Create your first quiz
Start a quiz from a template or a blank page, add your questions, connect the answers to products, then save and preview it.
6 min read·Updated October 20, 2026·All plans
In the appSalesQ/Quizzes/New quiz
In this guide
- 01Start a quiz from scratch or from a ready-made template
- 02Add questions and edit their answers
- 03Show the right products on a result page
- 04Save your work and try the quiz in Preview
Before you start
- –Install AISalesQ on your store
- –A few products in your store that you want to recommend
A quiz is a short set of questions, followed by a result page that shows products. You build it in the quiz editor, which opens full screen inside Shopify. This guide takes you from an empty quiz to one you can preview.
Start a new quiz
- 1
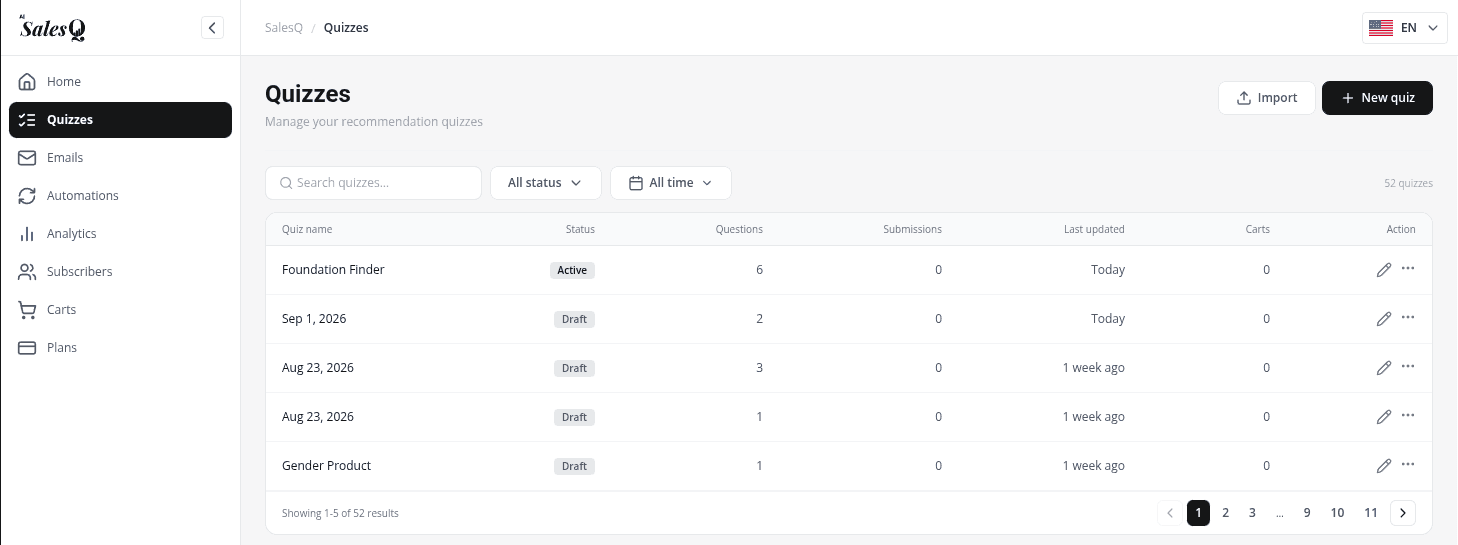
Open Quizzes
In the app menu, click Quizzes. You can also click Set up on the Create your first quiz card on Home.
- 2
Create the quiz
Click New quiz in the top-right corner. If you have no quizzes yet, you can also click Build first quiz. The editor opens full screen.
- 3
Or start from a template
Prefer a head start? Under Try pre-built templates, click View all quizzes →, pick a template and click Get this template. See Start from a quiz template for what to change next.
Name your quiz
- 1
Type a name
Click the name field at the top left of the editor, next to the pencil icon, and type a name. If you leave it blank, the quiz is named with today's date when you save.

Add your questions
A new quiz starts with one empty screen. It stays empty until you choose what kind of question it is.
- 1
Choose the first question type
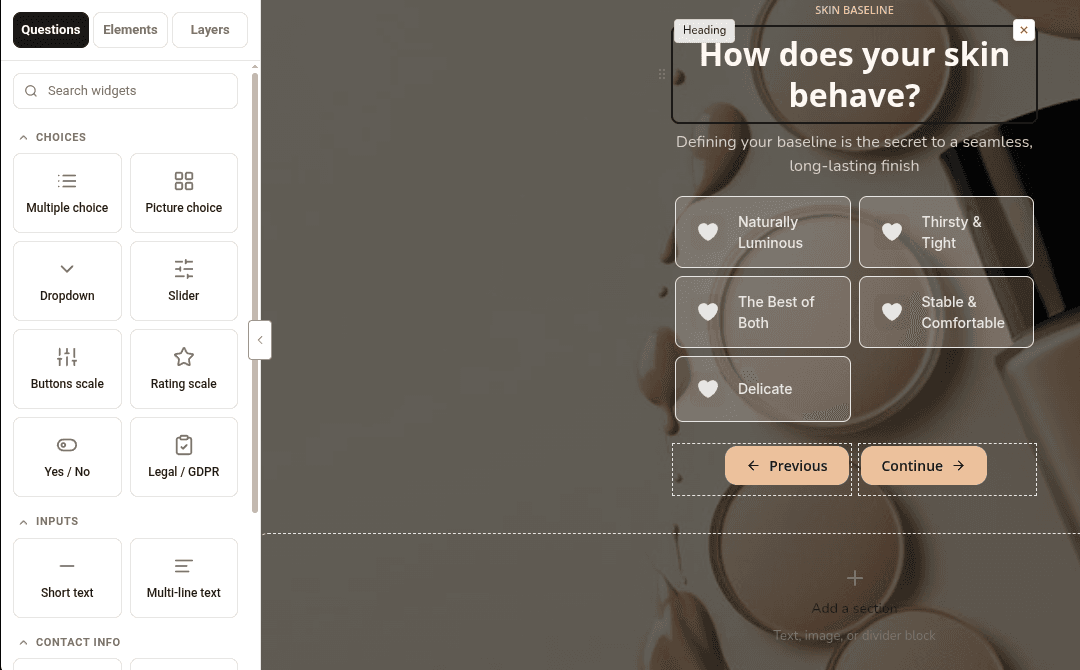
In the Questions tab, the left panel opens on Layers. Click the Questions sub-tab, then click a type such as Multiple choice. It fills the empty first screen with a heading, a subheading, the answers and a Next button.
- 2
Write the question
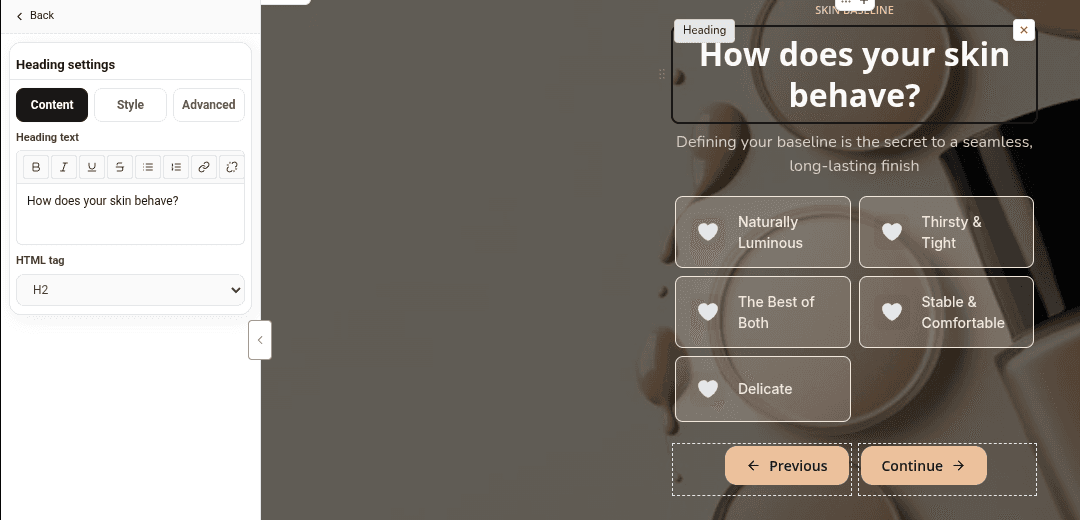
Click the heading on the canvas. Its settings open on the left. Type your question in Heading text. Do the same for the subheading, or delete it if you don't need it.
- 3
Edit the answers
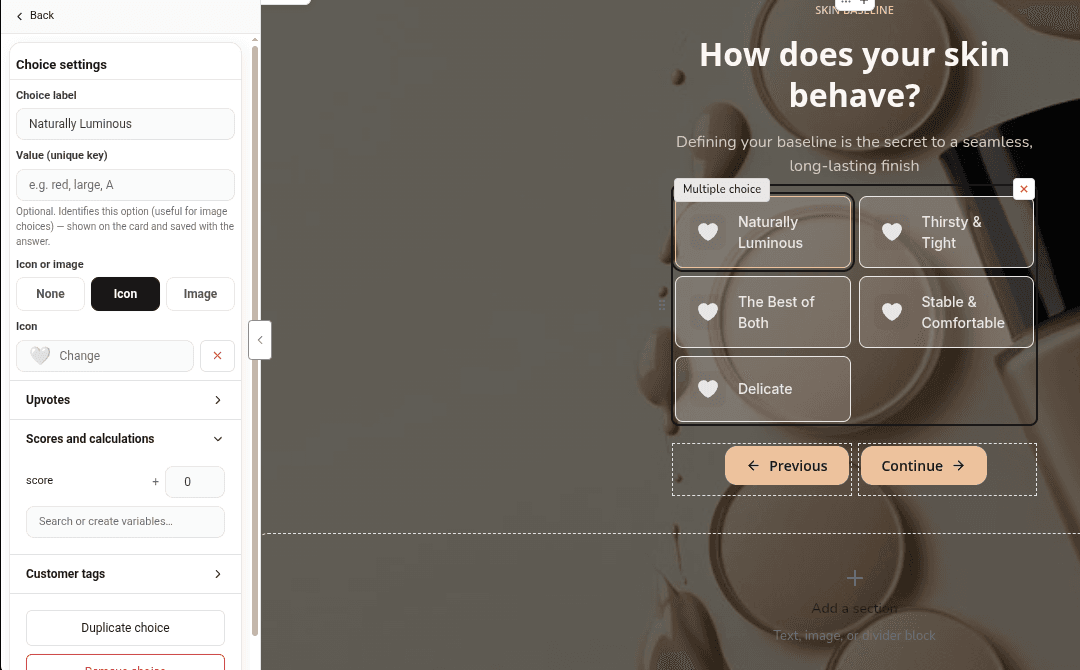
Click an answer on the canvas to open Choice settings, then type it in Choice label. You can also add an icon or image under Icon or image. To add another answer, click Add choice.
- 4
Add more questions
Go back to the Questions sub-tab and click another type. The new question is added after the one you have selected, with Back and Next buttons already in place.
- 5
Put them in order
Open the Layers sub-tab to see every question. Drag a question to move it, or use Move up, Move down, Duplicate and Delete.
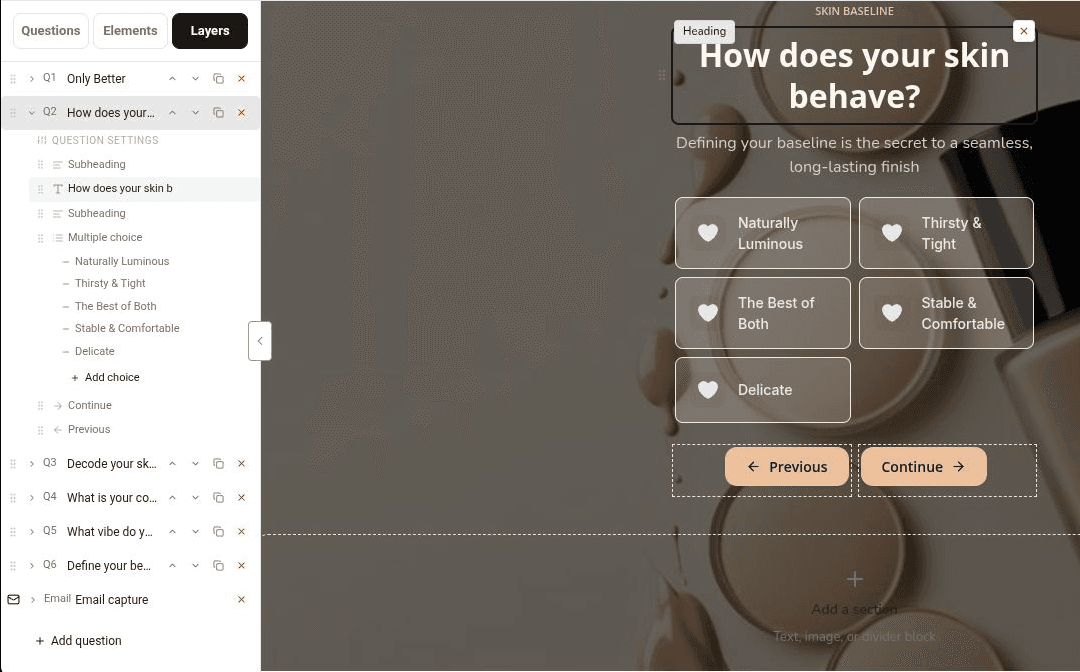
See Question types and elements for every type you can add, from picture choices to sliders.
Connect answers to products
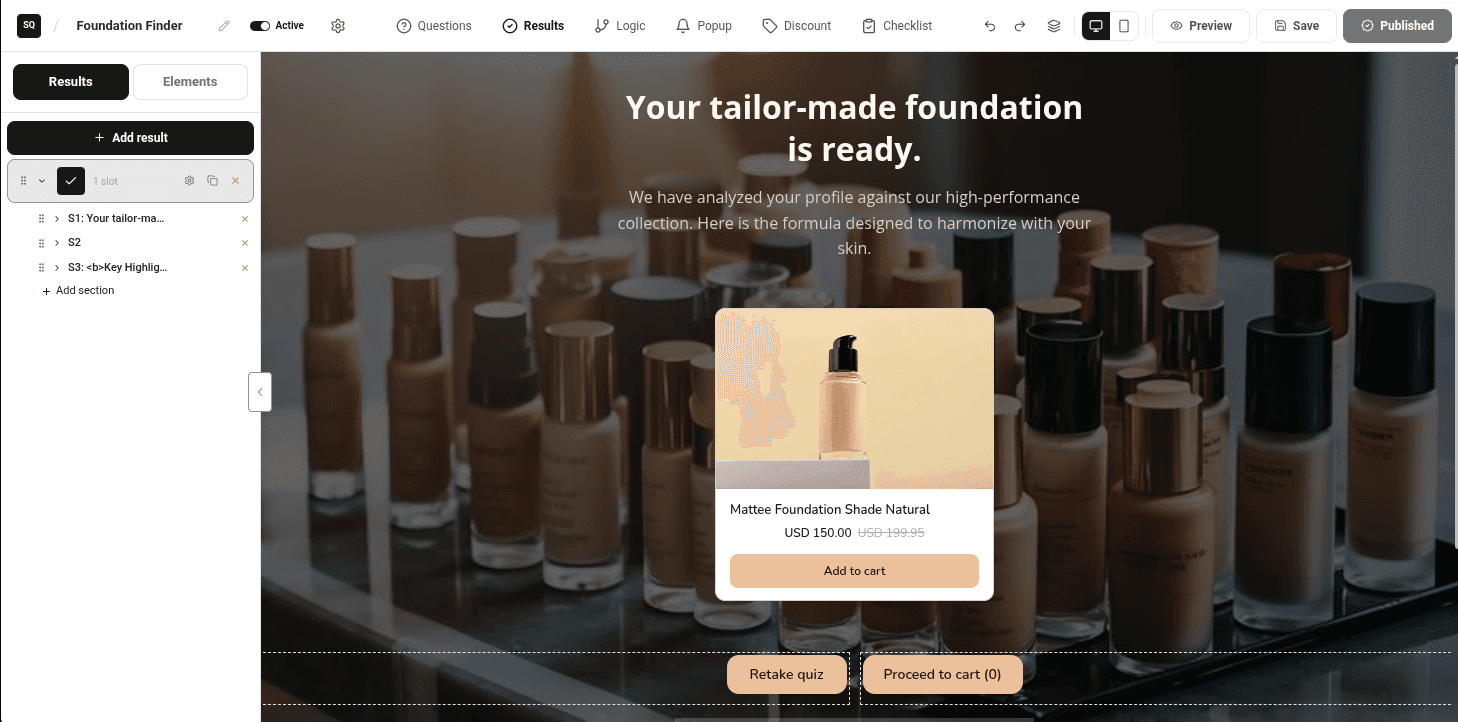
Your quiz already has one result page, called Your result. It holds a Products block plus Retake quiz and Cart/checkout buttons. The simplest setup is one result page per outcome, each with its own products, and then sending each answer to the right page.
- 1
Open the Results tab
Click Results in the top bar. The first result page opens on the canvas. Click Settings on its row and give it a clear name in Page name, for example "Dry skin".
- 2
Pick the products
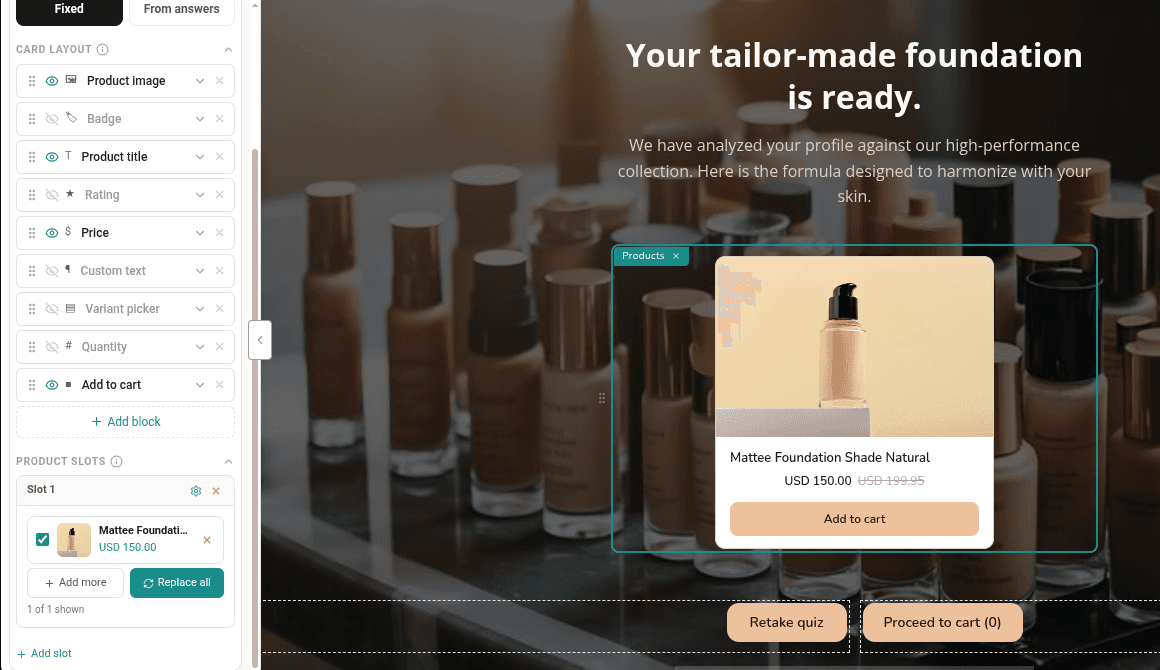
Click the Products block on the canvas. Leave Source set to Fixed. Under Product slots, click Select products and choose products from your store. If the slot already has products, use Add more or Replace all.
- 3
Add a page for each outcome
Click Add result and repeat for each outcome, for example "Oily skin" and "Combination skin".
- 4
Send answers to results
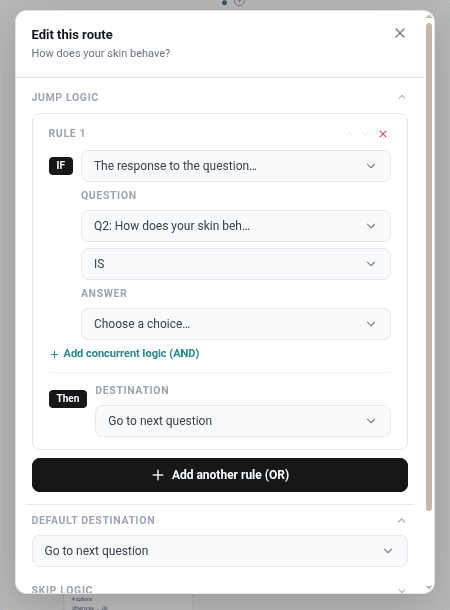
Click Logic in the top bar. Drag from the dot under a question to a result page. In Edit this route, choose the answer under Answer and click Save. Shoppers who pick that answer land on that page.
Save and preview
- 1
Save the quiz
Click Save in the top-right corner. You'll see the message Quiz saved.

- 2
Try it as a shopper
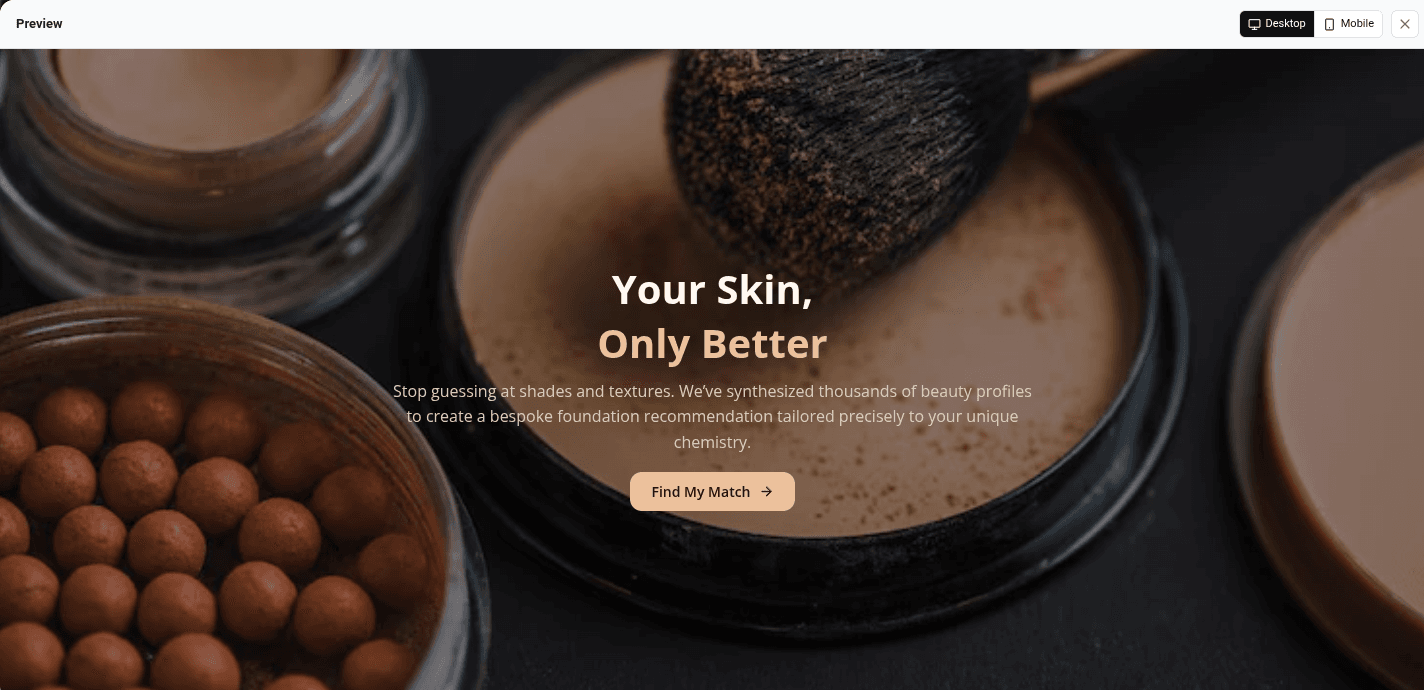
Click Preview. Switch between Desktop and Mobile, answer the questions and check that you reach the right result page.
What to do next
- Publish the quiz on your store as a popup, a section or a button.
- Capture emails in your quiz with your own email page.
- Match the quiz to your brand with your fonts and colors.
Video tutorials
Watch the series in order, or jump to the one you need.
- 01
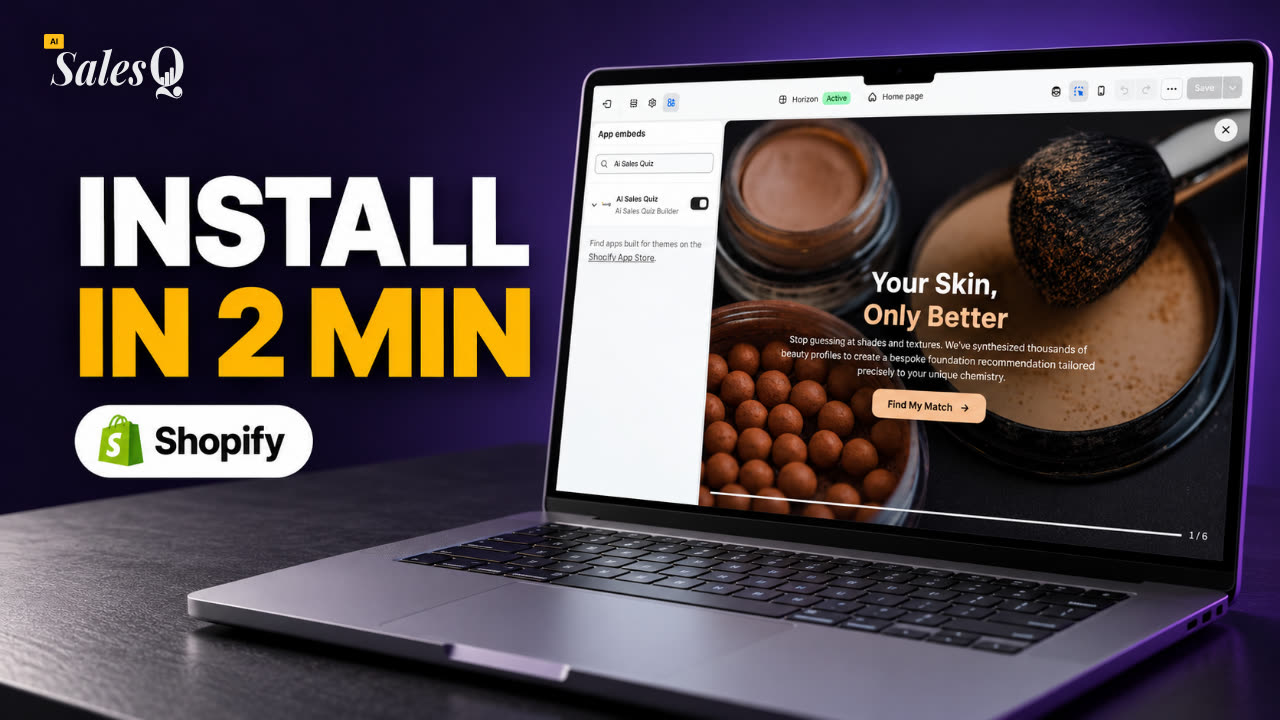 1:32How to Install a Shopify Quiz App: AI Sales Quiz Builder Setup & Tour
- 02
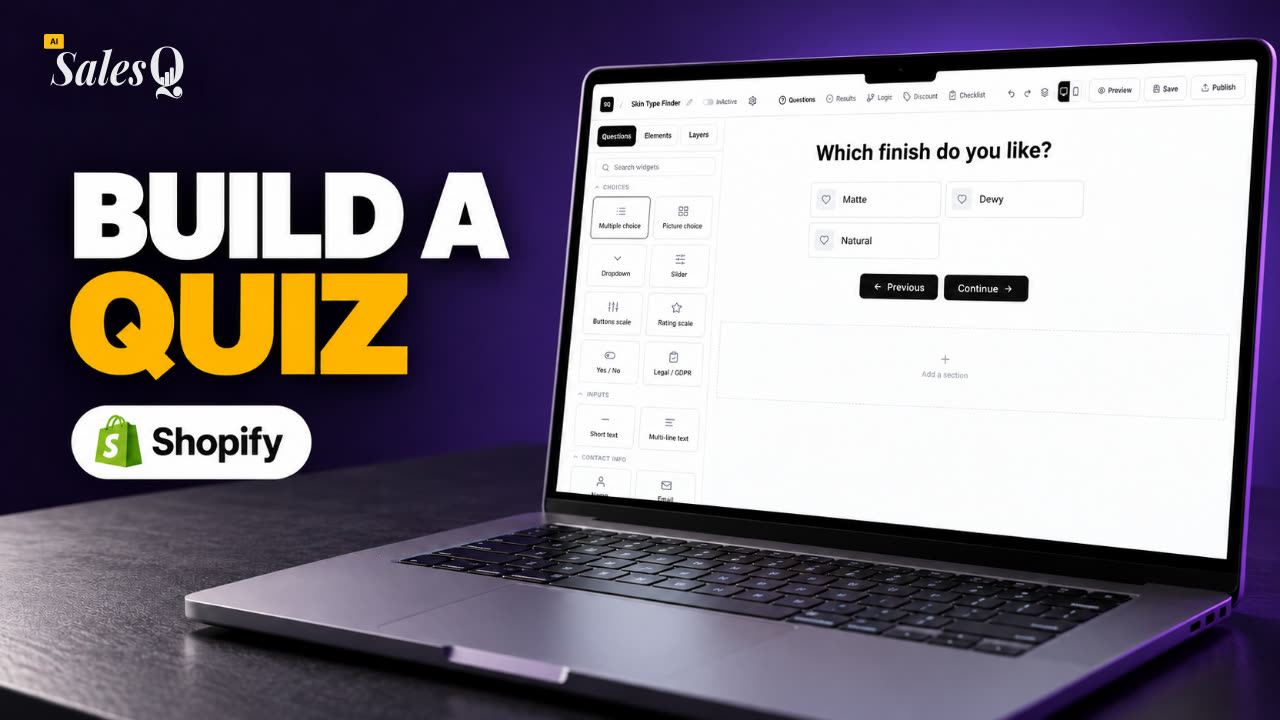 1:38How to Create a Product Recommendation Quiz on Shopify (Step by Step)Now playing
- 03
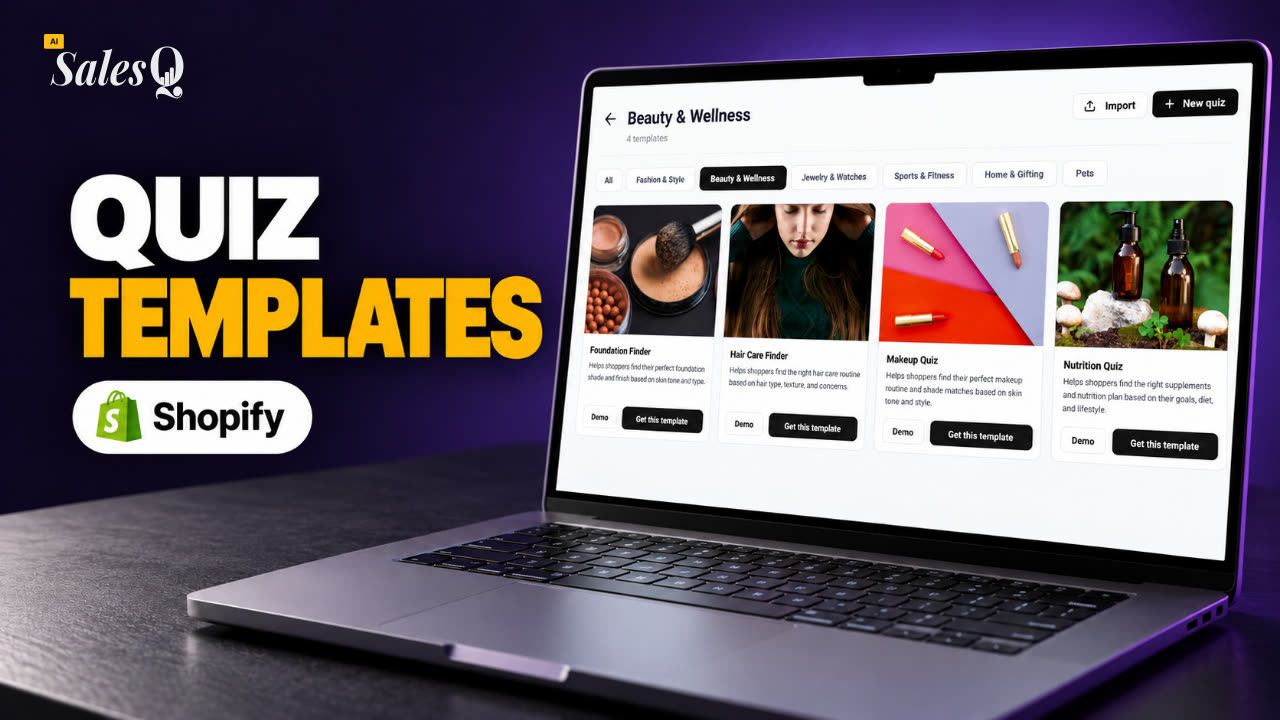 1:44Shopify Quiz Templates: Build a Product Quiz in Minutes
- 04
 1:48How to Add a Quiz to Your Shopify Store (Publish & Embed)
- 05
 1:56Shopify Quiz Popup: Triggers, Timing & Page Targeting
- 06
 1:44Shopify Quiz Logic & Branching: Send Shoppers to the Right Product
- 07
 1:42Shopify Quiz Discount Codes: Unique Codes That Convert
- 08
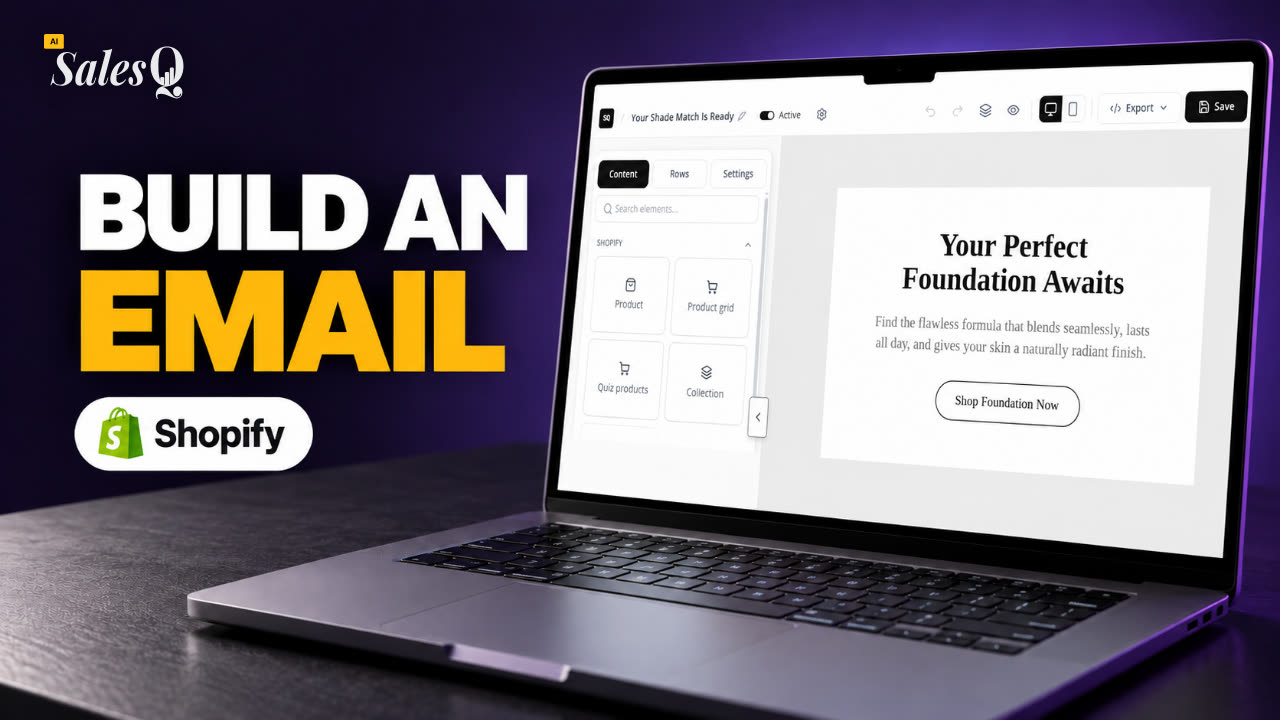 1:44Shopify Email Marketing: Create a Quiz Follow-Up Email
- 09
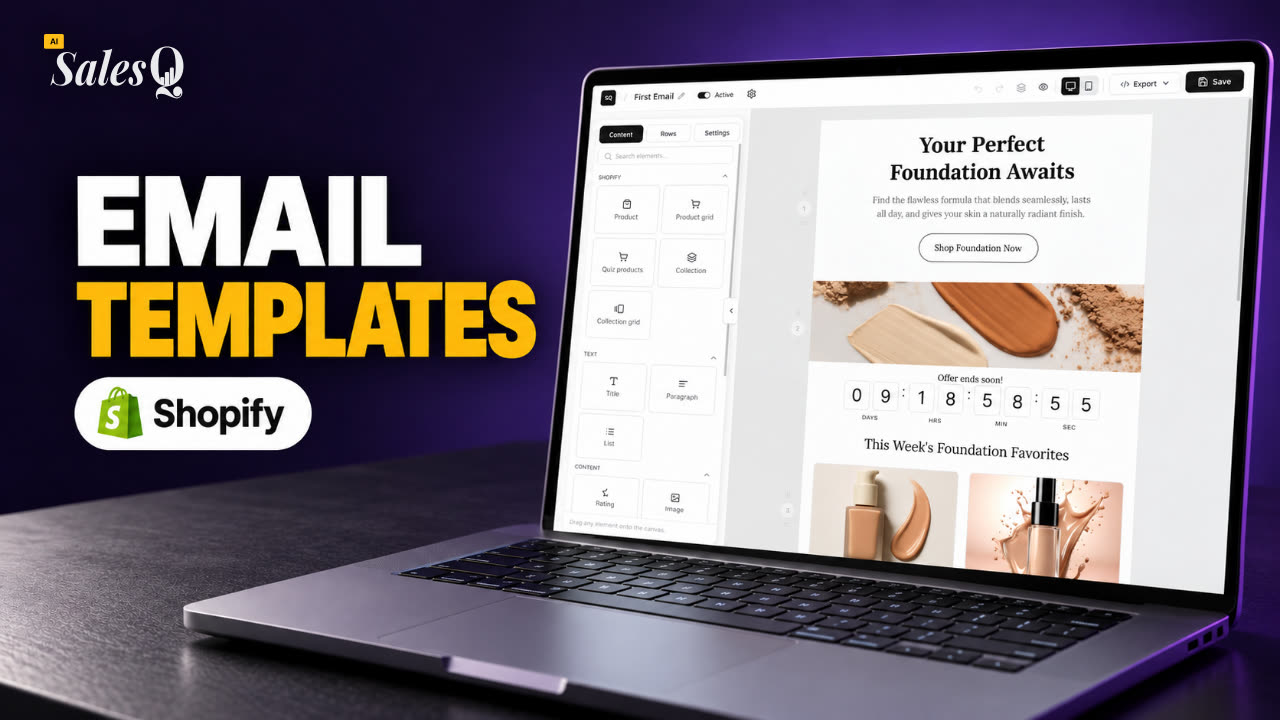 1:36Shopify Email Templates for Quiz Follow-Ups (Ready to Use)
- 10
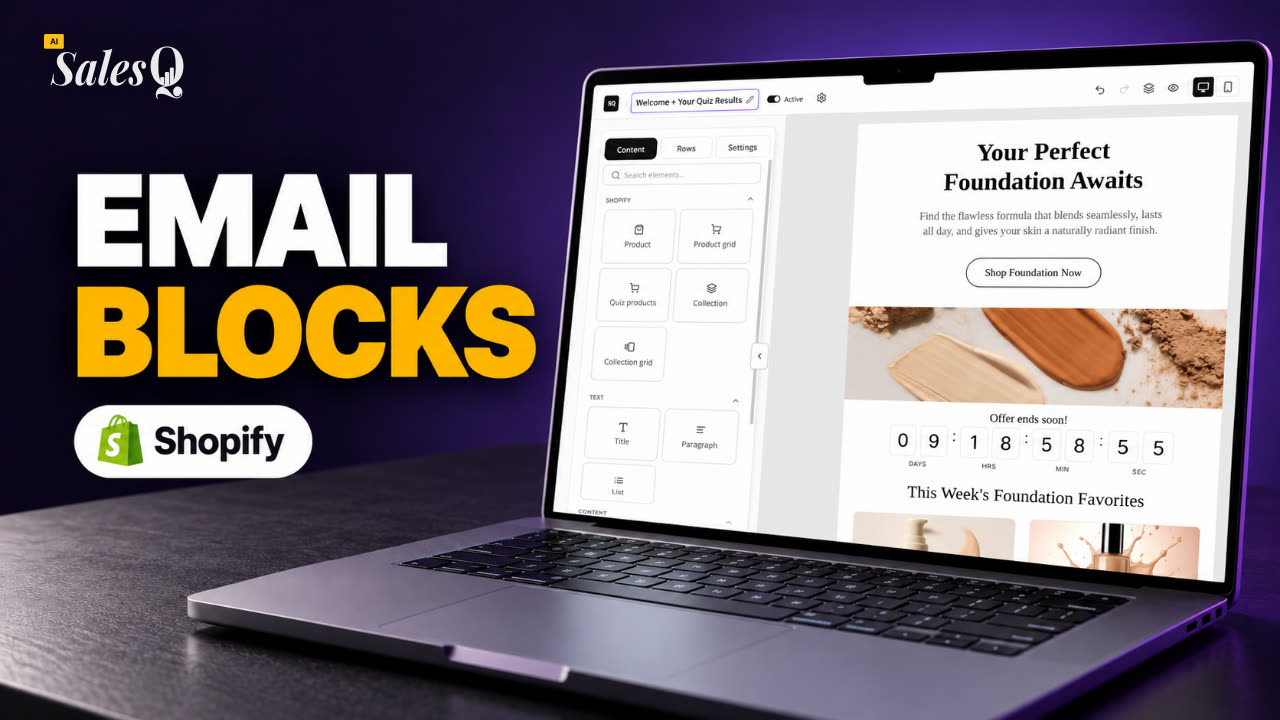 1:51Shopify Email Builder Tutorial: Drag-and-Drop Blocks
- 11
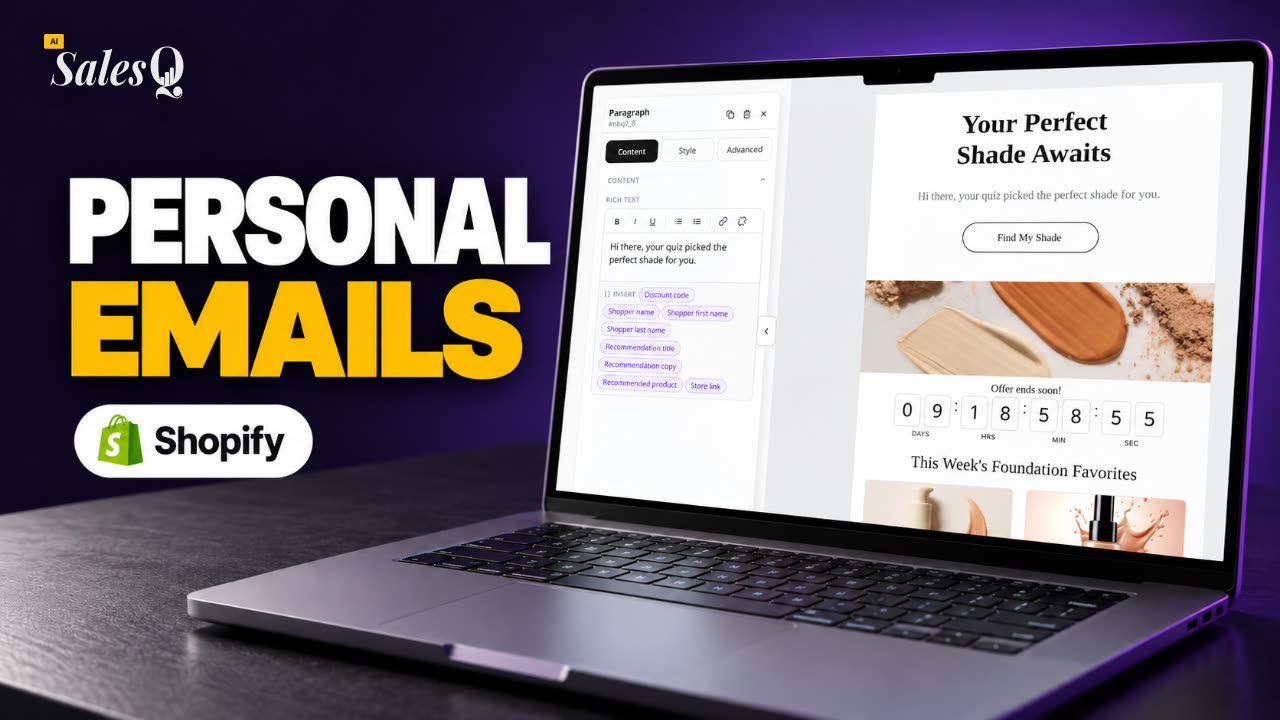 1:49Personalize Shopify Emails With Quiz Answers (Merge Tags)
- 12
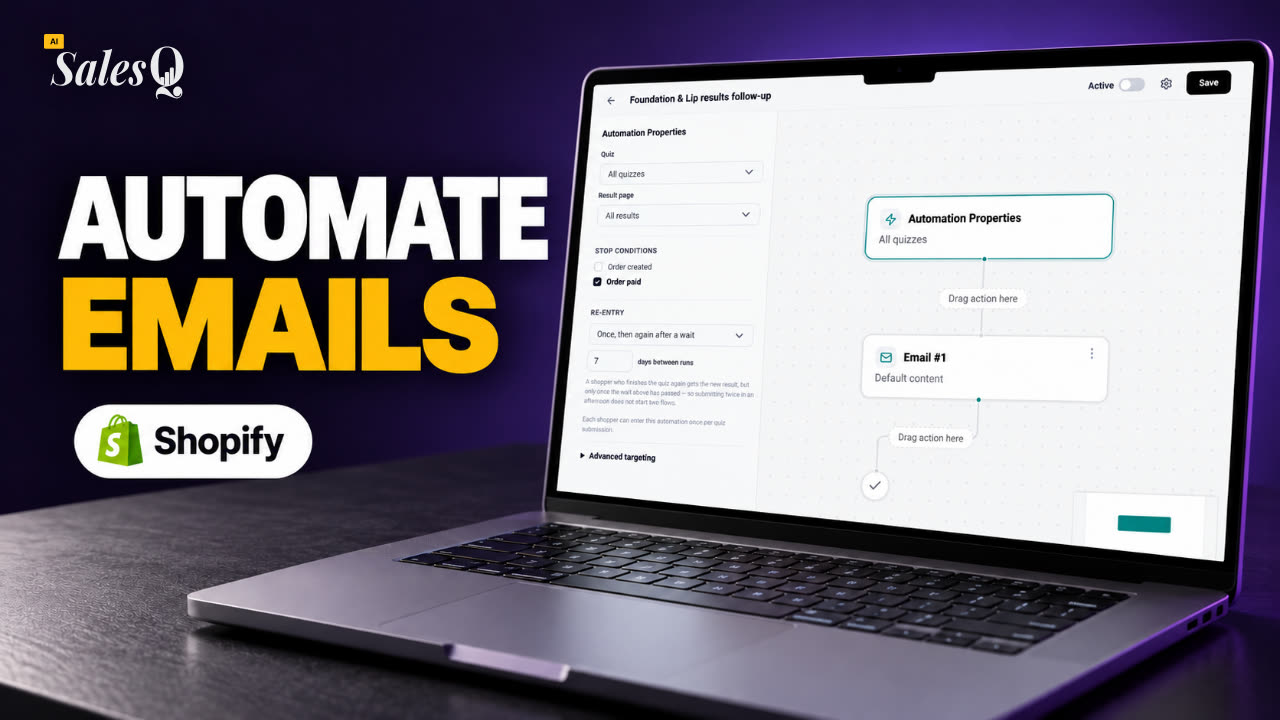 1:32Shopify Email Automation: Quiz Follow-Up Flow Step by Step
- 13
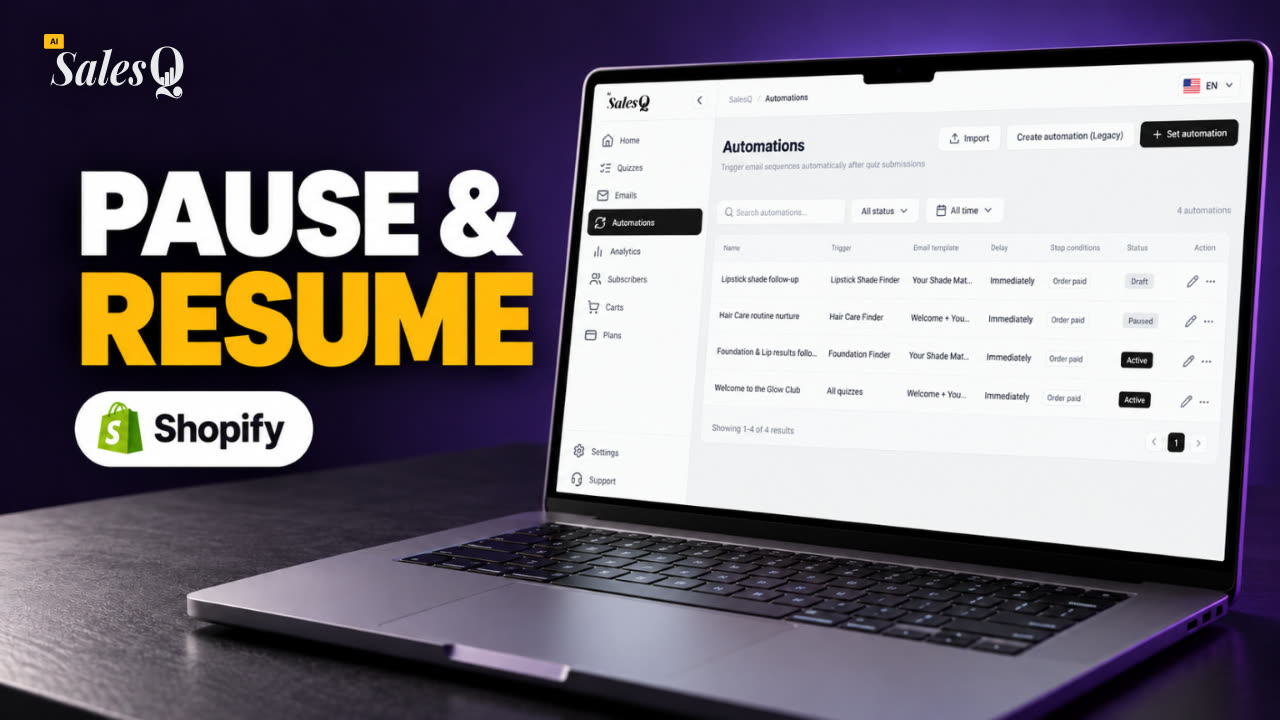 1:29Manage Shopify Email Automations: Pause, Resume & Edit Flows
- 14
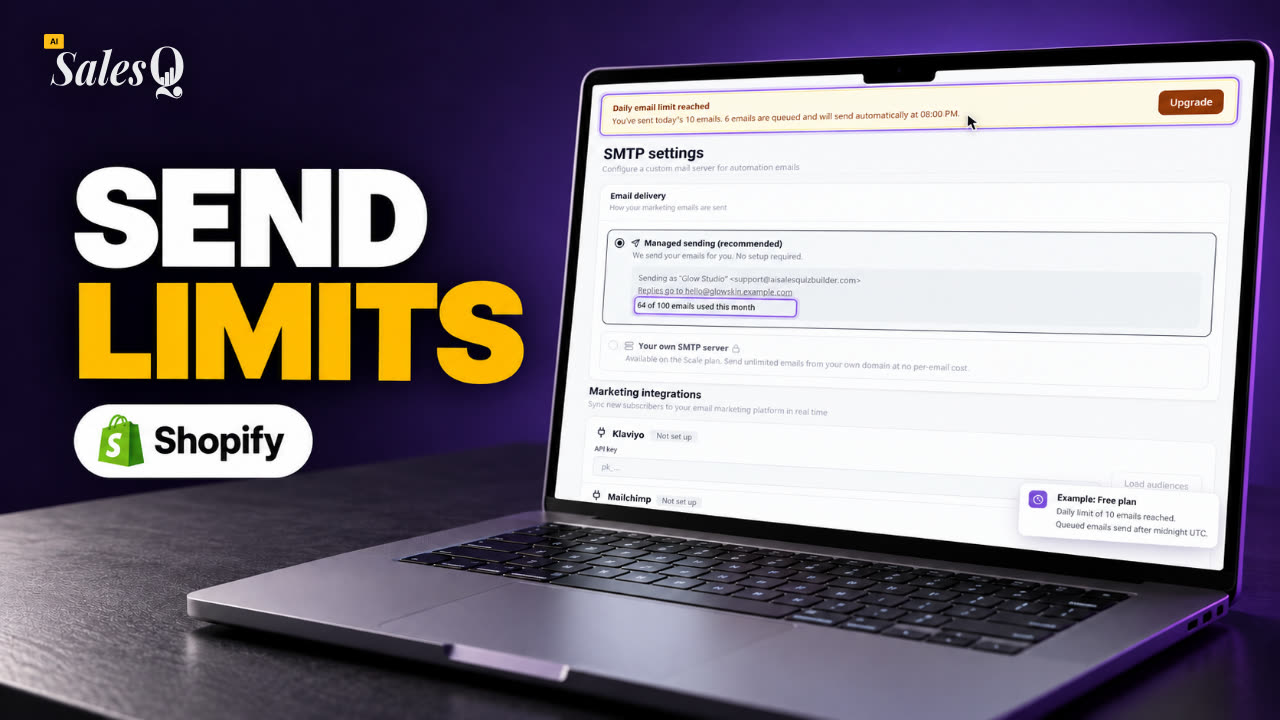 1:41Shopify Email Sending Limits Explained (Quiz Emails)
- 15
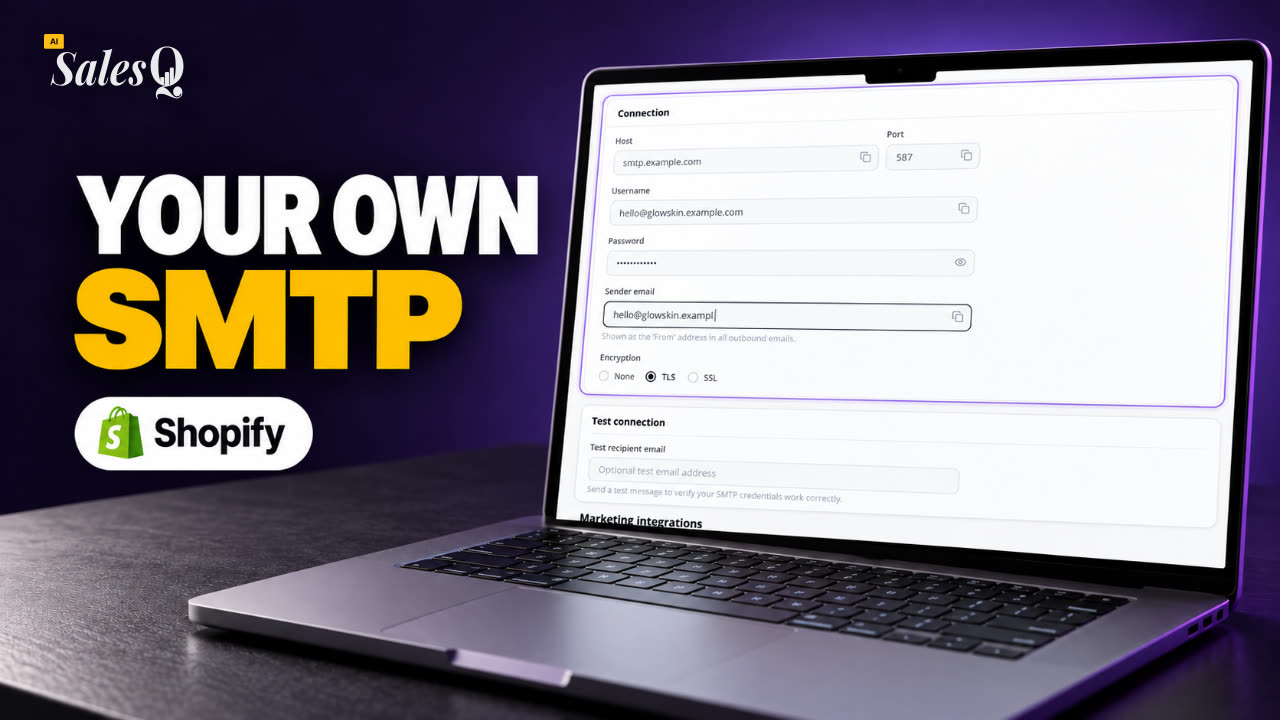 1:31Send Shopify Emails From Your Own SMTP Server
- 16
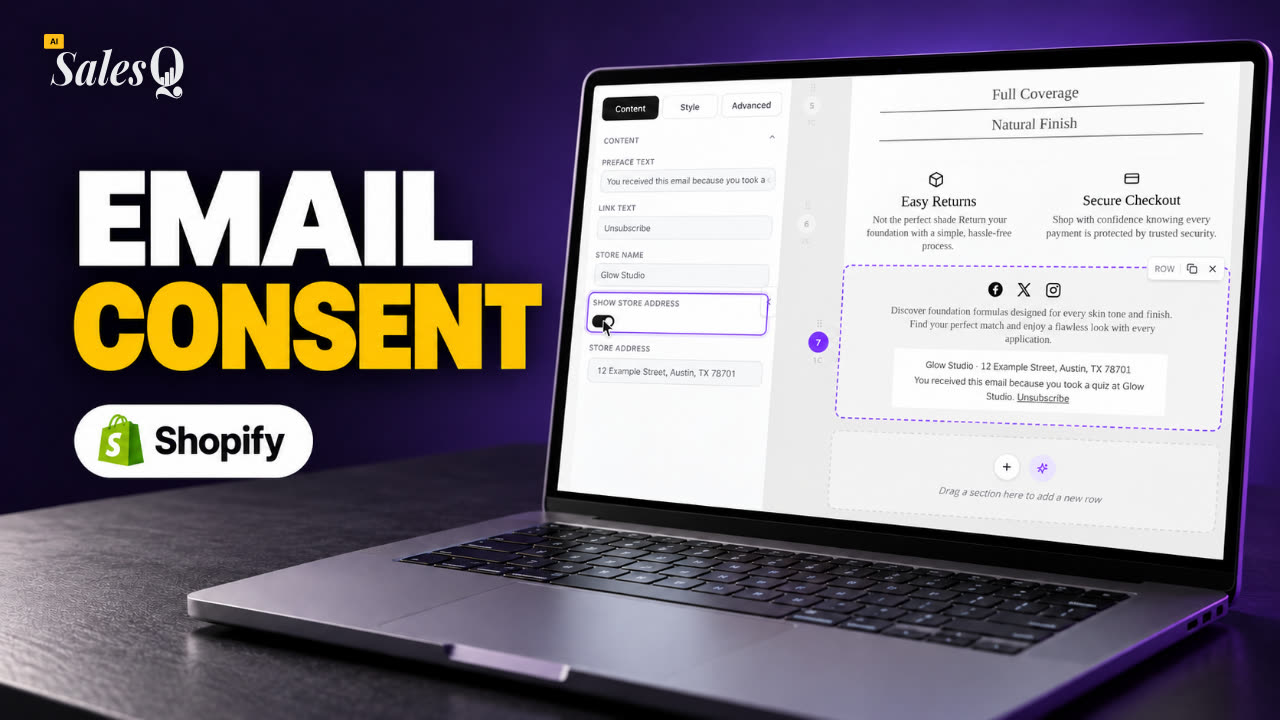 1:43Shopify Email Consent & Unsubscribe Link Explained
- 17
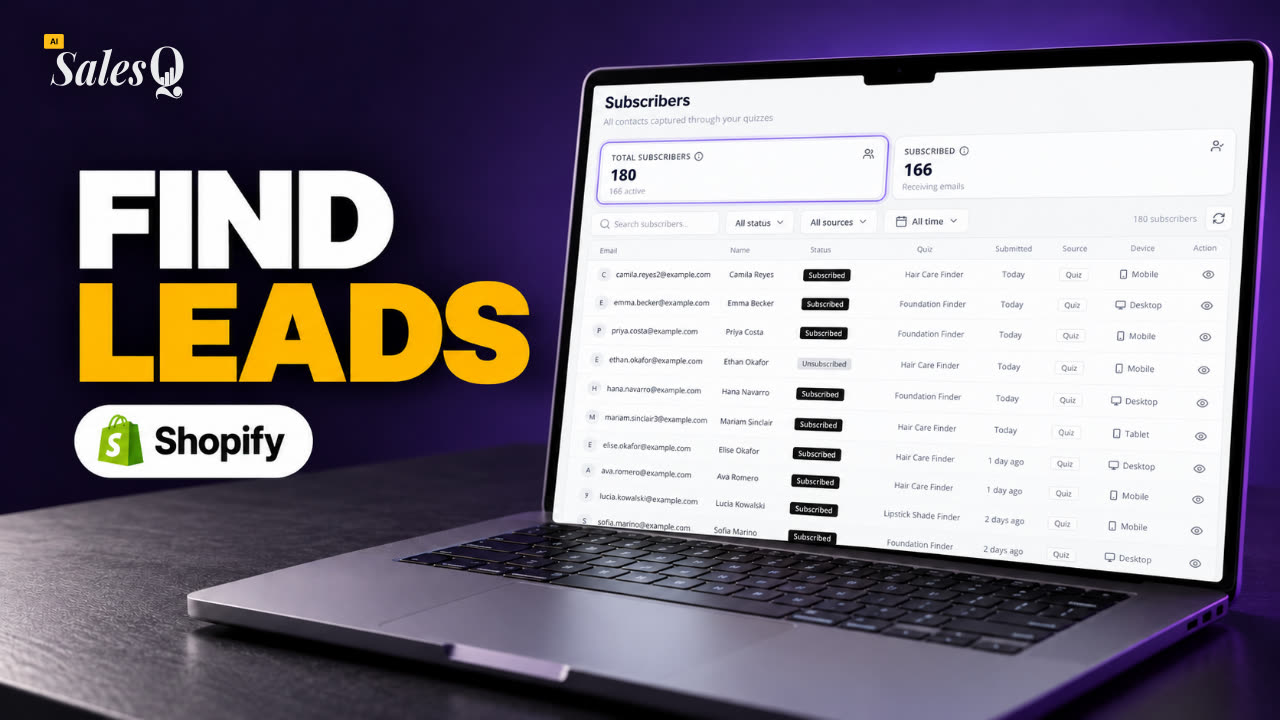 1:46Shopify Quiz Subscribers: Search, Filter & View Profiles
- 18
 1:45Shopify Quiz Analytics: Track Revenue, Conversions & Emails
- 19
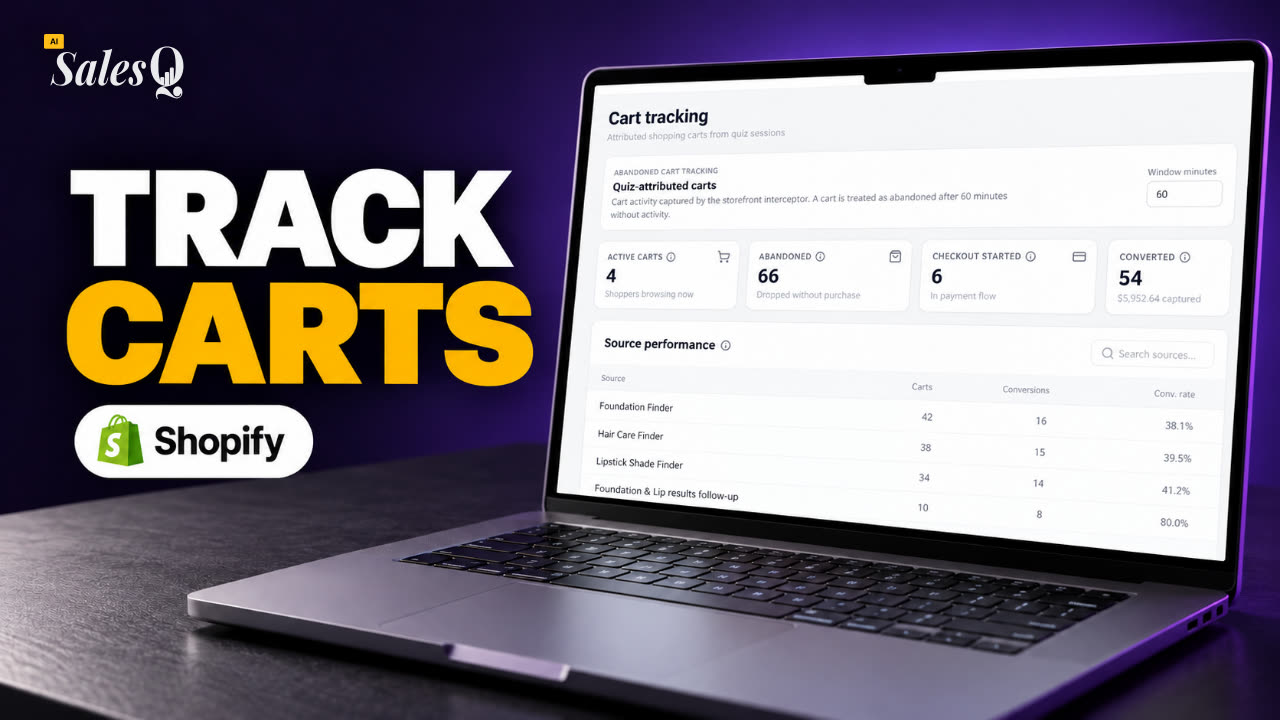 1:44Shopify Abandoned Cart Tracking for Quiz Shoppers
- 20
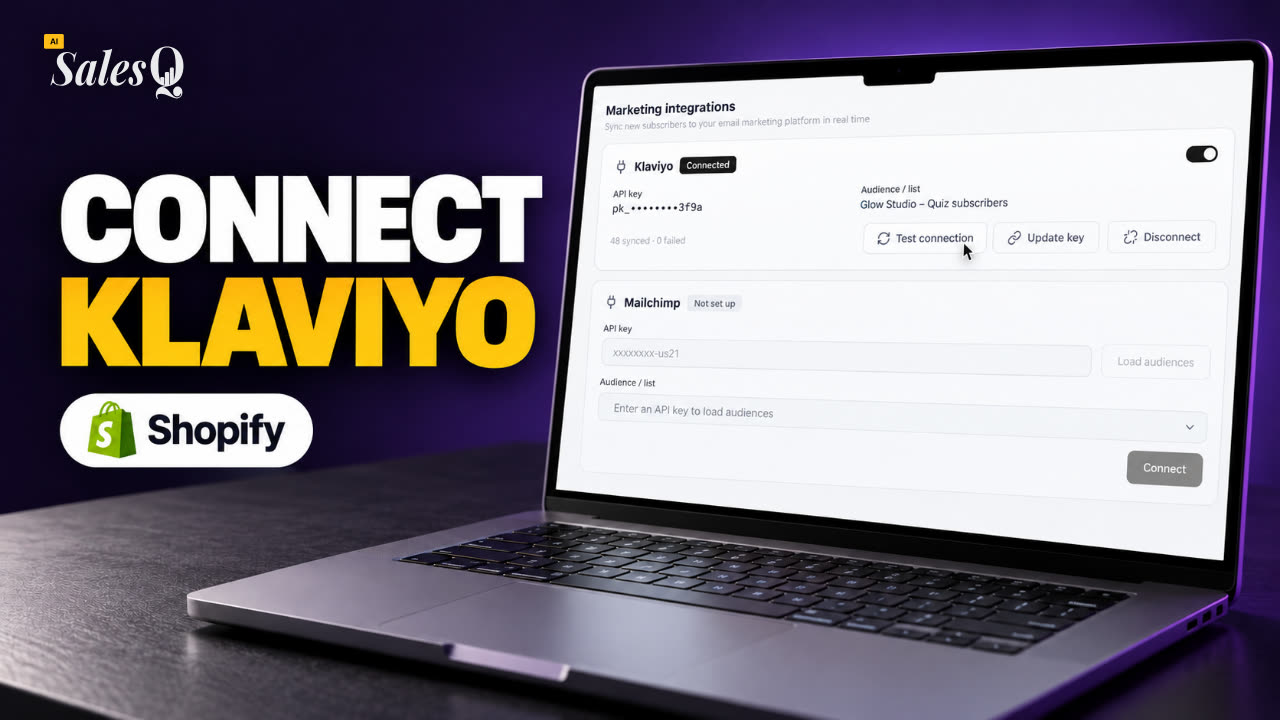 1:42Klaviyo Shopify Integration: Send Quiz Subscribers to Klaviyo
- 21
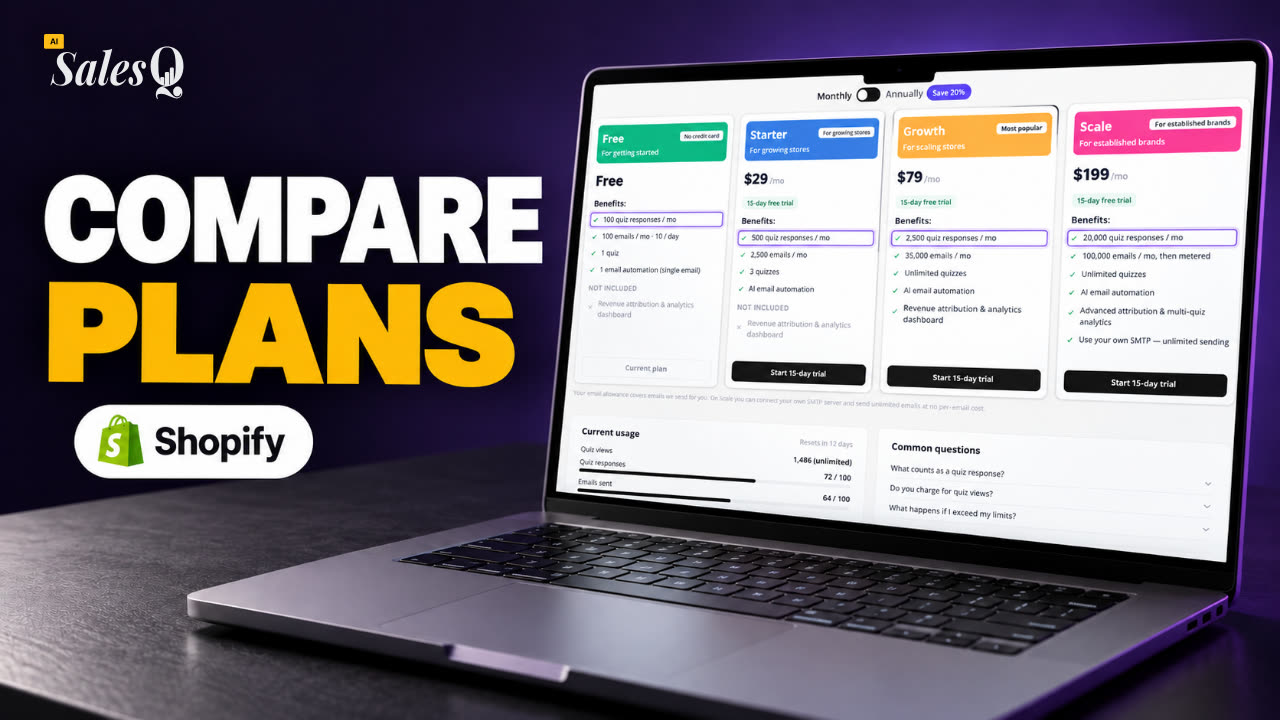 1:43Best Shopify Quiz App Pricing: AI Sales Quiz Builder Plans Compared
Learn more
- Quiz builderEvery question type, logic and design option in one place.→
- Quiz templatesBrowse ready-made quizzes for fashion, beauty, jewelry and more.→
- Product recommendation quizzesOur blog guide to planning questions that lead to the right products.→
- Build a product finder quizA step-by-step example of a product finder quiz on Shopify.→
Related articles
- Publish your quizMake your quiz Active, choose whether it shows as a popup, a section or a button in your theme, and test it on your storefront.→
- Editor tourWhat each part of the quiz editor does: the top bar, the six tabs, the left panel and the canvas.→
- Use a templateTry a ready-made quiz, add it to your store as a draft, then swap in your own products, text and discount before you publish.→
Was this page helpful?
Still need help?
Can't find what you need? Talk to the people who build the app.